Things I Fixed 🔨
Since I've started enjoying refurbishing and fixing things, I thought I'd start taking a record of Things I Fixed.
-
Similar to the Pokemon Yellow recently, I had a GBA Emerald Green sent in for repair.
Just 24 hours ago, this was going to be a post on how I had failed to repair it, but in a last minute ditch, I managed to save it.
Loading up the game resulted in nothing, and opening the shell explained why. There was a lot of corrosion around the PCB, but more importantly, two of the legs on the ROM had completely dissolved:
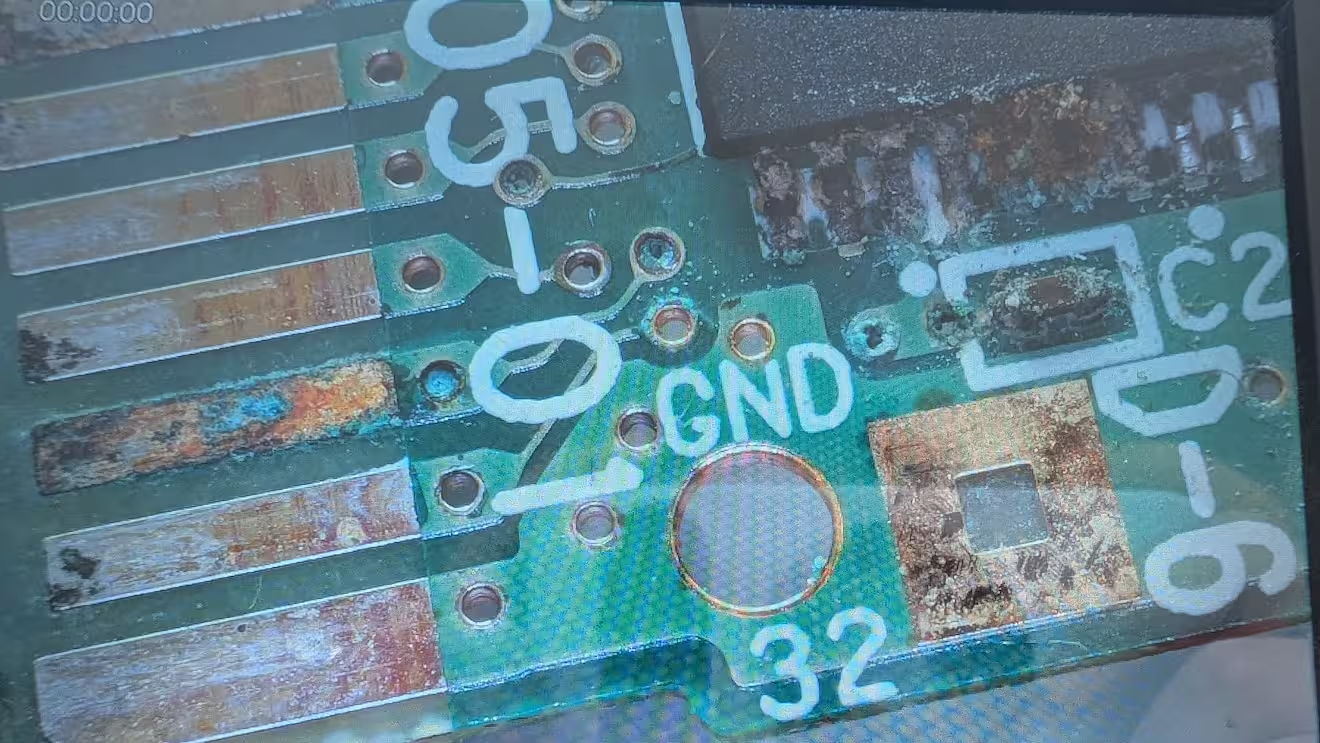
It doesn't photograph well, but the crud at the top left is where the chip legs had turned to mush The first task is to remove the main chips (the ROM and the RAM) and examine and then clean up the damage under the chips. The black around the vias (the holes) aren't a great sign either.
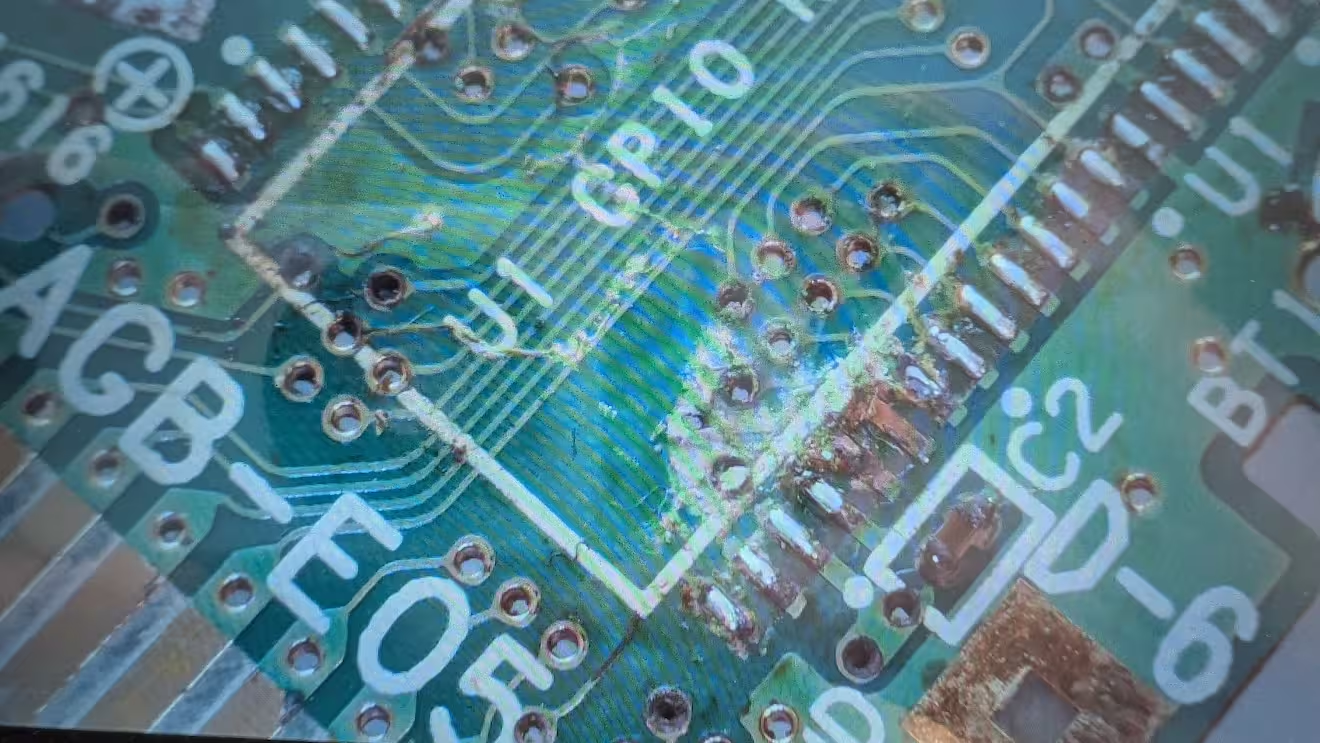
Initially looked like the pads had been lost too, but thankfully they were under there Whilst the chips are off, this is a good time to (try to) check the traces for continuity throughout the board.
Once the chips were replaced, I then have to repair the lost legs. To do this, I use a small Dremel-like hand tool that can burr into the epoxy (the black part of the chip that you would handle) until I'm able to expose the internal part of the leg before it was lost.
From there, very carefully, I'm soldering a 30 AWG (hair-thin at 0.1mm) to the inside of the chip to the pad it originally connected to.
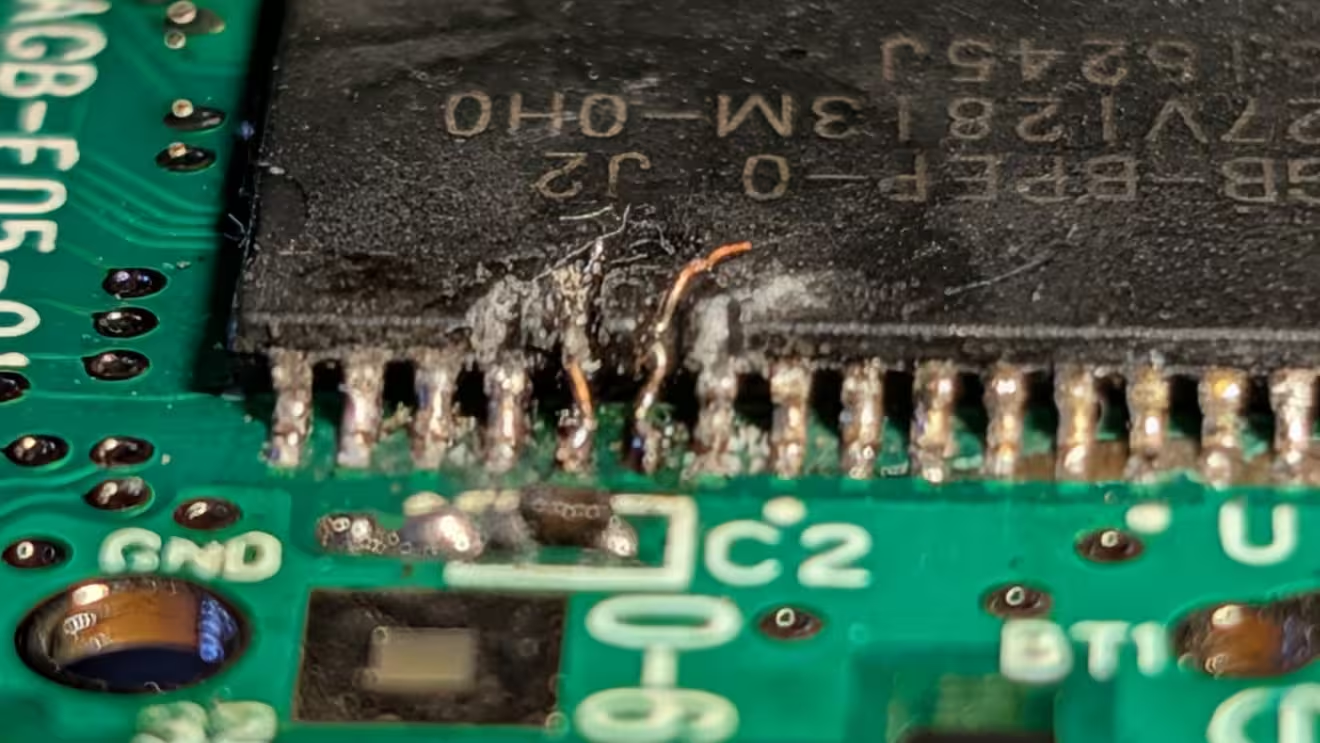
Drilling into the epoxy is always nerve wracking stuff Then using the same 30 AWG jumper wire, I proceeded to jump all the locations that I knew the trace was bad. It ended up a bit of a spaghetti board:
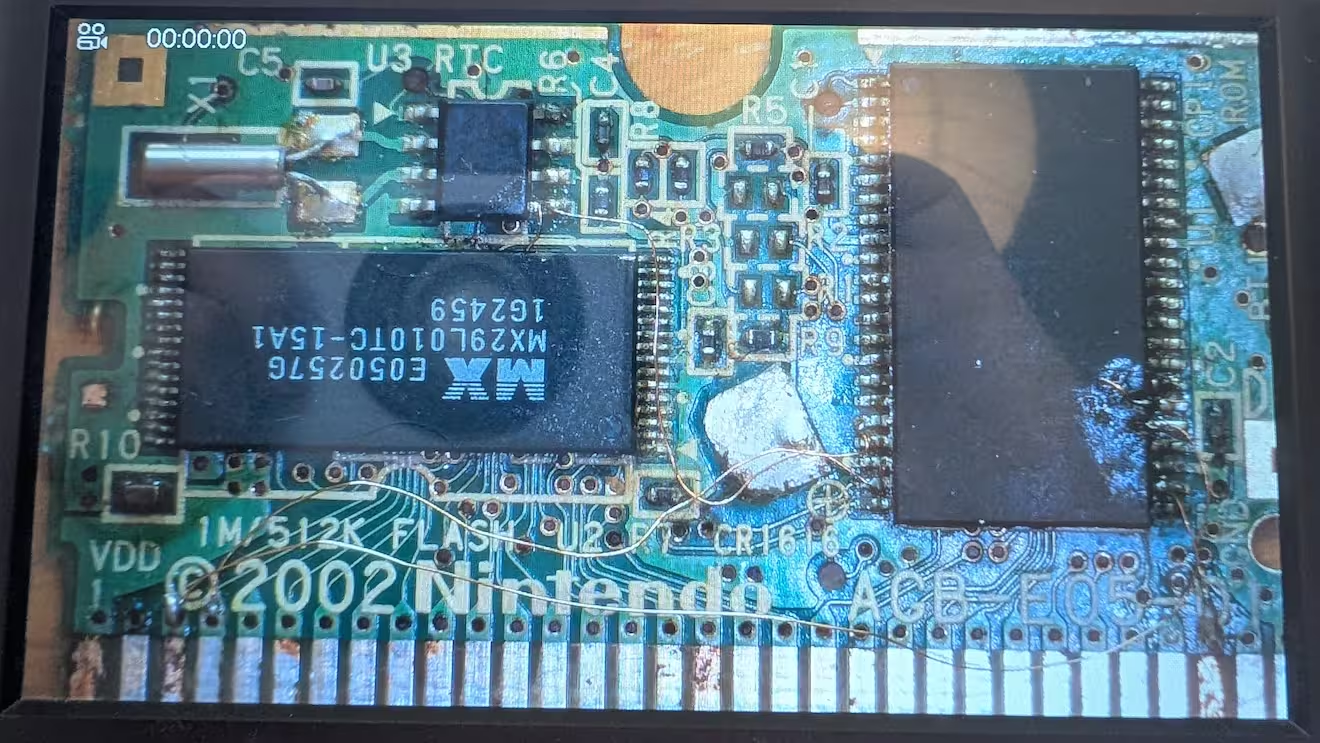
Lots of tiny wires snake across the board At this point, it was time to test.
And…it wouldn't boot. I debugged a lot more, but decided the PCB itself had suffered too much damage, and managed to order a new bare PCB for £6.50 - which came reasonably quickly.
I then proceeded to move all the components across from the old PCB to the new. The larger components are pretty straightforward, but the passives, such as the resistors and capacitors are harder, especially without a template.
I also decided to use my own new passives for the resistors, and at the time I didn't have any new capacitors, so I carried these across assuming, since I had always considered them to be pretty robust (spoiler: they aren't).
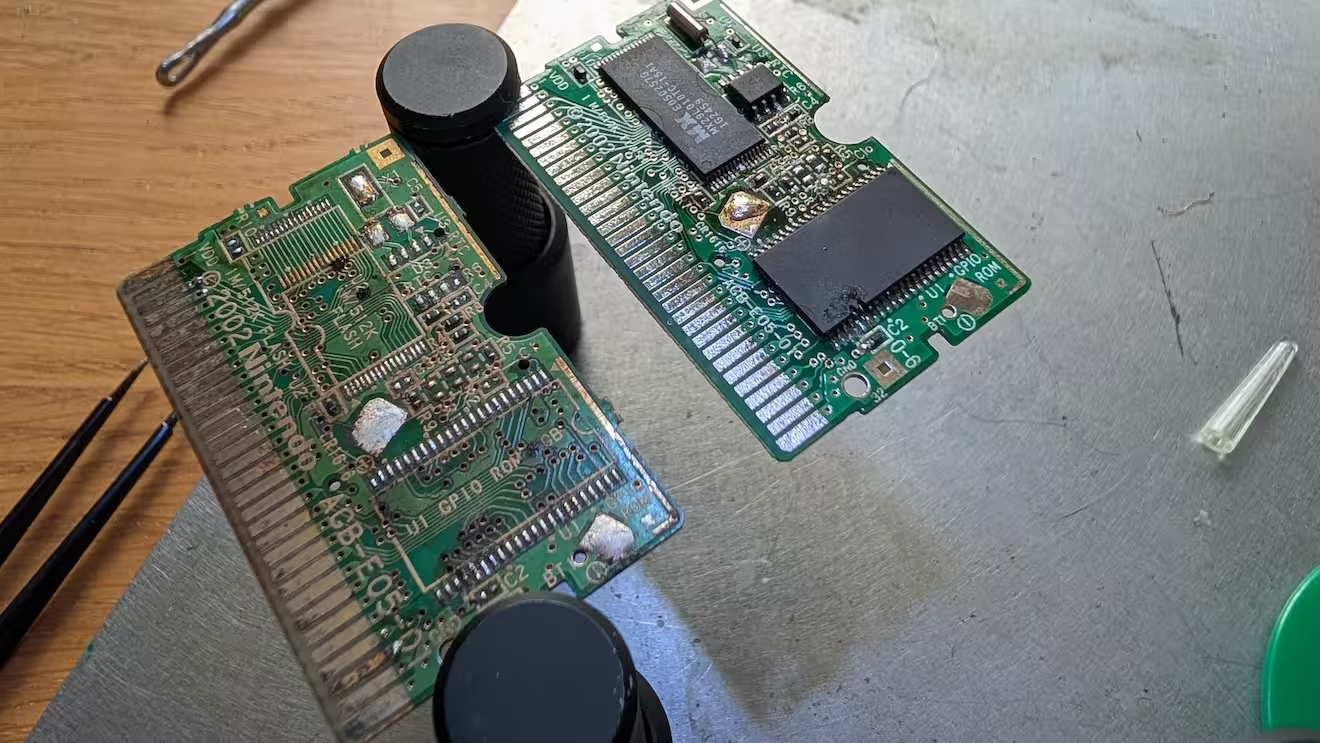
The new PCB definitely got me out of a corner When I was finally done soldering down all the individual components and checking and re-checking the pads on the chips, I finally tried to boot it up to… another fail.
I was going to email the customer and tell them it was a dead end, when I decided I might splash out on Amazon (booo) for some 0402 SMD capacitors - at least I'd have some more for future.
As it turned out, this was the last of the issues. The caps had somehow gone bad on the original board and replacing them brought the whole cart back to life!
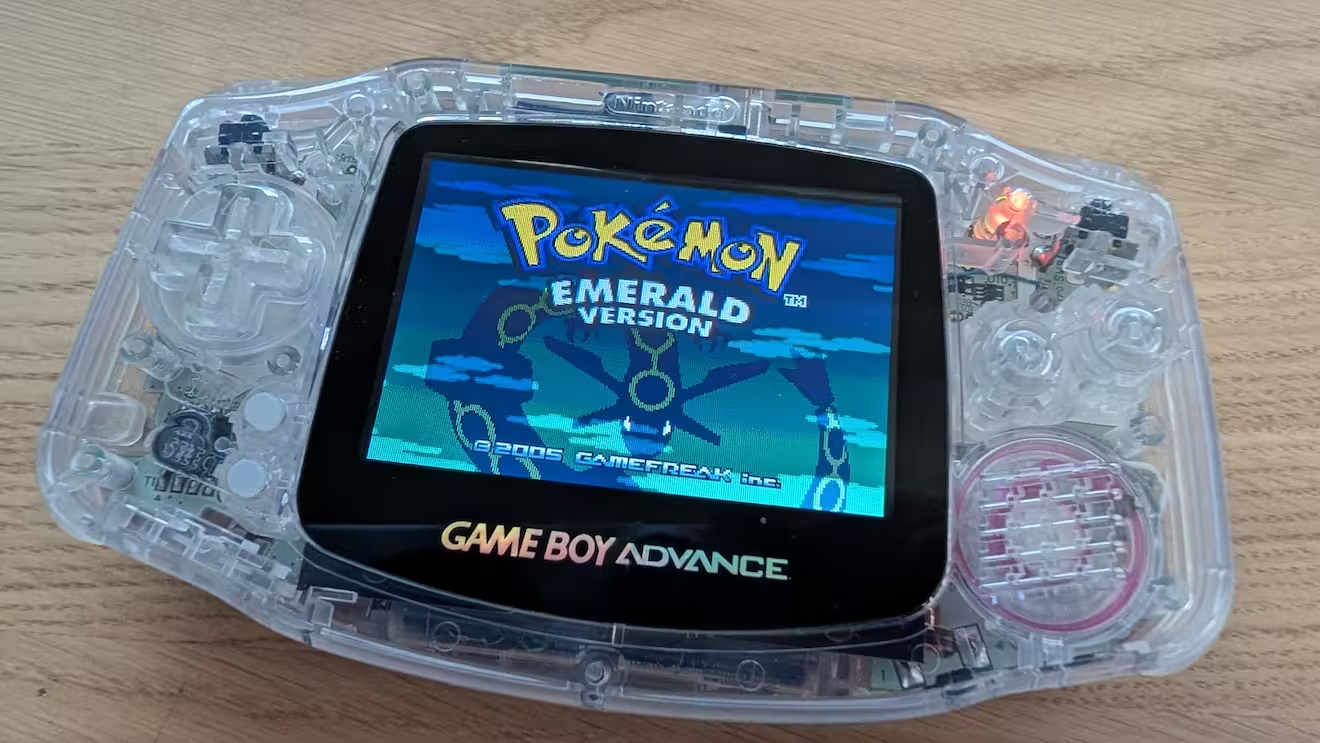
It lives!!! Another one saved. Quite a challenge, and I know if I were a real electronics shop I would have cut the losses much earlier. But I'm not a real shop, this is a distraction hobby and this one was certainly a challenge!
-
I guess I just want bragging rights, but here's the short story of rescuing Pokémon Yellow.
I run "fix your gameboy game for £10" which occasionally I get orders for. This one was a challenge.
First it had a battery swap attempt (I spotted on the melted shell), but it had also suffered A LOT of flux and grim inside and initially I couldn't see any corrosion.
There were solder bridges on the ROM and eventually I spotted that the VCC vias to the ROM were corroded, so I got a jumper in place from the rear to the VCC pin on the ROM and it started booting.
But…not all was well…
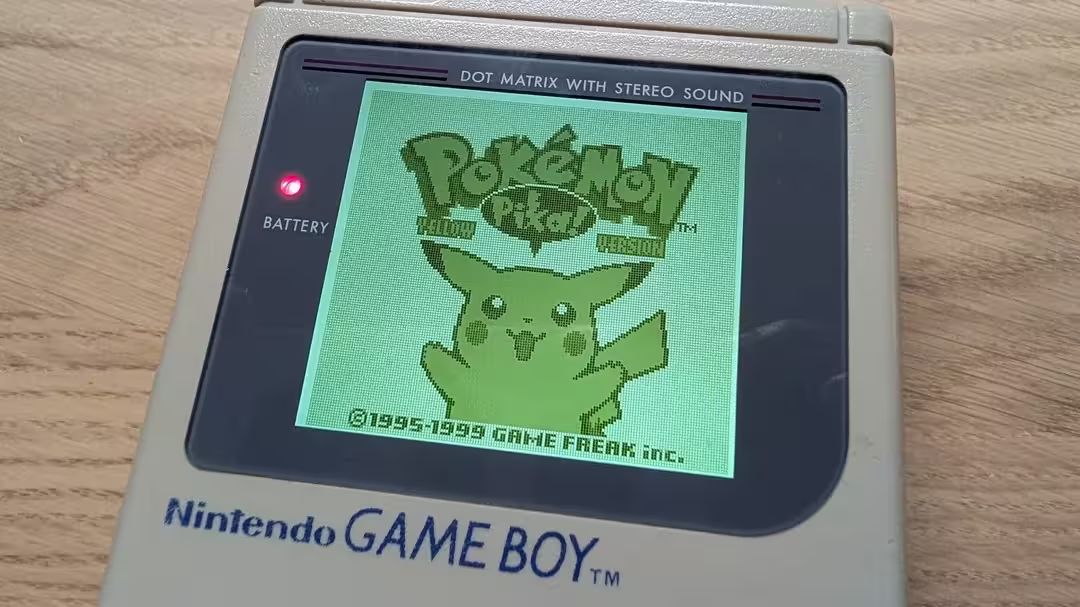
Yellow boots, but … 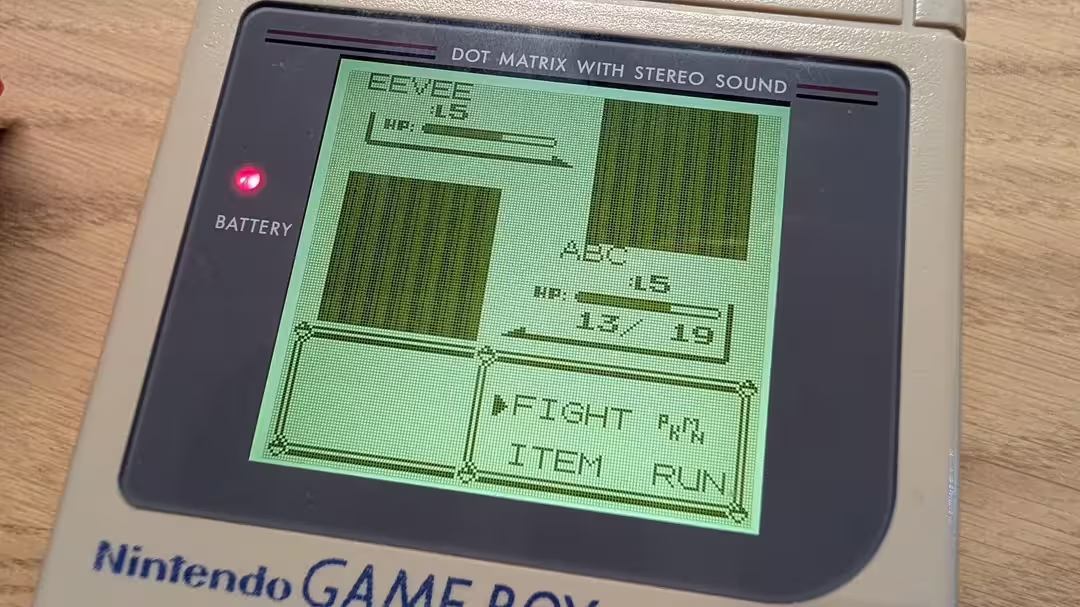
Although sprites work, large sprites did not… My guess it was related to the RAM chip (assuming the sprites are built in RAM when they're big) and other reddit posts confirmed this.
The old multimeter is my friend, I could see the power monitor/reset chip wasn't getting power. In fact, the trace was fudged where it joins up to a 10K resistor.
I completely removed and rehomed the resistor, found even more vias that were corroded and using this excellent post to trace out from the reset chip to the RAM, I was able to add two more jumpers and only then did it come back to life:
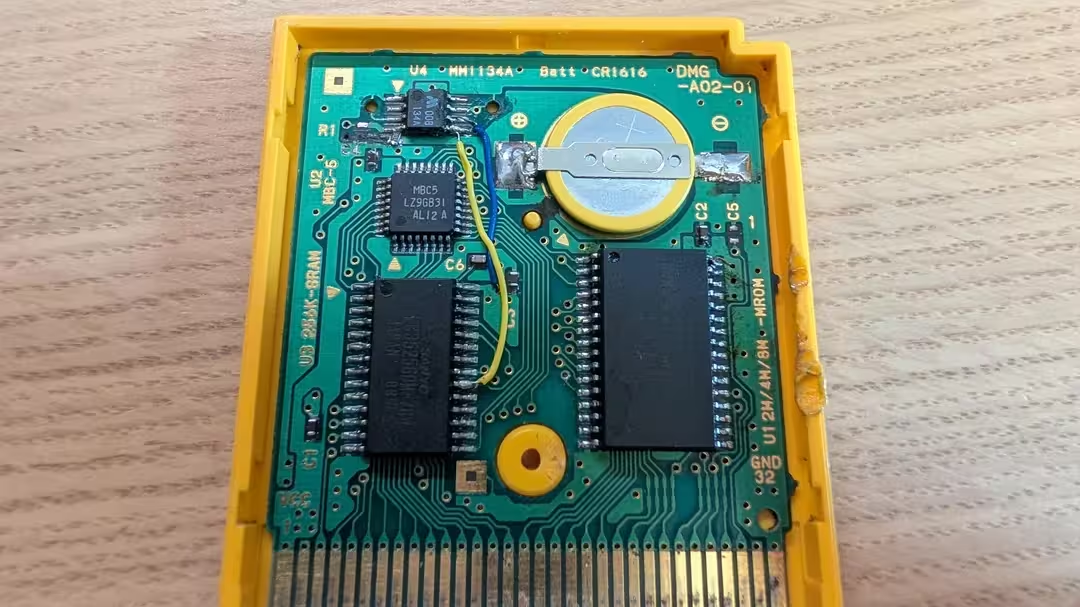
In the top left you can see the rehomed resistor and the trace that had been completely removed. I usually use the hair-thin wires, but I figured if someone was going to replace the battery on this in 5 or more years, hopefully the big blue and yellow wires were shouting I'M HERE ON PURPOSE!
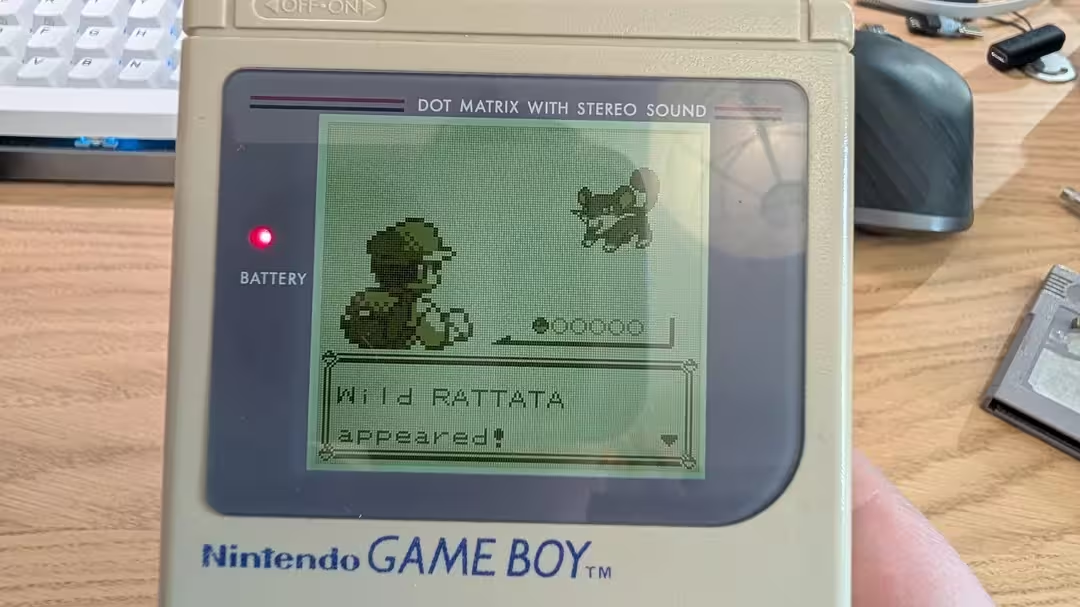
All good again, and Yellow can battle those pokemon. I love getting these challenges - and definitely couldn't do what I do without the wealth of info on the web and reddit on the gameboy.
Another game saved from landfill 💪
-
I've been eyeballing Cricut machines for a few years now, but it was mostly for stickers for my own use and the cost just couldn't be justified.
However, last Sunday I found a faulty Cricut on eBay, put an offer out and it arrived on Wednesday for a total of £35 (including postage).
When plugging the power lead in, the power button briefly shows red and the cutter lights up, but then it all immediately dies. I figured I'd need to get to the power connect to check the state of the connect and the PCB - perhaps there was a short.
After a lot of screws and jiggling to release plastic covers, I eventually made it to the motherboard, which, on first inspection looked entirely clean.
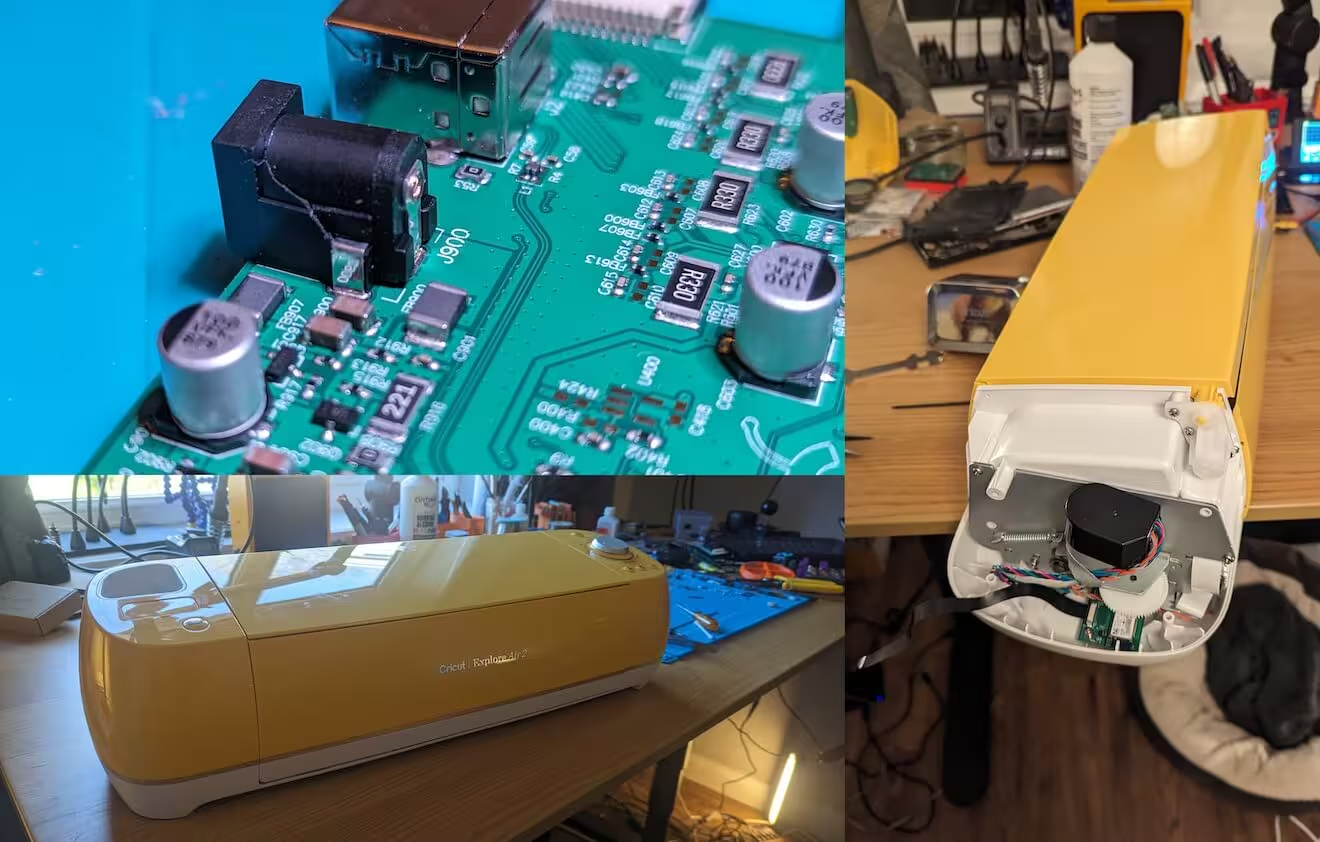
Looking closer though, the DC barrel connector had a small crack. When I prodded the connector, I could see it was moving, and in fact the positive leg was broken and no longer connected to the motherboard.
My guess is that it was plugged in, someone snagged the power cable but the lead didn't remove, instead breaking the DC barrel connector and tearing it out of the motherboard.
Some careful soldering and lot of replacement of screws and I now have a working Cricut. Tidy.
-
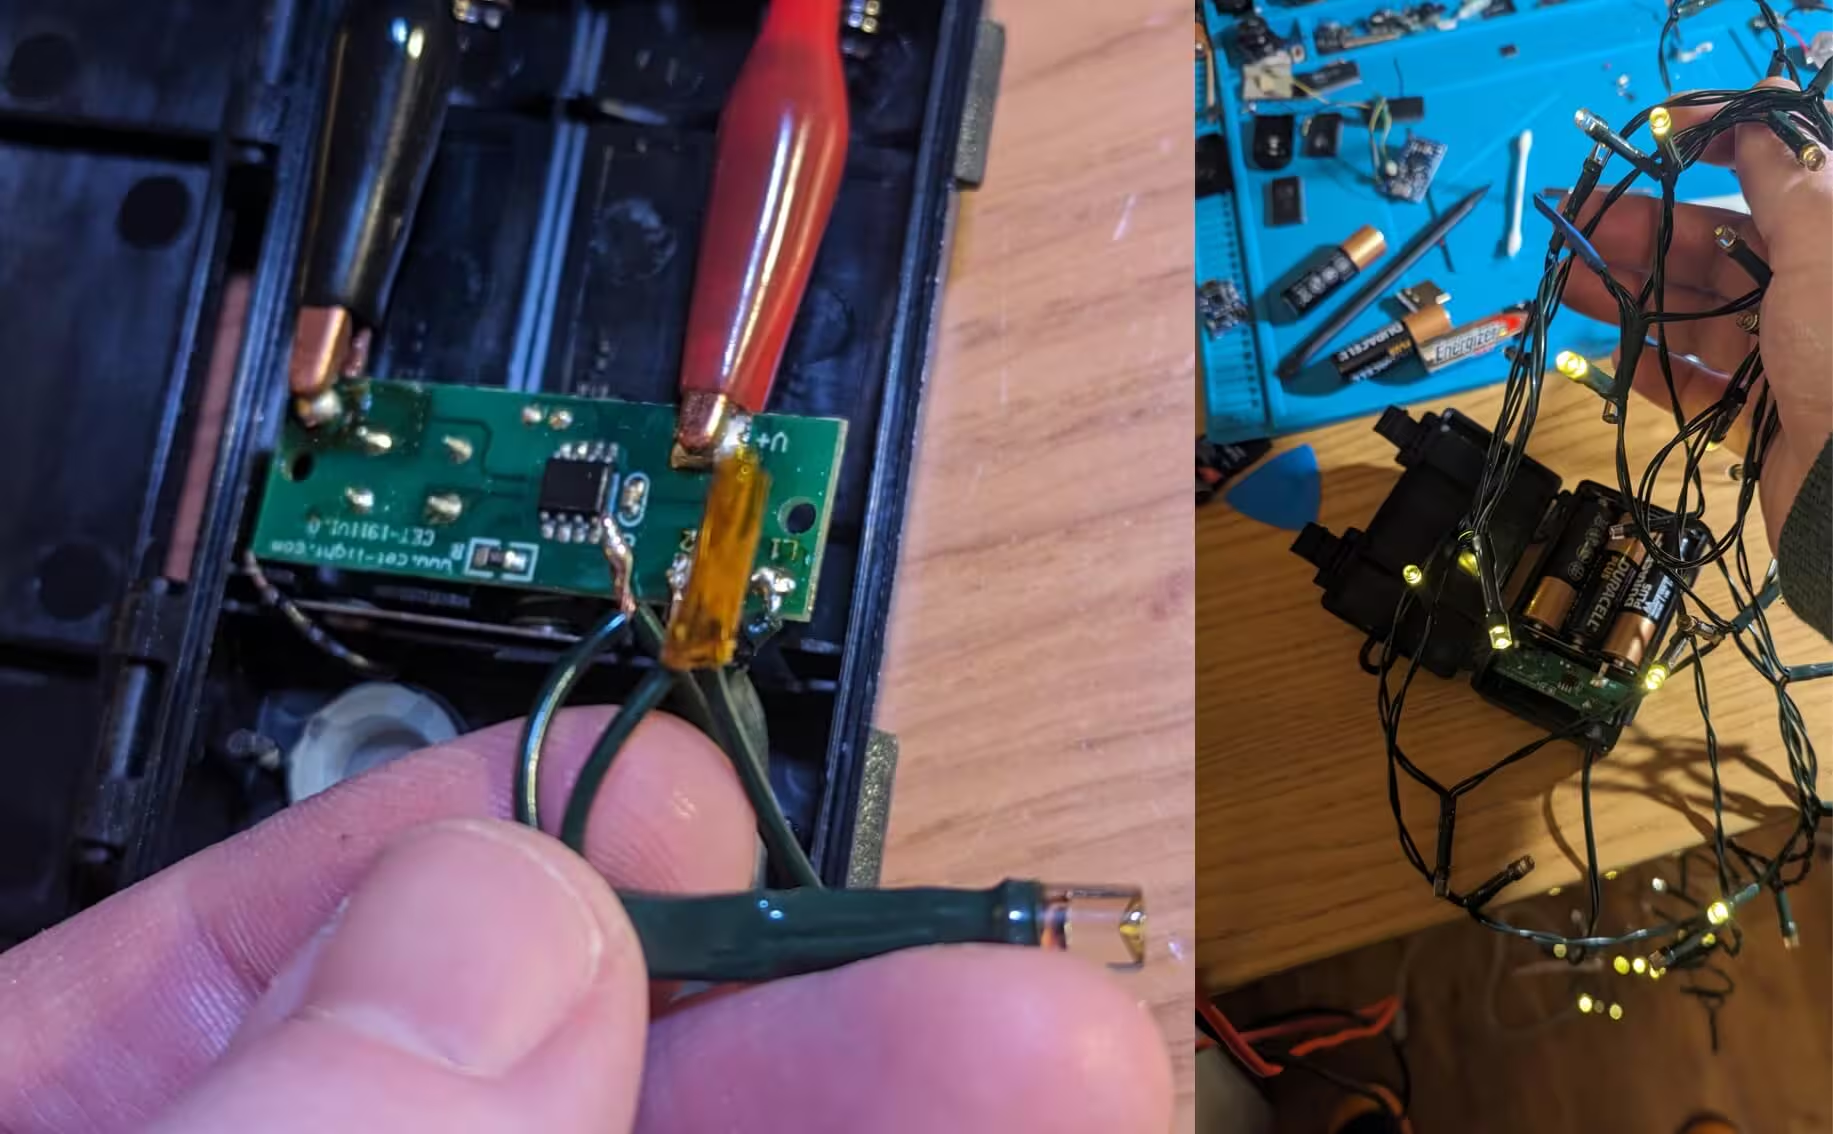
Although I've been tinkering with bits, this was another home fix exploit. The lights didn't work at all (outdoor LEDs).
At first I thought it was corrosion on the battery contacts (which is a good first port of call), but when I injected bench supply power I could see it was drawing amps - which meant that either the board was not putting power to the LEDs or the LEDs were bad.
I checked the contacts for the LEDs with a multimeter, and it showed a voltage (bouncing - which would make sense if the lights pulsate).
At it happened, the string of LEDs were a simple positive and negative wire running all the way through (other systems, which allow for individual failures, will have a third wire - I forget exactly how it works, but it means a bulb or LED can go out, btu the line continues to work).
In this case, I kept cutting the wire in half until I found the LEDs working - which happened only when I had a single LED (bad luck me), but then I started splicing large runs of the LEDs back together.
I'm not 100% sure I'd put them outside again (since I used shrink wrap rubber tubing to protect the wires, I doubt if it's fully waterproof), but they do work again, so it's one more thing saved from landfill.
-
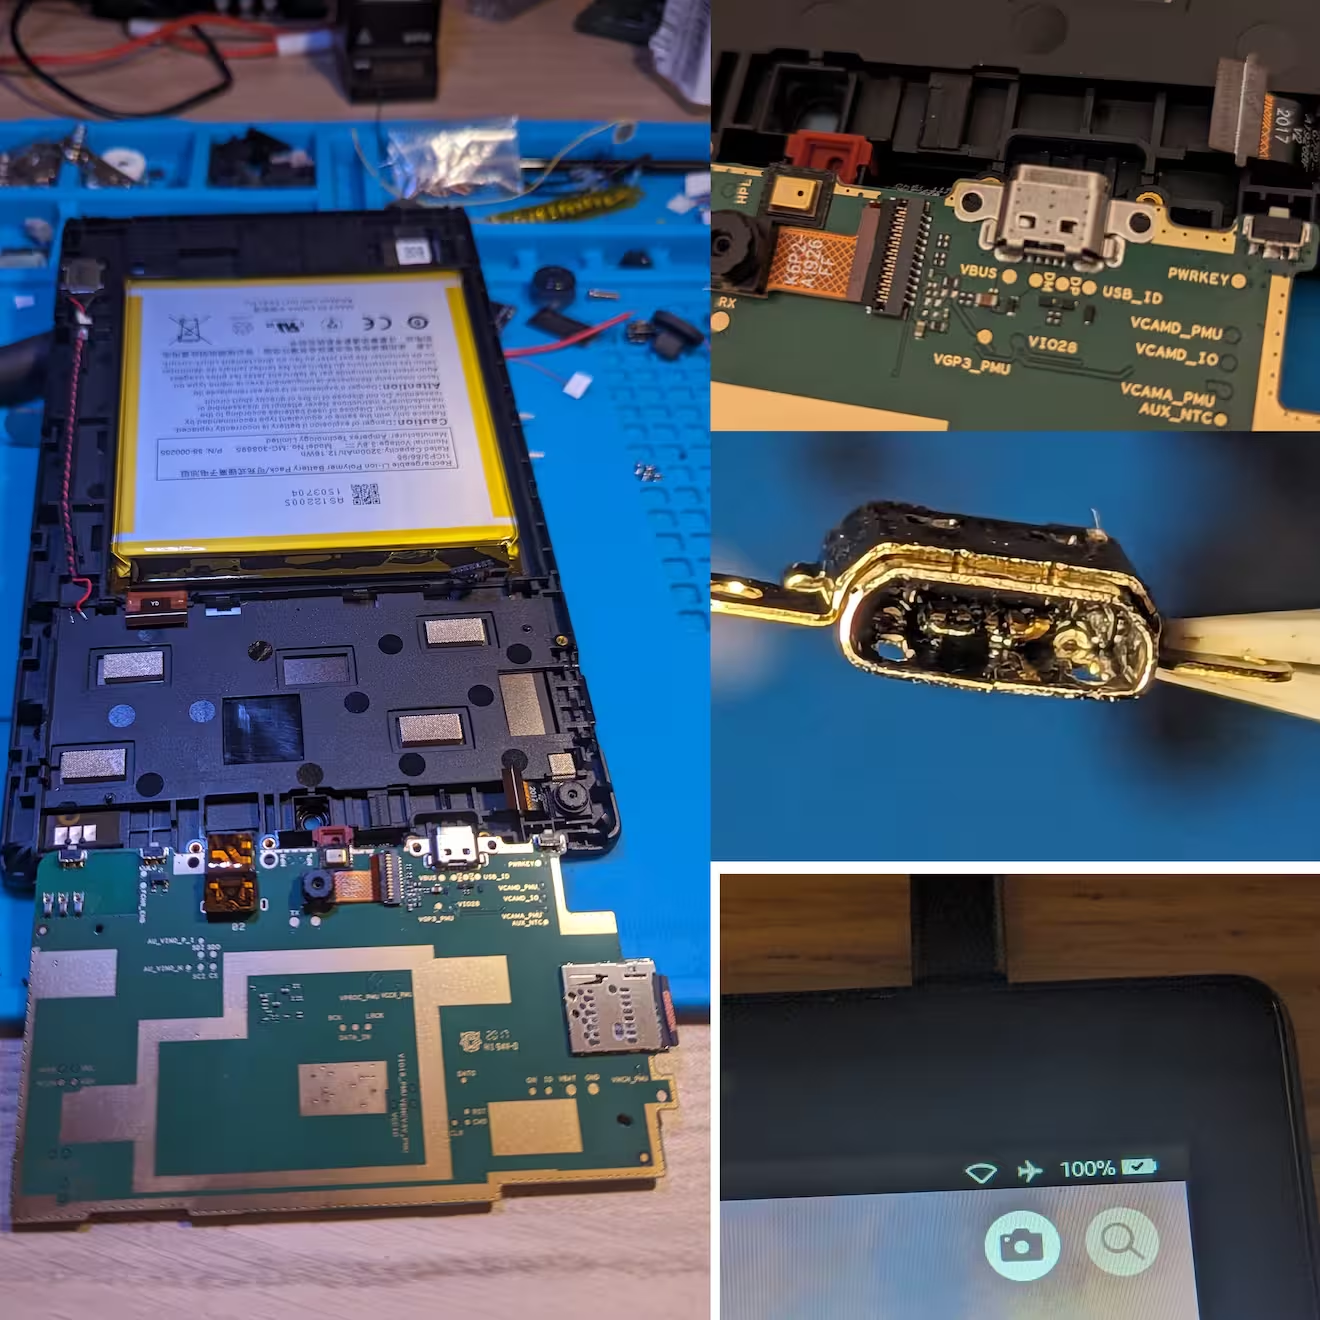
My friend's son had a kid's kindle that wasn't charging any more. They were going to buy a replacement, but then asked me whether I thought it was fixable. Definitely!
I'd not fixed a Kindle before, but my guess was the USB port was probably at fault. Inspecting it under the microscope (and looking at the mouth of the port) I could see it was definitely the problem. It's understandable that a young child isn't always going to connect the USB cable cleanly and the port had eventually given up the ghost.
Opening the Kindle Fire is the process of unclipping the edge - there's no screws on the outside. Once open, the main board can be lifted off, on the reverse side (to my photos) is a ribbon cable that can't be disconnected right next to the USB port.
Using a hot air gun and lots of constant movement, I was able to free the USB port without melting the ribbon cable or the FPC connector (which is entirely plastic). By keeping the airflow moving it protects plastics from heating up but allows the solder to melt, but it takes practise and a careful hand.
Once free, I had a replacement from eBay and once re-installed the Kindle Fire charged up just like old times.
One more bit of tech saved from landfill 💪
-
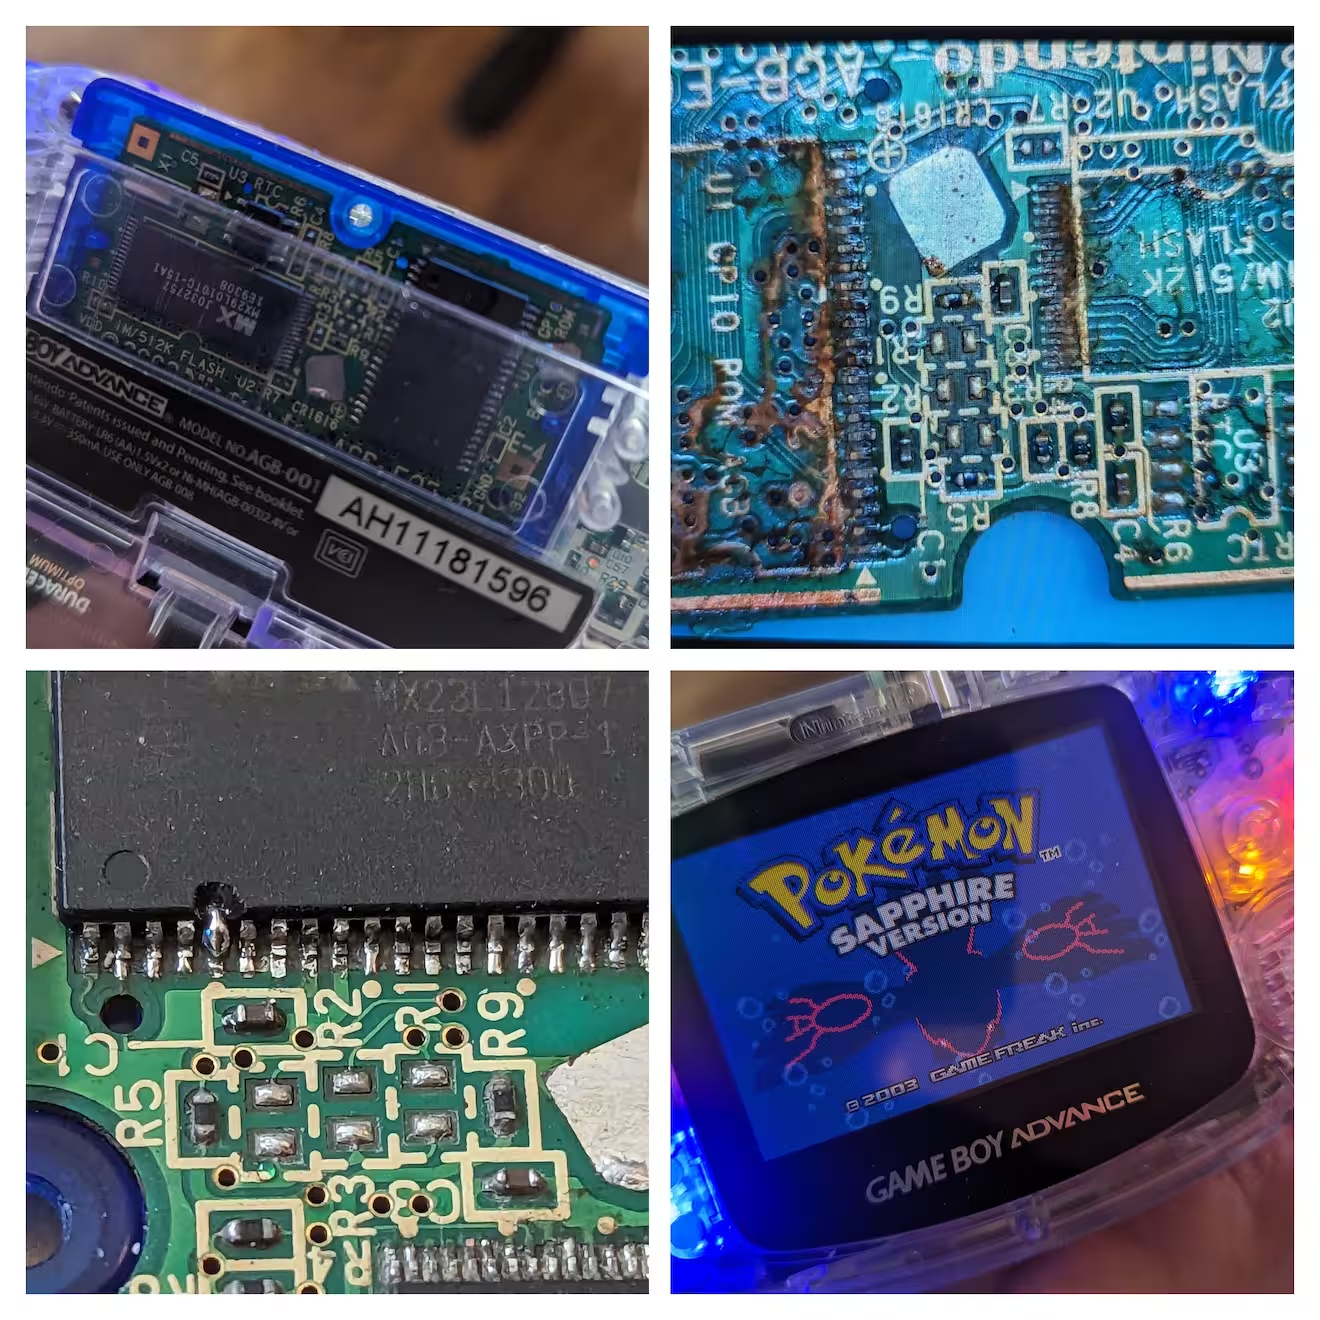
On the Console Repair Discord I'd offered to fix a Pokémon Sapphire cart that was initially not working, but then went to a repair shop and came back with a leg on one of the chips missing.
The work would require grinding down the silicone of the chip to expose the internals of the missing leg and jump it to the solder pad. The cart was also missing a resistor and capacitor.
I decided to start by completely removing the chips from the board, and I'm glad I did because underneath I found a lot of corrosion and junk from either time or previous attempts. The solder joints also looked dull which suggested to me that it would benefit from a reflow.
Once this was done, the board was cleaned (thankfully there was no trace repair required), I replaced the chips and went about grinding the ROM chip to expose the broken leg.
Once exposed, I created a jumper using solder to the pad, installed a few missing components (a capacitor and resistor had been lost previously) and it was all back to life.
-
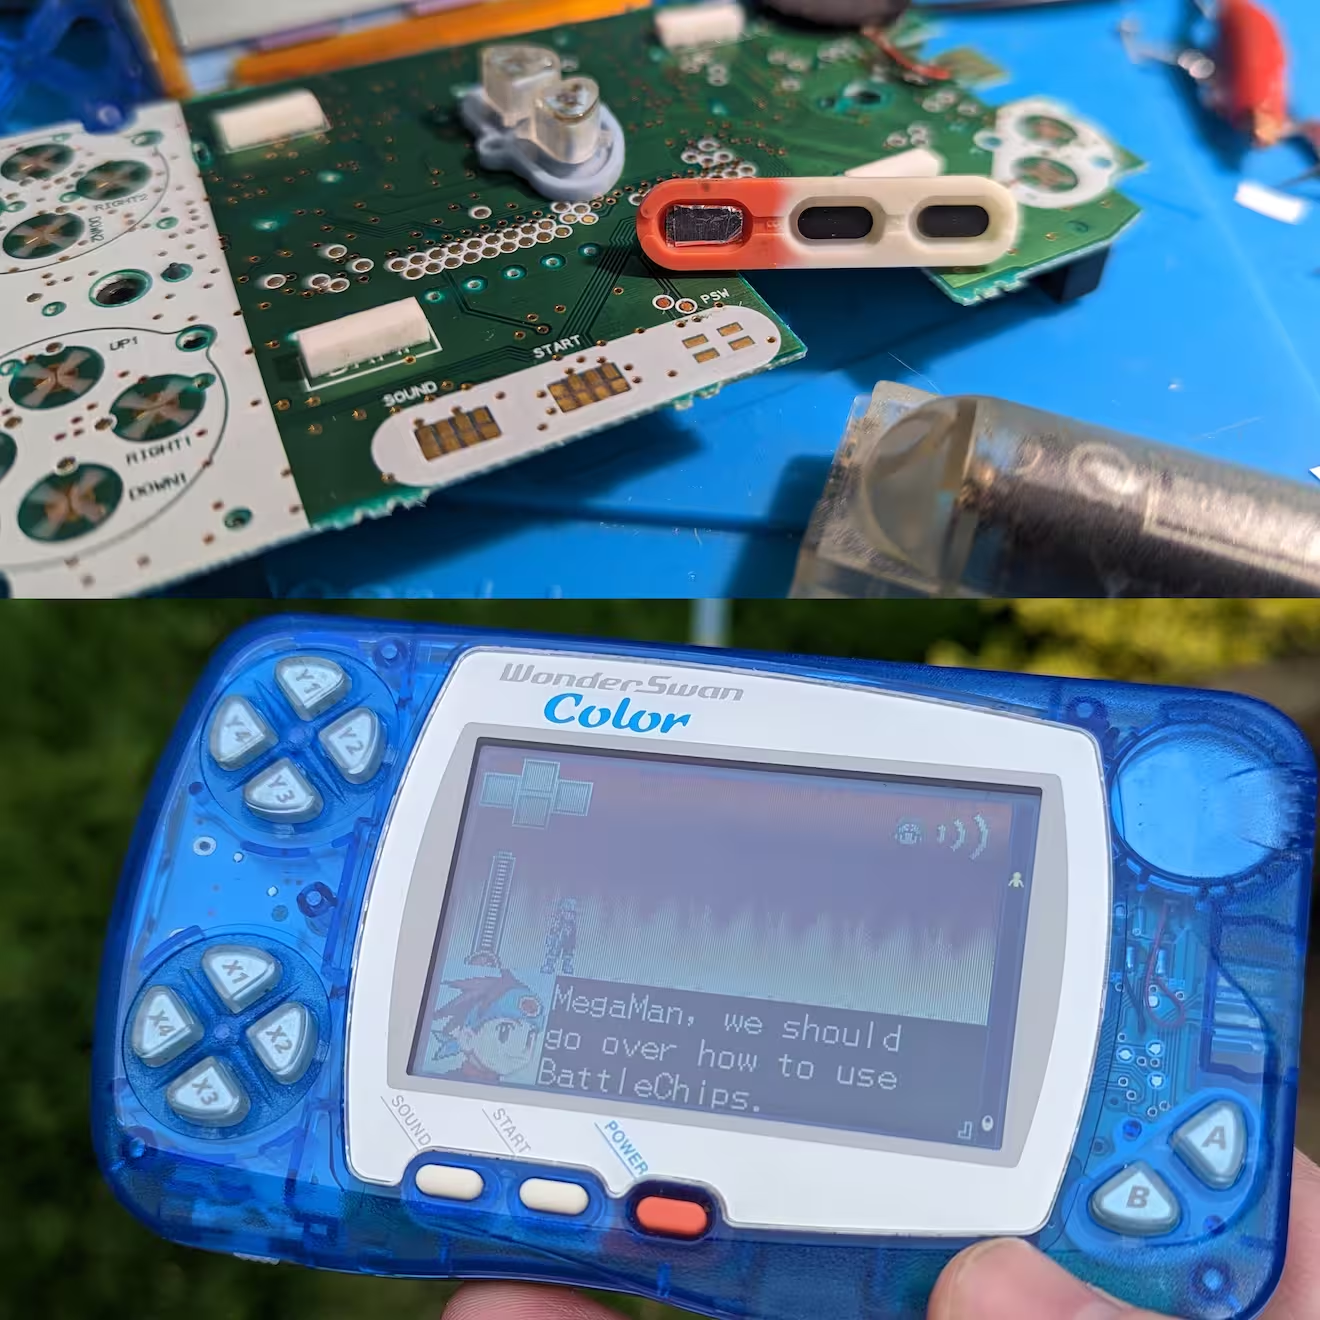
Slightly branching out from the usual western handhelds, I've seen WonderSwans but never played around. Then managed to pick up a faulty "Color" model for £40 on eBay listed as not working.
On inspection it looked, internally, very clean - no corrosion or damage. From my experience with Pokémon Mini handhelds, I was wondering if perhaps the power button wasn't getting the signal.
So I applied a slice of kitchen tin foil, some sticky tape and voilà, it powers up! I had to also apply it to the sound and start button (and I'll probably make this permanent with conductive paint one day), but otherwise it's all good.
(And I snagged a flash cart so I was able to experience some translated romhacks too)
-
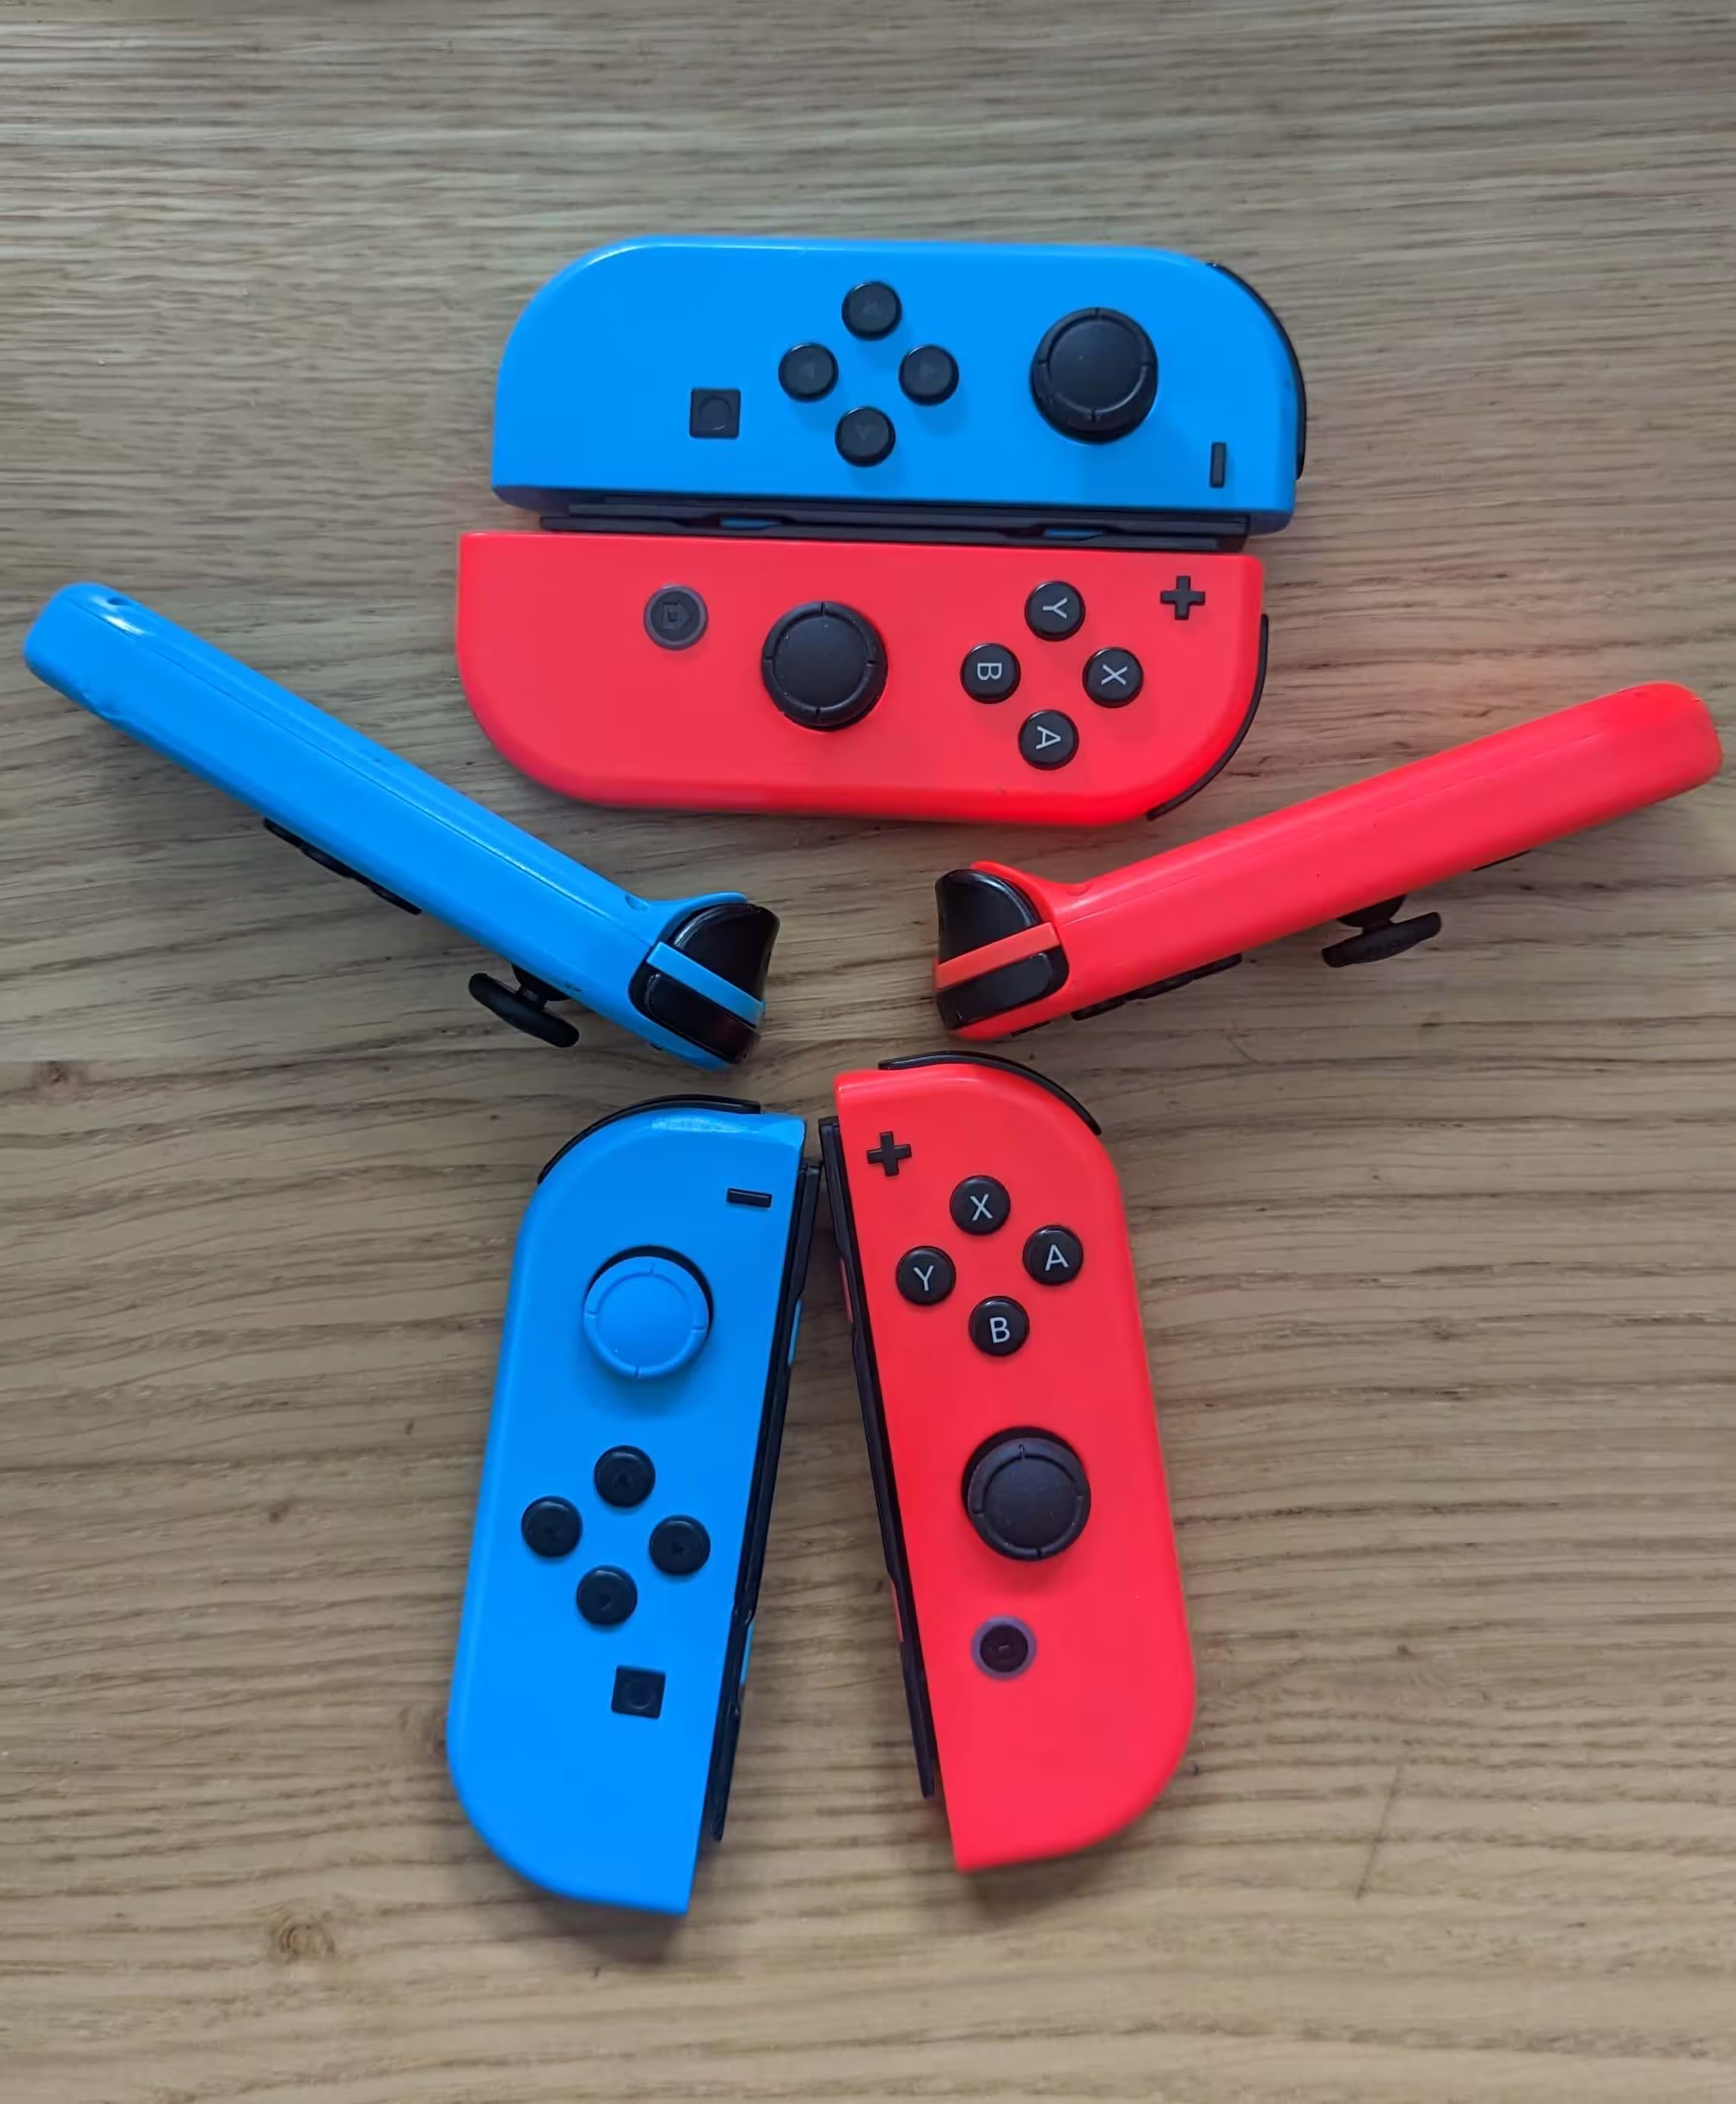
I bought a joblot of Switch Joycons (because apparently I find it straightforward to fix…). £50 (plus £7 postage - which I think was overpriced) - but I have all the parts to replace most common faults, so now I have six fixed joycons (ranged from thumb sticks, shoulder buttons, LEDs and more).
Off to eBay they go!
-
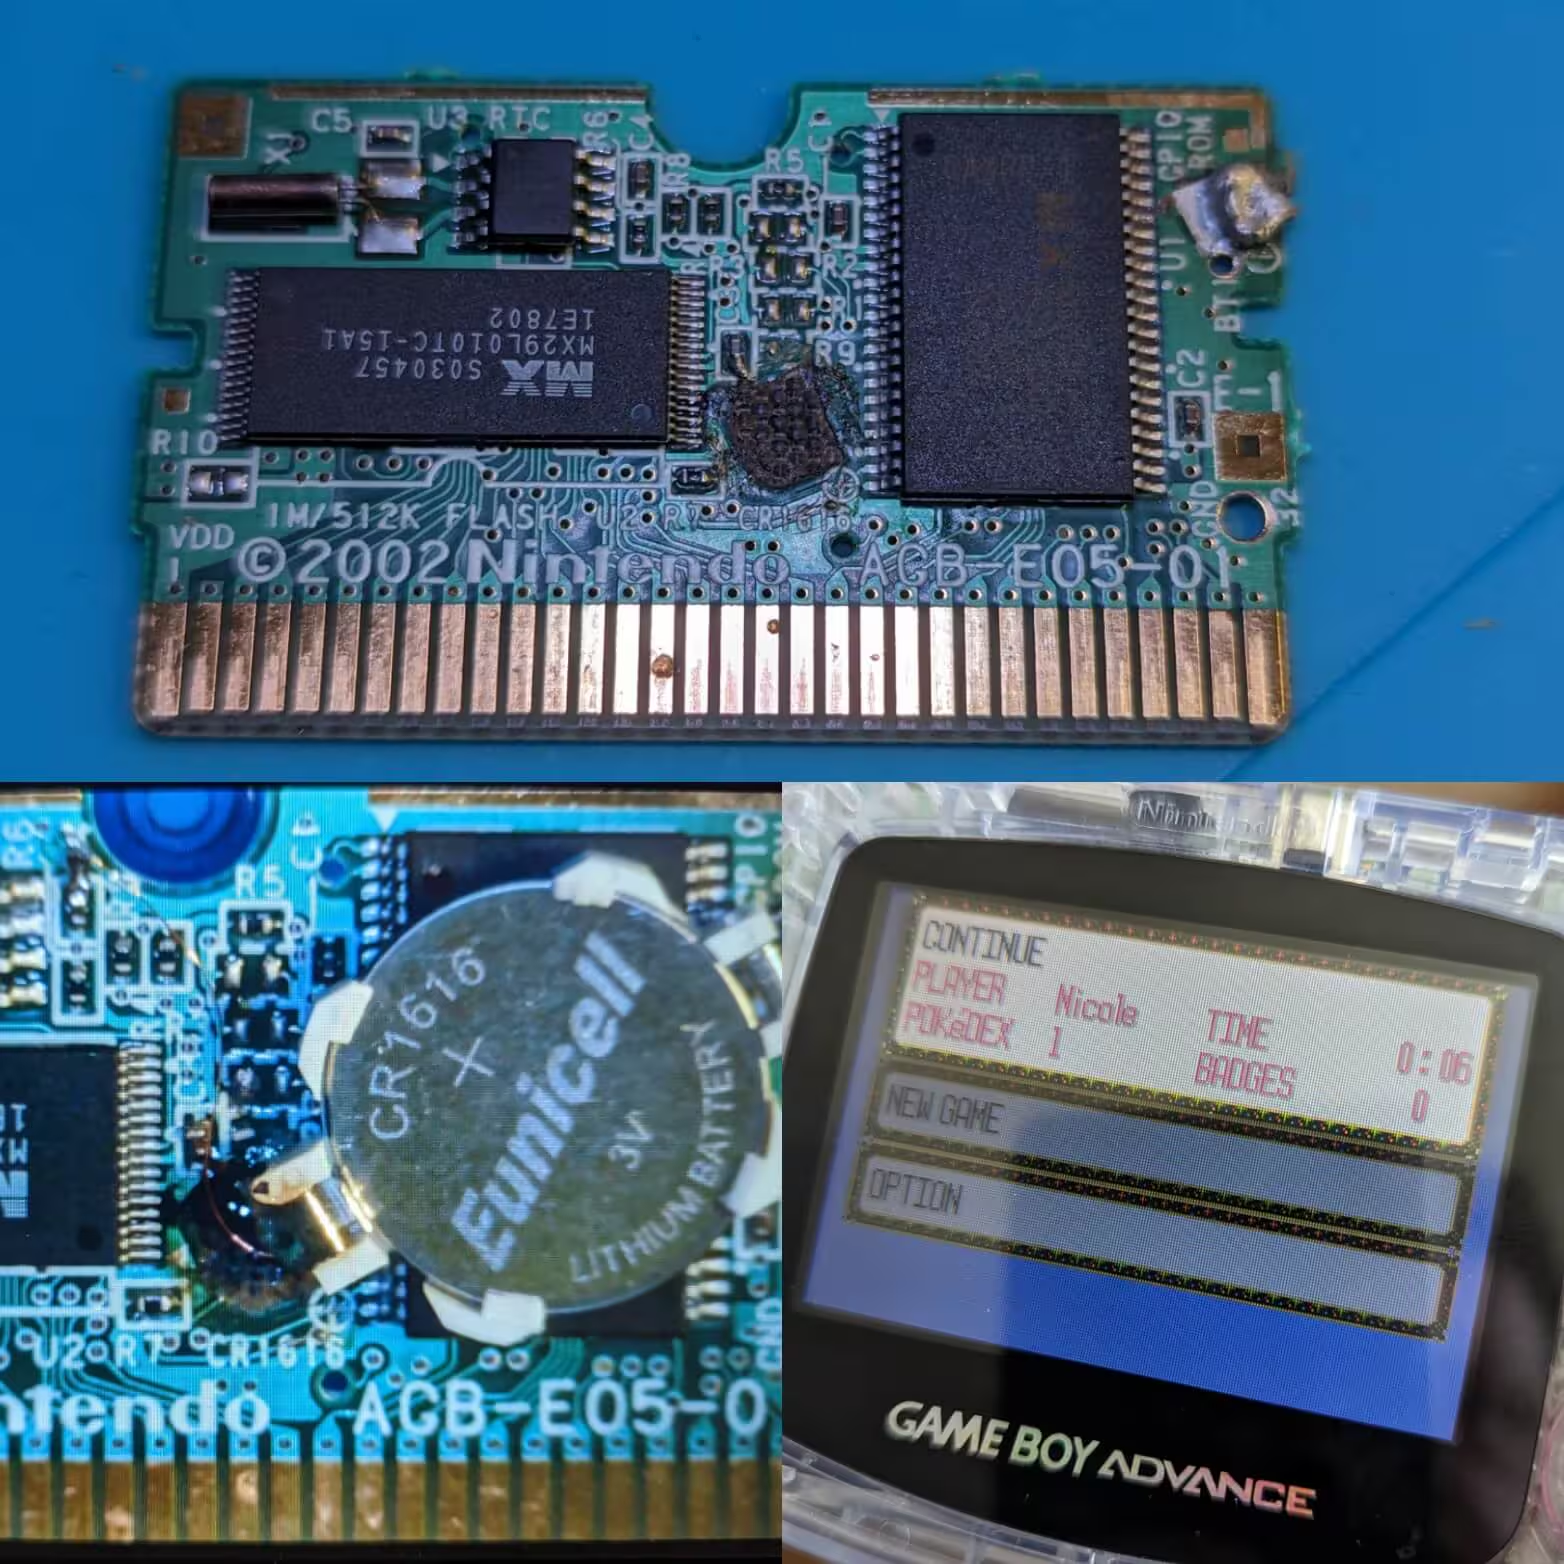
Through the little Etsy store I've got, I offer Game Boy game repair mostly just so I get to "play" on different problems, and a different problem did arrive.
This Game Boy Advance game, although worked, requires a battery for the real time clock aspects of the game (i.e. timed events). The problem was that there was a repair attempt that had taken off the entire pad for the battery, and in fact had go through the pad, through the silk screen and had gone all the way into the fibre glass insulation layer (you might be able to see in the photo the woven pattern).
Before slapping a battery on and jumping the positive leg to the right component, I wanted to check that nothing else was missing. Thankfully the community have tried to preserve a lot of the history (in this case, the PCB traces) but also published it freely on the web.
From this I also found a resistor had been lost in the previous repair. I don't think it's clear from my photo, but what I did was to bond the missing resistor in a completely different location (before it traces to a capacitor) and then use a jumper wire from the replaceable battery case. This was mostly in case the battery case was torn off again it wouldn't cause damage to the components on the board.
Once that was all done, the game happily had its clock and was returned to it's owner the same day.
-
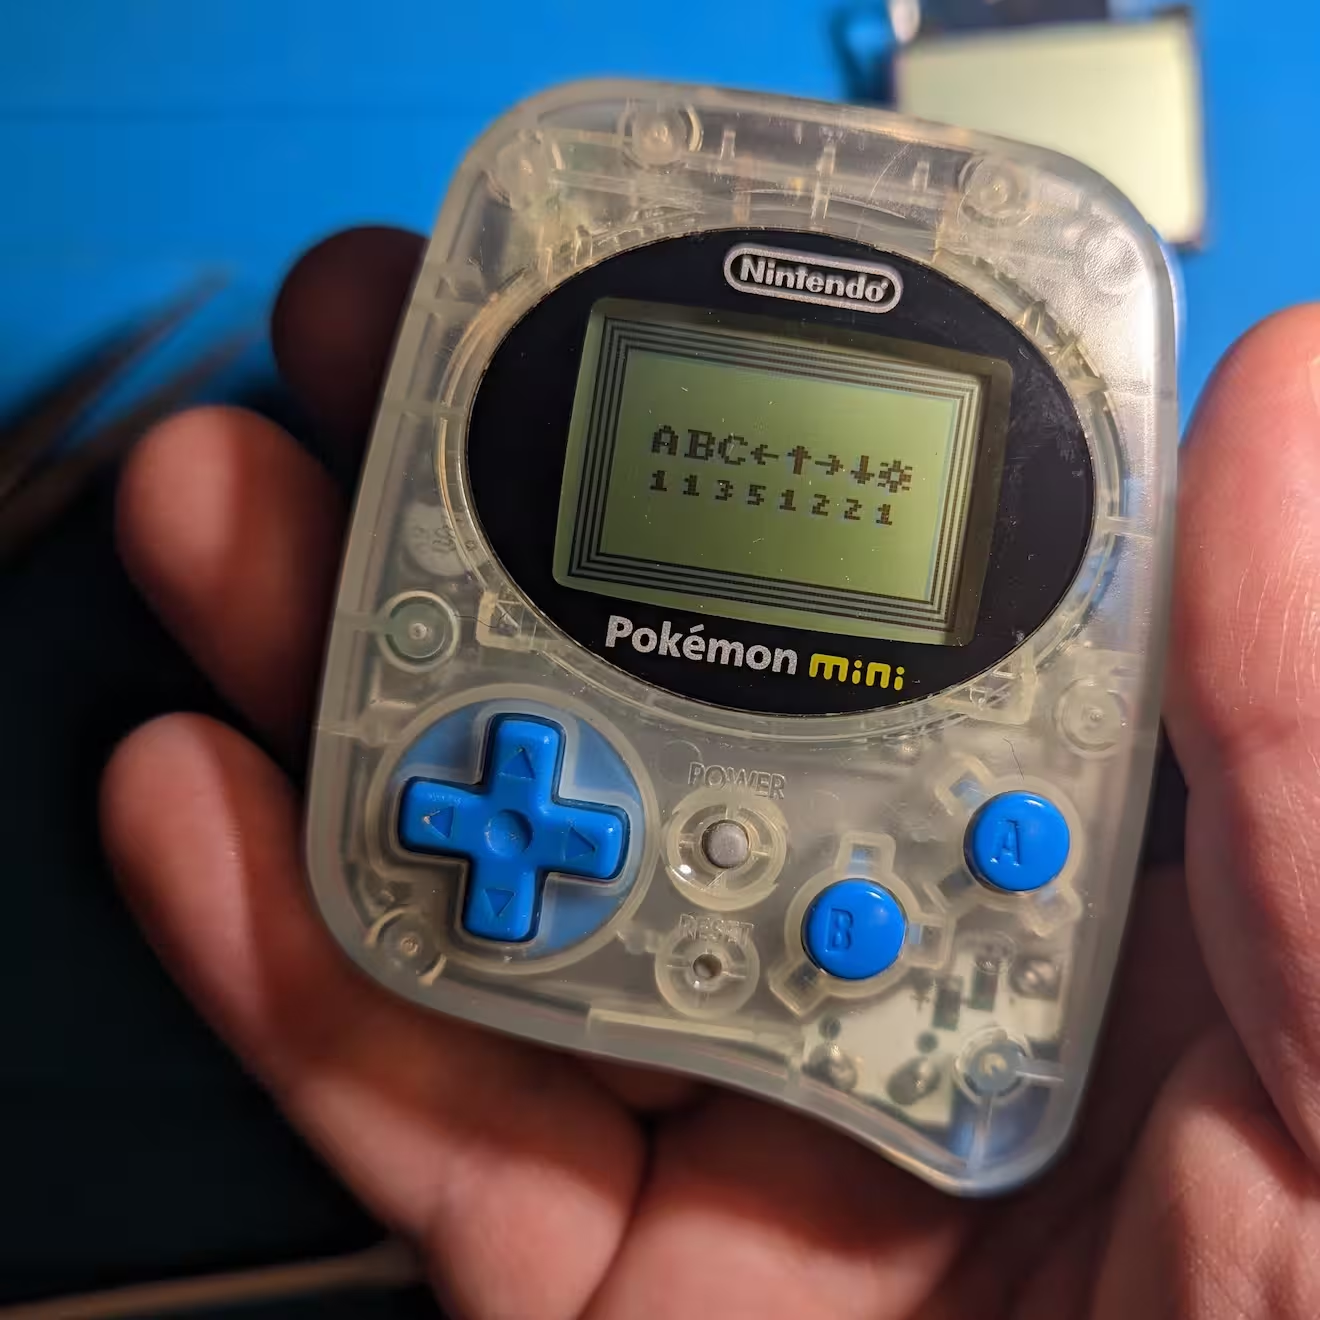
I love these little cartridge based handhelds (apparently the smallest released). I've got a few that I'm working on repairing because they fail pretty hard when corrosion gets in there.
However, in this particular case, though it was sold as "junk", only the left button on the dpad was failing. A good scrub with IPA and it was back working. Hugely simple compared to the ones with corrosion!
-
Another joycon shoulder button
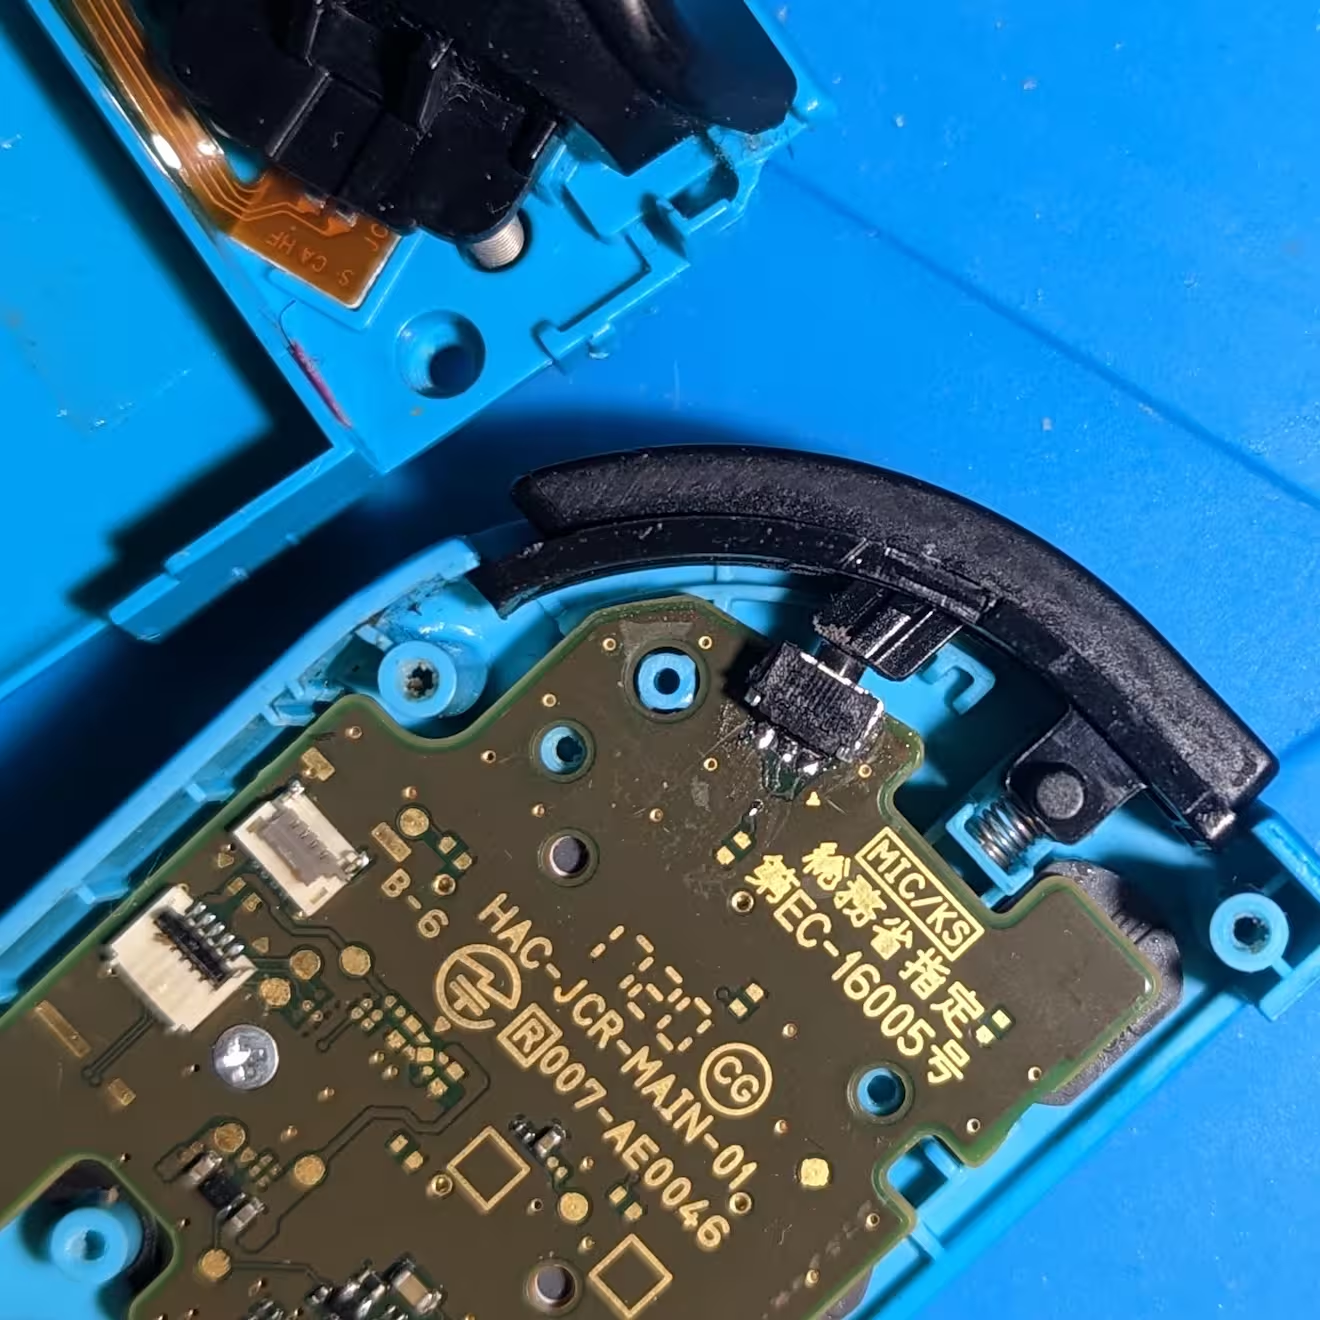
Another day, another joycon (actually, these are pretty satisfying because people tend to want these to work).
I was expecting another mashed in shoulder button, but instead when I opened this joycon, I found the shoulder button entirely missing. Goodness knows where it went (it wasn't inside the shell).
Replacing the button was straightforward, but annoyingly the placement was marginally off (by about 1.5mm) - which meant I needed to sand down the plastic of the trigger to allow for enough travel.
-
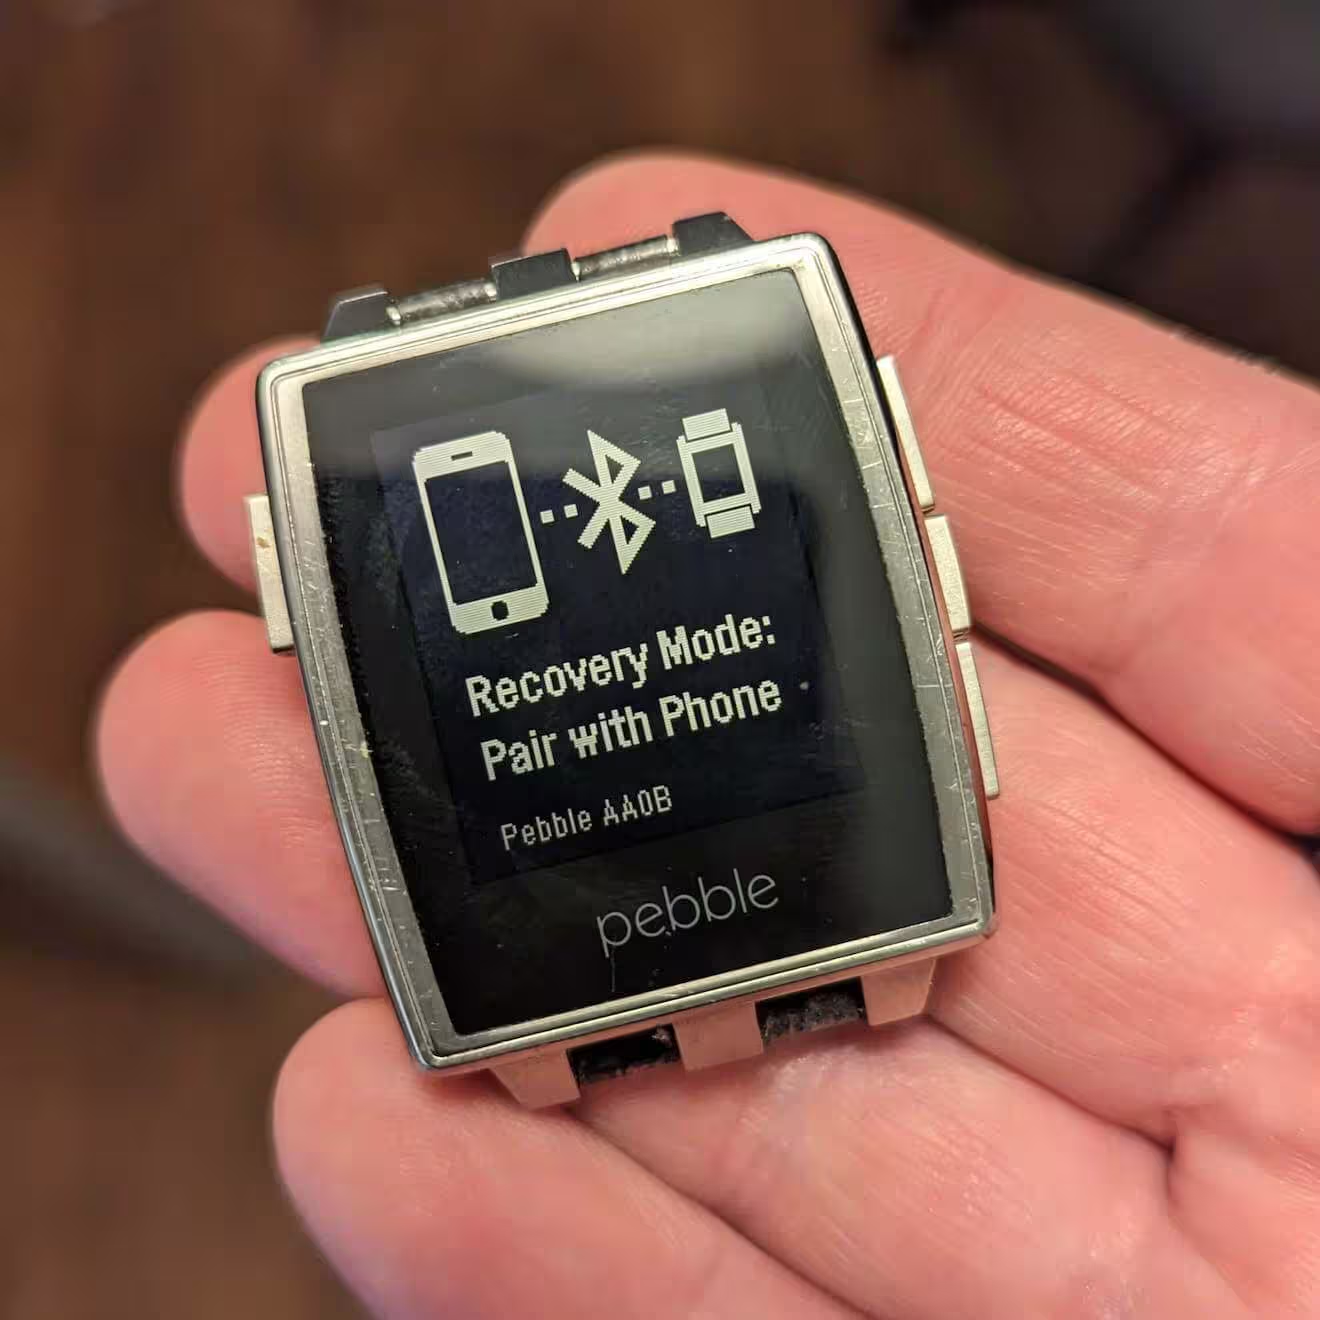
I bought a joblot of Pebble watches a while back (only to secure a Pebble Round to gift to my mum), but it also included a Pebble Steel. Though the watched happily charged and turned on, when I unplugged the charging port, the watch immediately died.
When I got around to opening the watch (using the same screw bit for the classic) the lipo battery inside had … popped, I guess. It was bad.
Thankfully I found a few replacements on Ebay (as the batteries are particularly small) and with some careful soldering (to some very small solder point) and squeezing of wires to fit into such a tiny space, the Pebble Steel lives again. That's 3 Pebbles I've revived in recent months - I've just got one Pebble Classic left to fix!
-
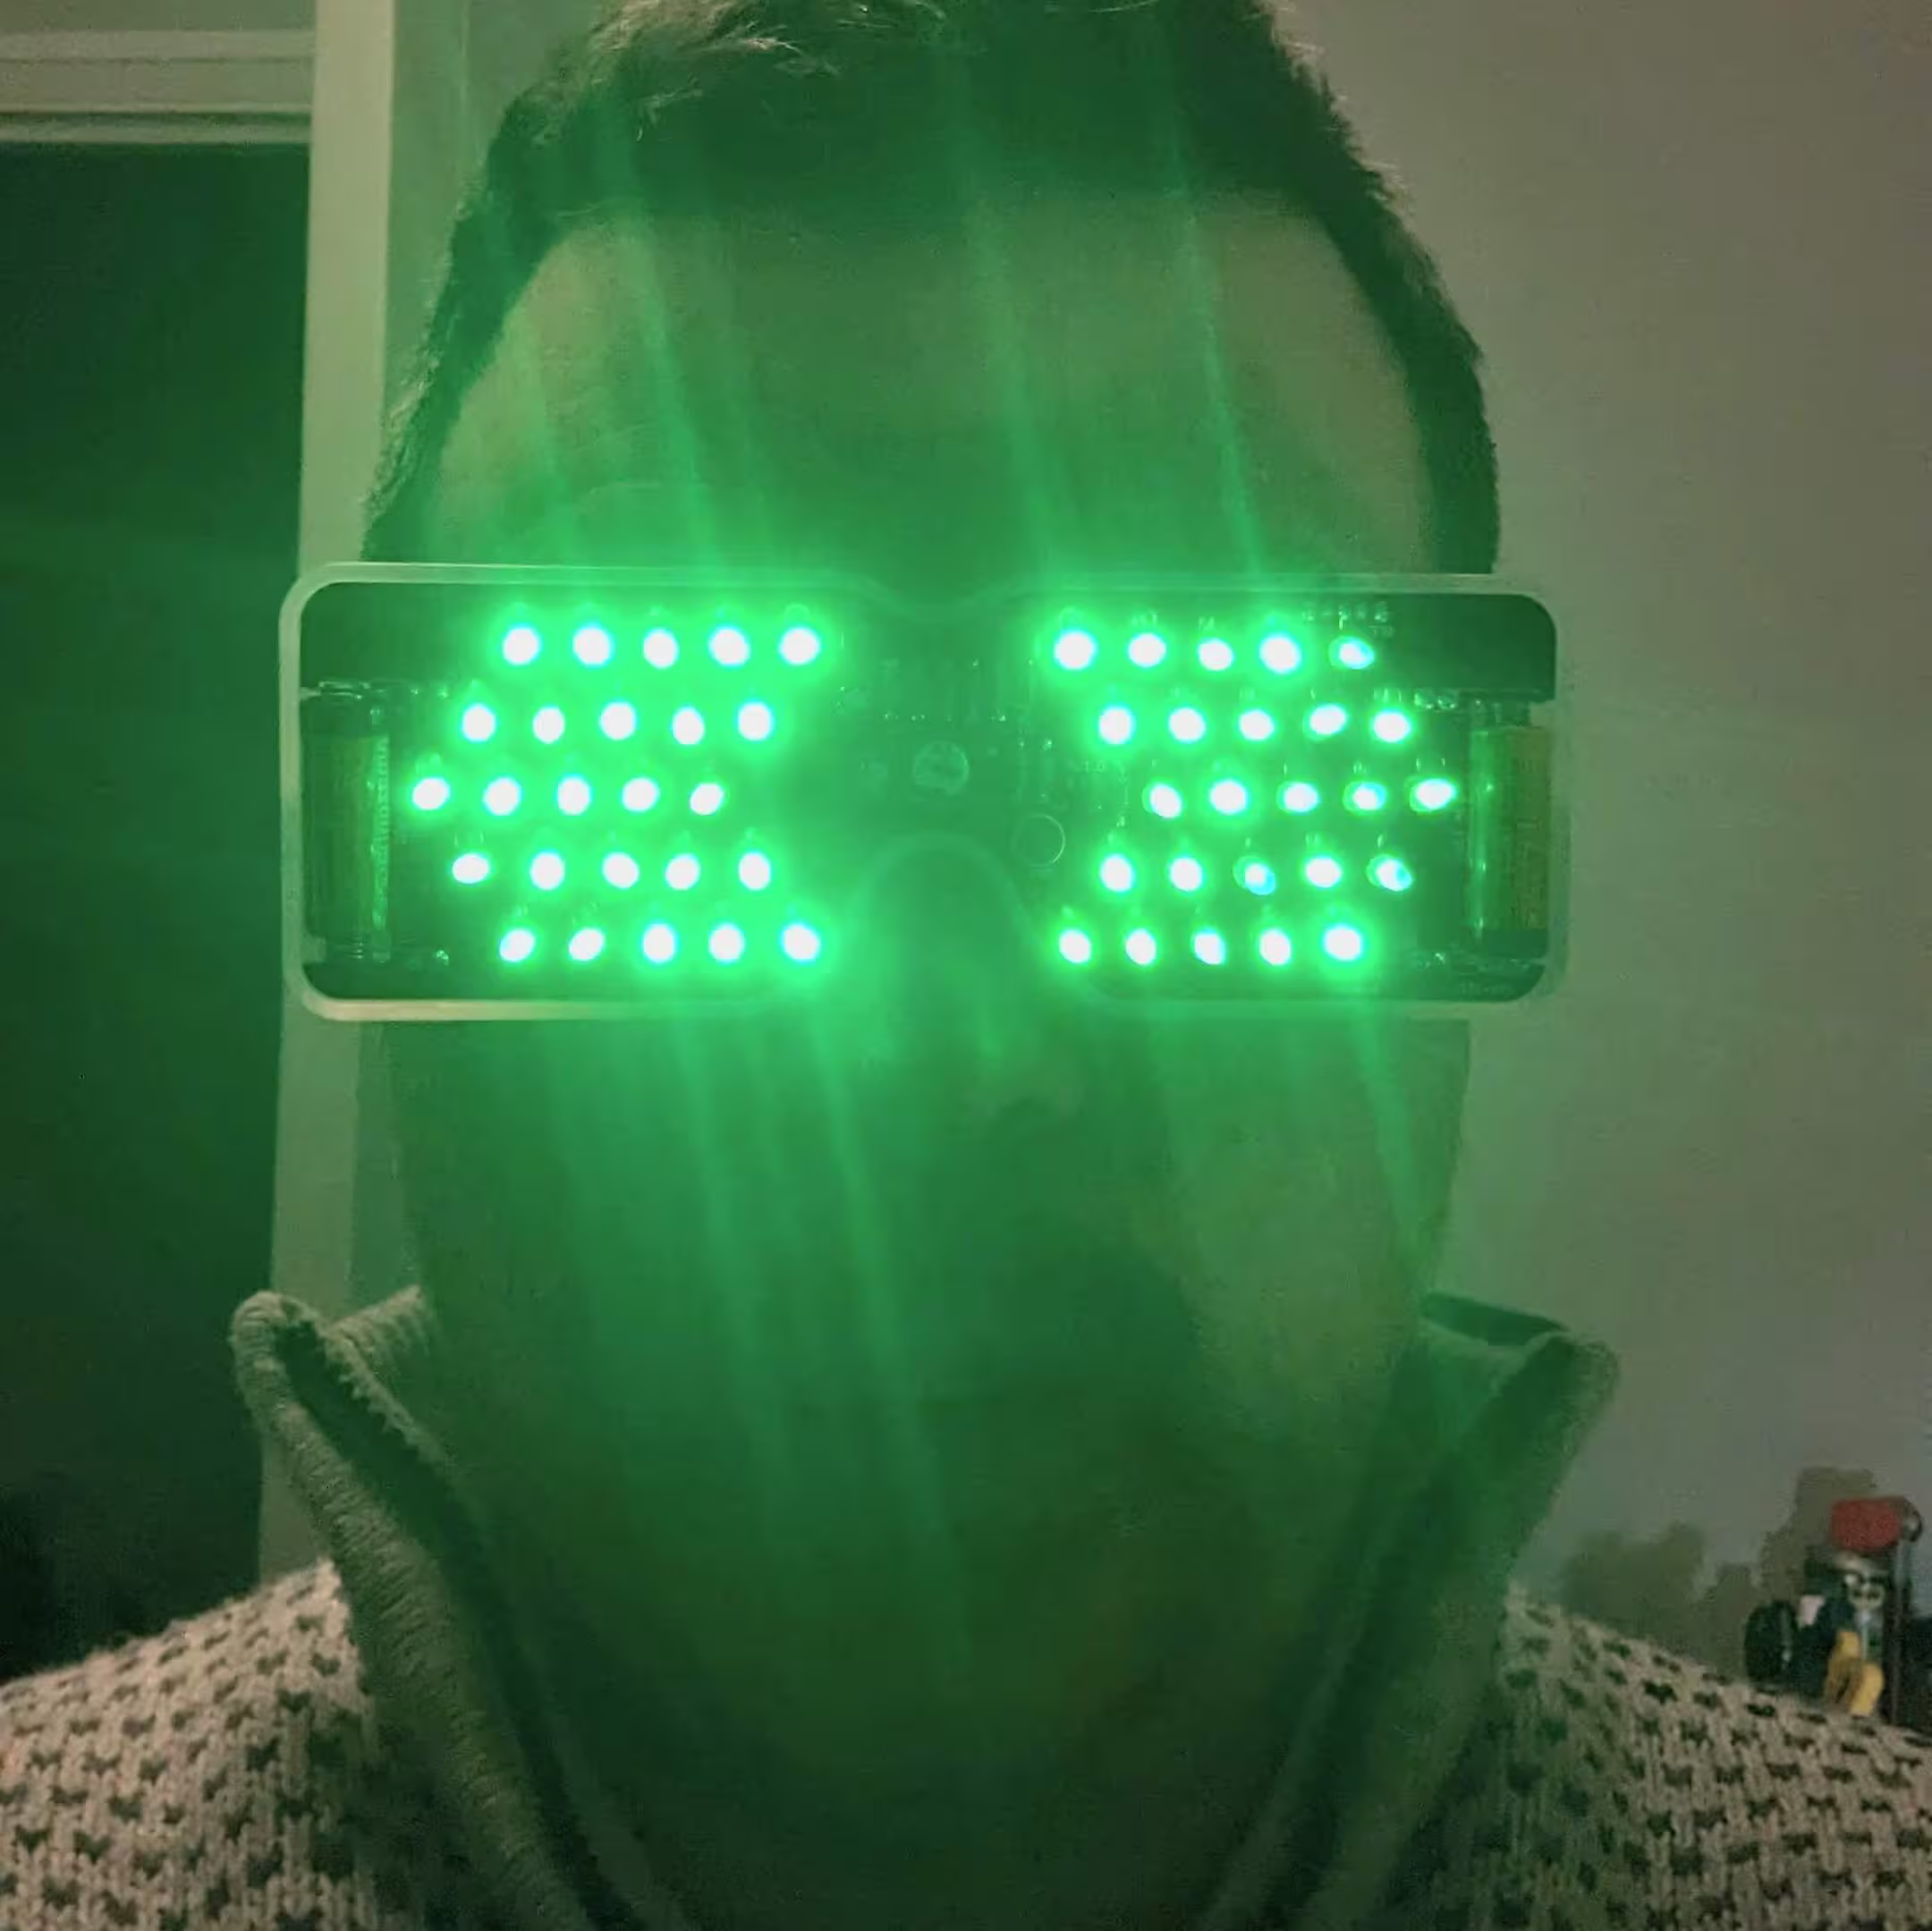
My son spotted that a column (albeit a zigzag) of LEDs wasn't lighting up on these funky pair of shades that react to sound.
As you might have seen on Christmas lights, if one LED goes out, the entire line goes out - which was the case here.
The test process to isolate the right LED was to put the multimeter into diode mode (or continuity mode also works) and put the positive lead to the positive leg and negative to the negative leg - which causes it to light up.
Working my way through the row of LEDs I found that one wasn't lighting up, I resoldered it (in the hope that it was just a bd connection rather than a duff LED) and hey-ho-what-do-you-know, it worked again 😎
-
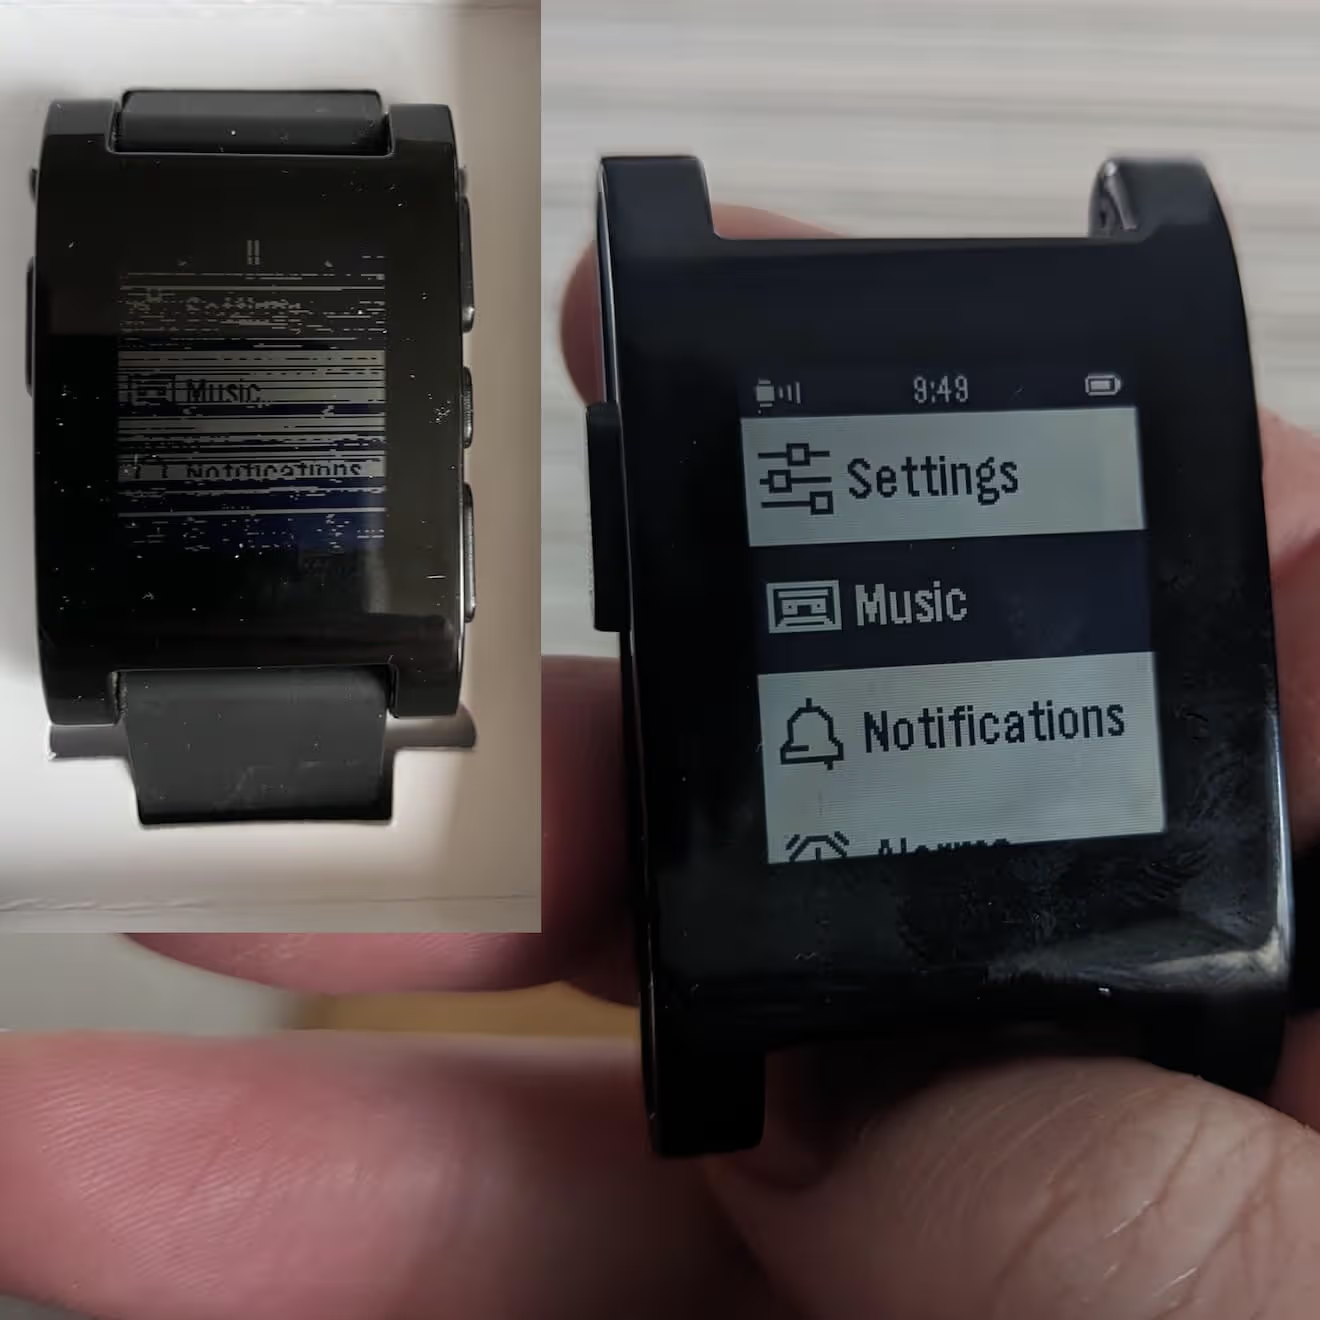
This Pebble started off with an intermittent fault that would gradually get worse - the screen would start to distort.
I had originally planned on removing the battery from this Pebble and transplanting to another Pebble Classic I had which couldn't hold charge, but on doing some digging came across a wonderful post (bless blogging!) that explained that this was a common problem and related to (probably) a loose (or not great) connection.
The solution: open the Pebble with a torx bit and insert a small slice of sponge behind the display and now it's running good and no screen garbage.
-
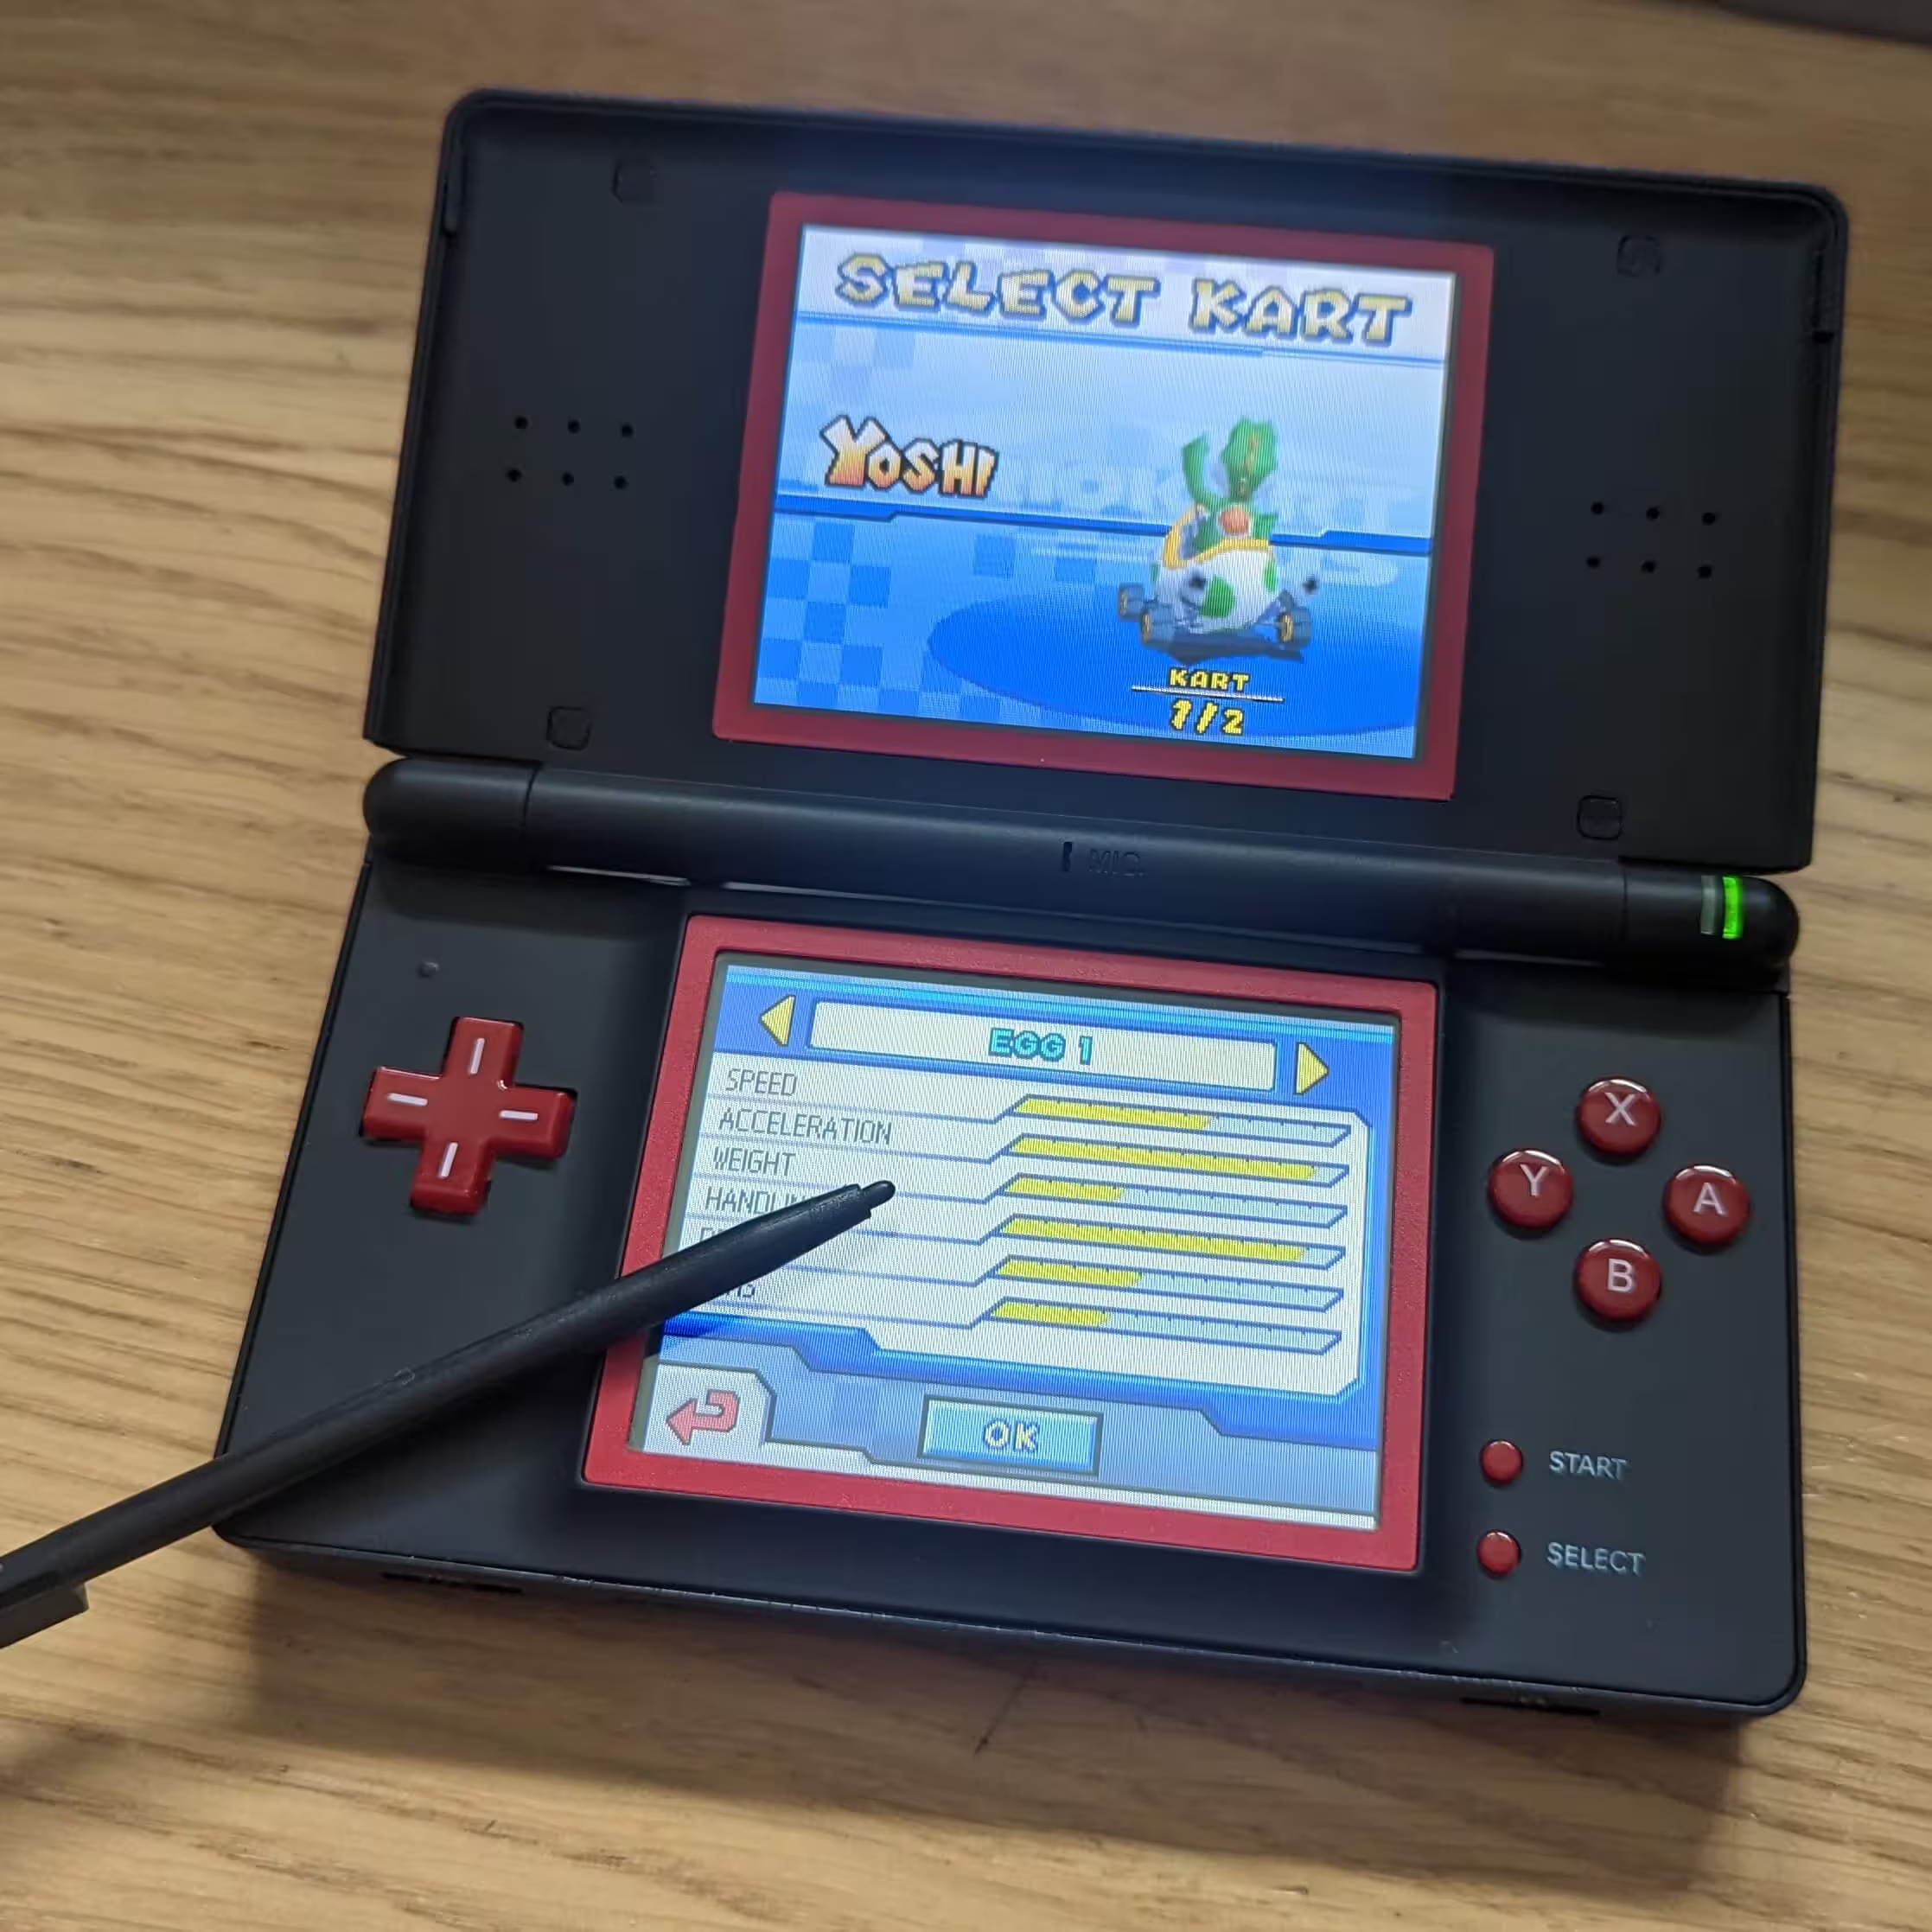
Picked up from Ebay for £12.50, the fault was "Console turns on but doesn't load ds games, and touch screen doesn't seem to work,".
Makes me a bit sad, but this fix was literally clean the DS cart port with IPA, and run a DS cart in and out. There was also some gunk inside the device, which again, just needed cleaning.
The touch screen, after testing, was fine too. Maybe it was the ribbon that needed re-seating, and I did completely take the DS Lite apart and re-shell it (originally it was red with a LOT of stickers) - I feel like the re-shell has a bit of a Star Wars dark side vibe!
-
Two joycons for the Switch and though the thumbstick worked fine, none of the buttons worked.
I had assumed it was a loose connection, but it turns out that the shoulder buttons - L and R - had been crushed (from heavy usage), which looked to have caused a short which knocked out all the buttons.
It was simple to test by removing the crushed buttons from the PCB and the rest of the buttons came back to life (during the test).
The right joycon is trickier because the shoulder button is directly soldered to the PCB and it being crushed meant that the pads had all been ripped, but I managed to expose the super tiny traces and solder to those. But in future, there's easier contact points to jump to.
Otherwise, now all the buttons work, and TIL: mash the shoulder buttons can equate to a totalled joycon!
-
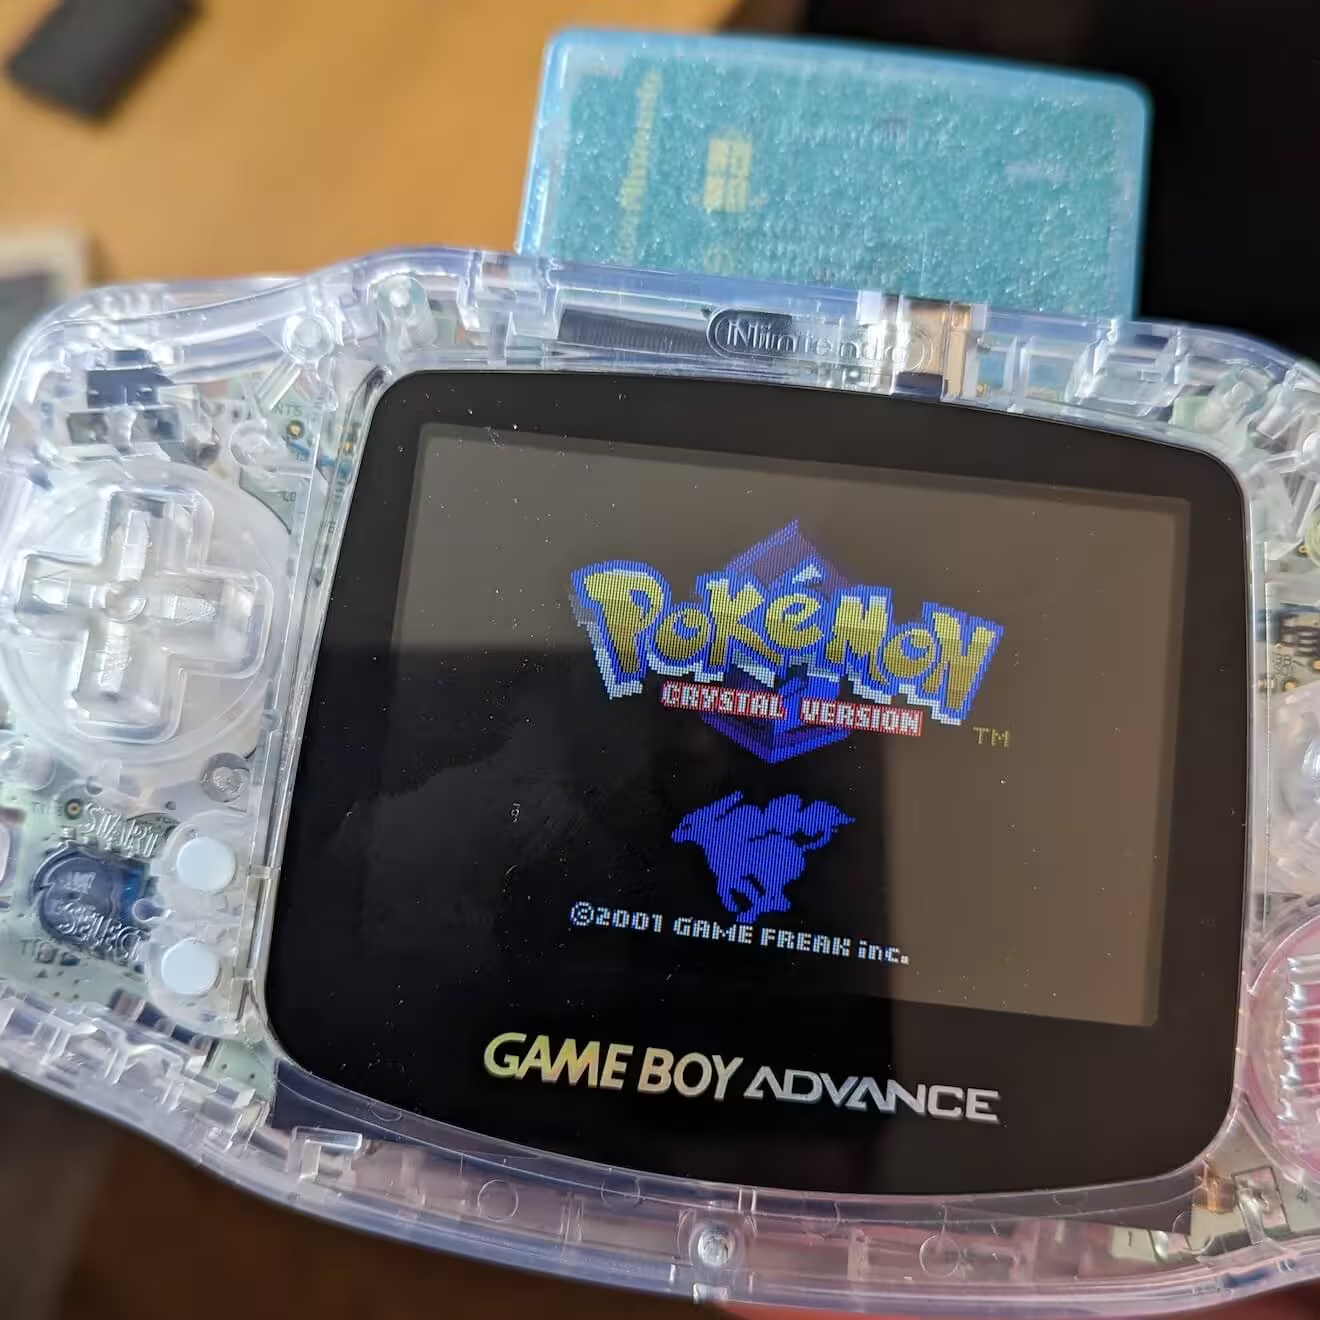
I have a little Etsy store for gameboy repair (though it's currently just carts at the moment), and I had a Pokémon Crystal come in. It didn't load at all and I found corrosion around the cart pins.
Carefully scratching away the solder had it loading up again, but the far right contact (the ground) had solder under the gold finger and I was worried it'll eventually fall away. Originally I wanted to swap all the parts to a new PCB, but that requires actually purchasing another Pokémon Crystal (which sell for around £20-30) - which didn't make sense.
Ultimately I cleaned as much as I could under the pad and then used solder mask to secure the gold finger down and now it's secure and safe for a good many years of usage. Returned to a very happy customer :)
-
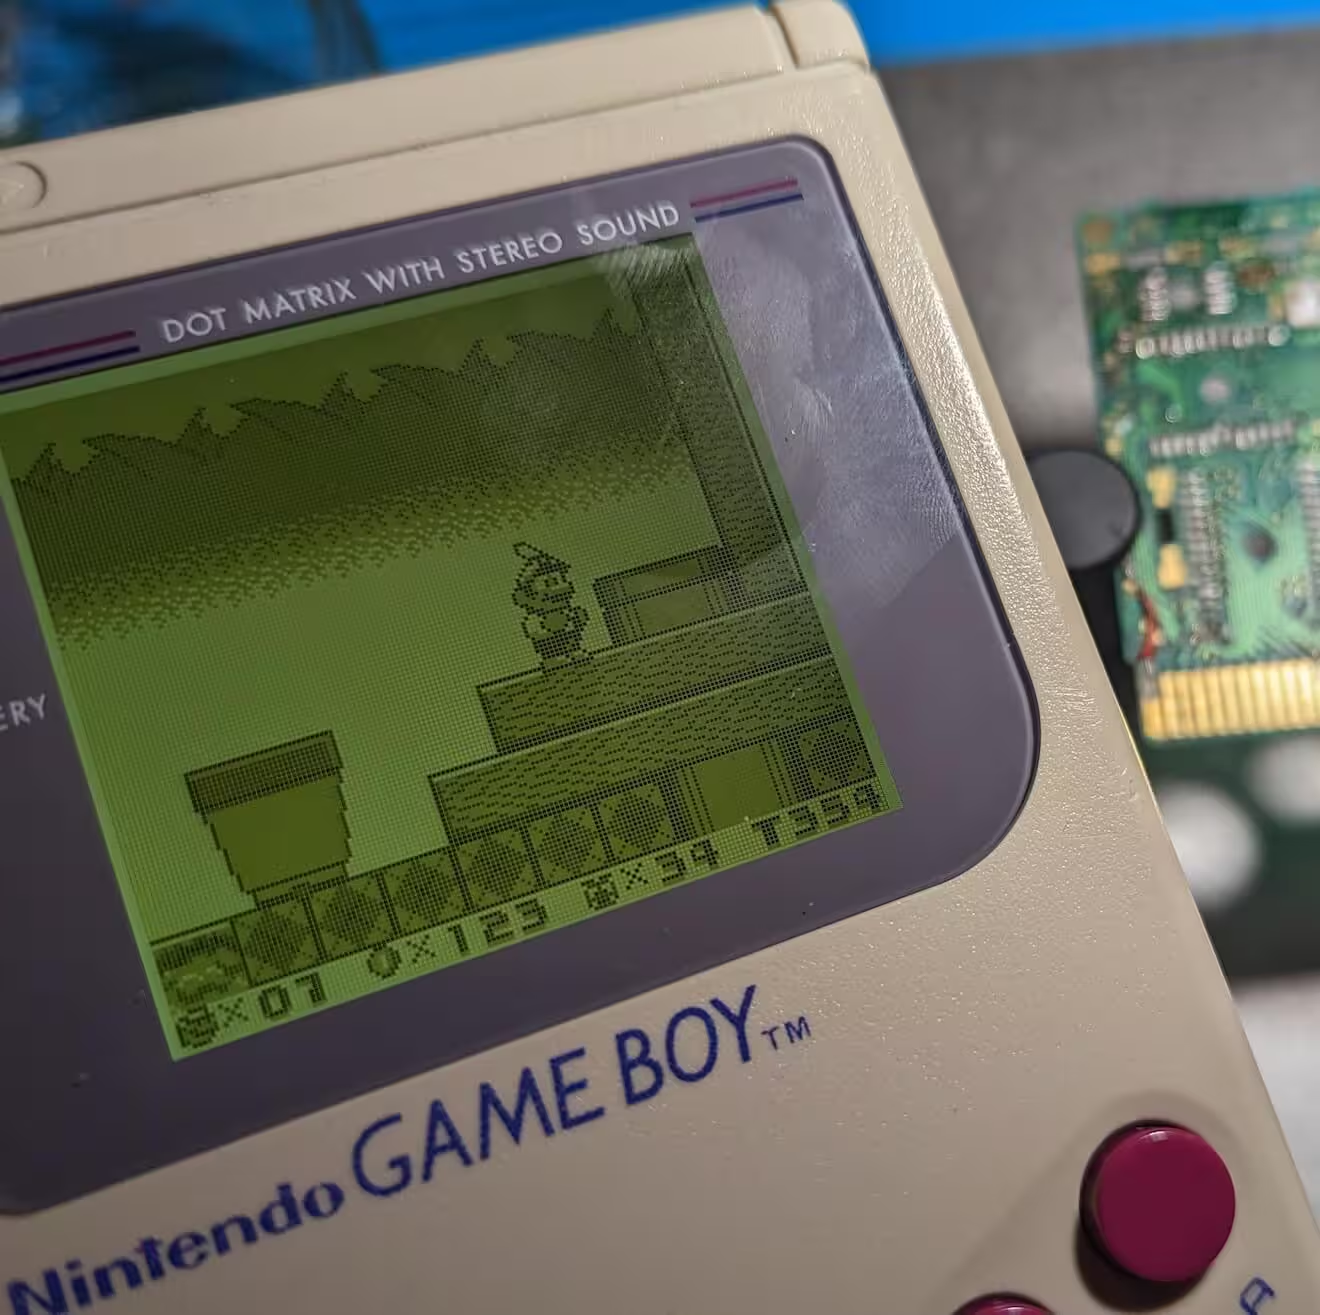
I had an old and very, very corroded copy of Super Mario 2: The Golden Rings for the Game Boy. I'd previously restored it but as one commenter suggested, the corrosion will continue to eat away. So the other night, using hot air and a lot of flux, I transferred all the parts to a new PCB and Mario is right as rain again.
-
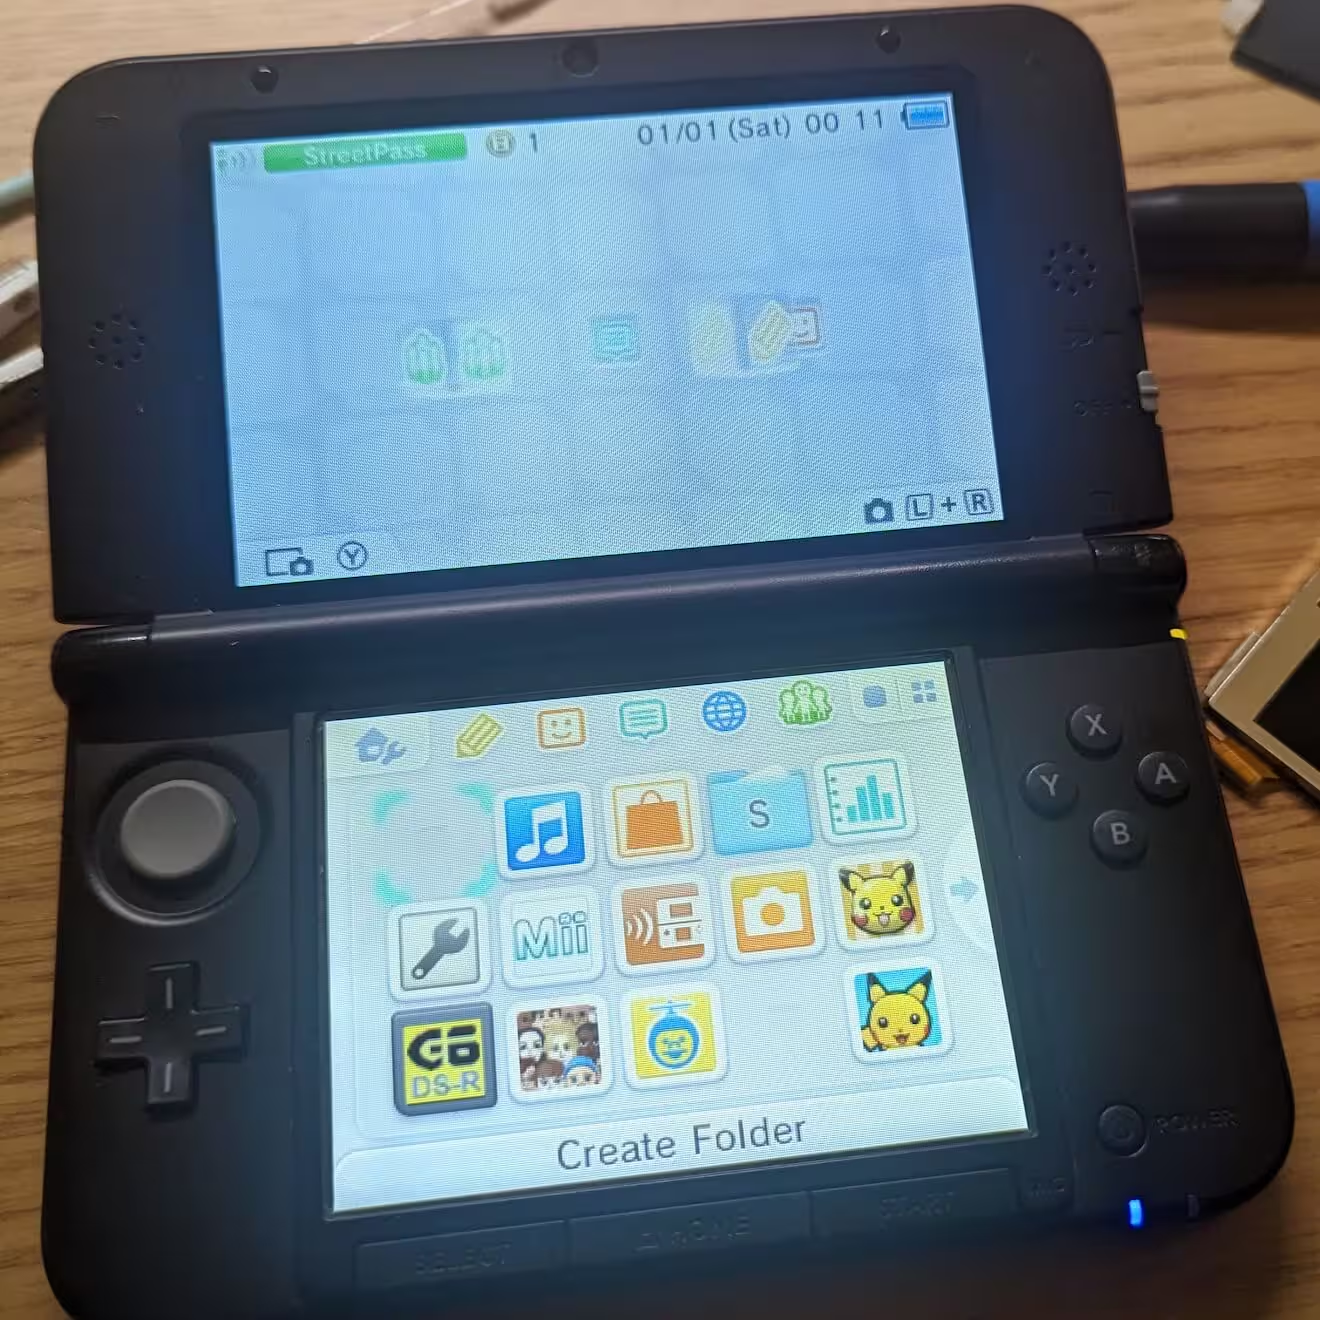
As part of a joblot, and because I wanted to play Metroid: Return of Samus, I got hold of this 3DS with multiple faults.
Firstly, it wouldn't always power up (it would flick on power then go off), and when it did the bottom screen was severely corrupted.
The bottom screen required a new display, and the power not working is a common problem with the Nintendo DS range. Specifically if the top display isn't connected properly - or if the ribbon cable is pinched from the hinge (a common fault), then during boot up tests the device will power down.
Luckily for me, I was simply able to reseat the ribbon connector and then swap out the bottom display and it was right as rain in 30 minutes flat!
-
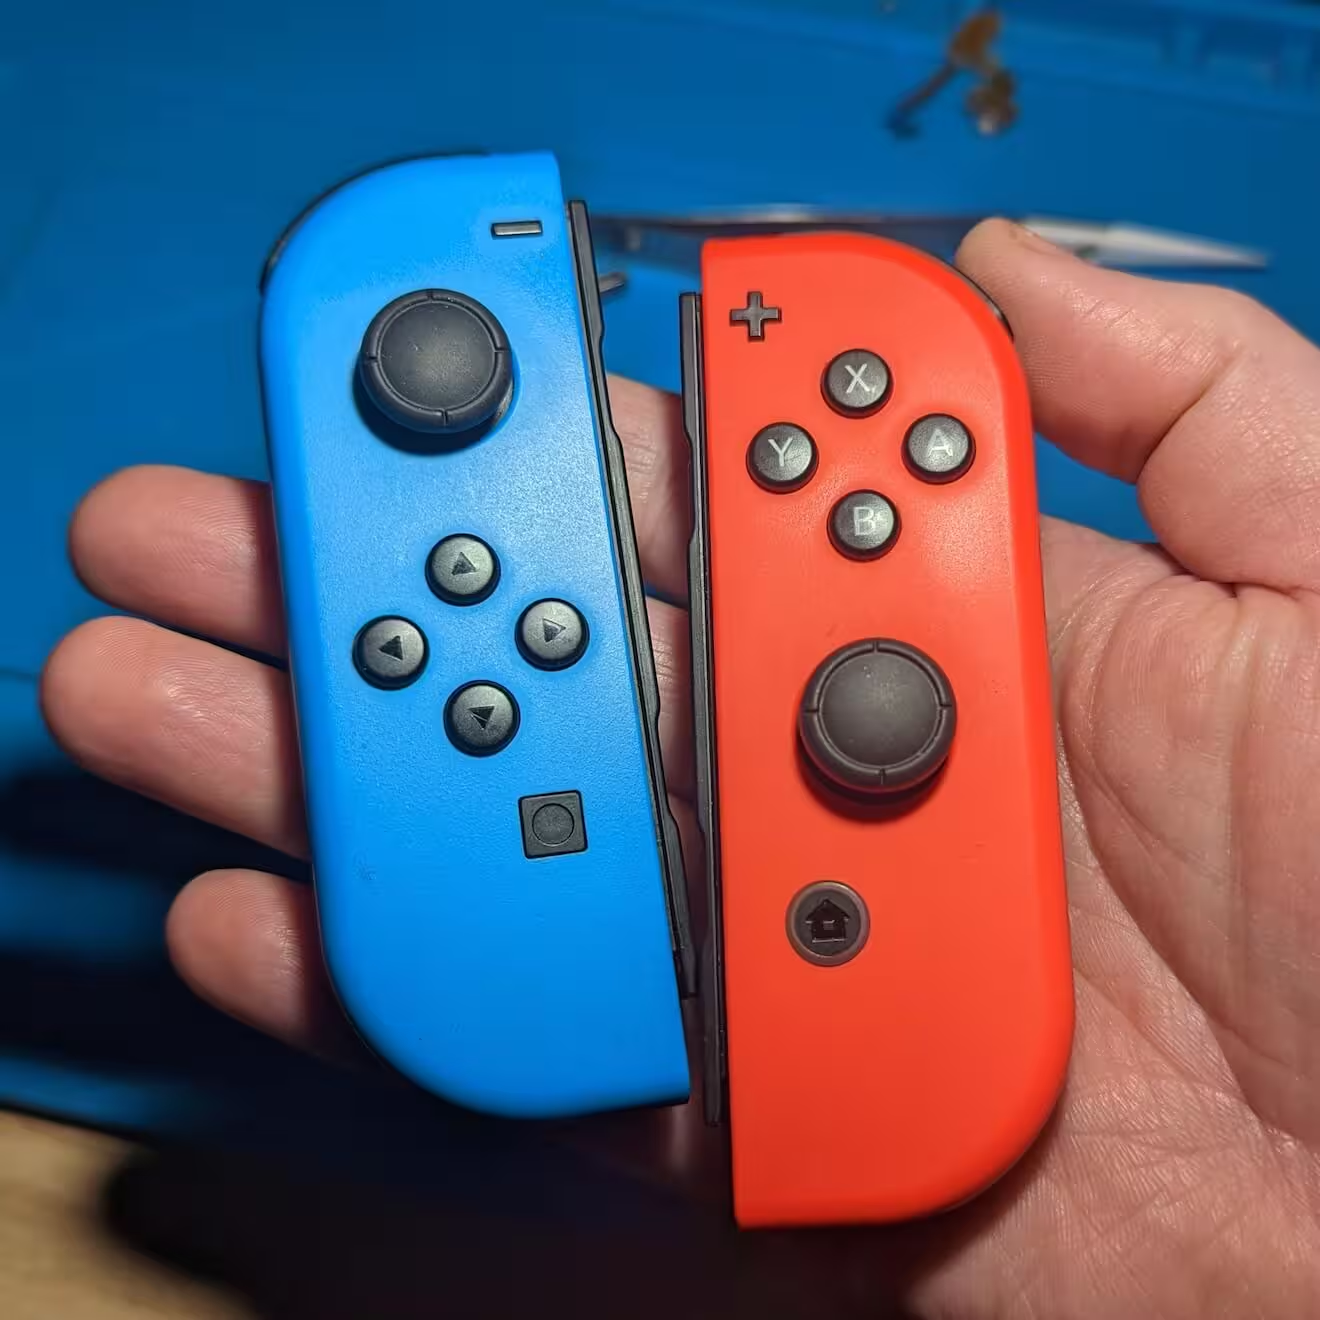
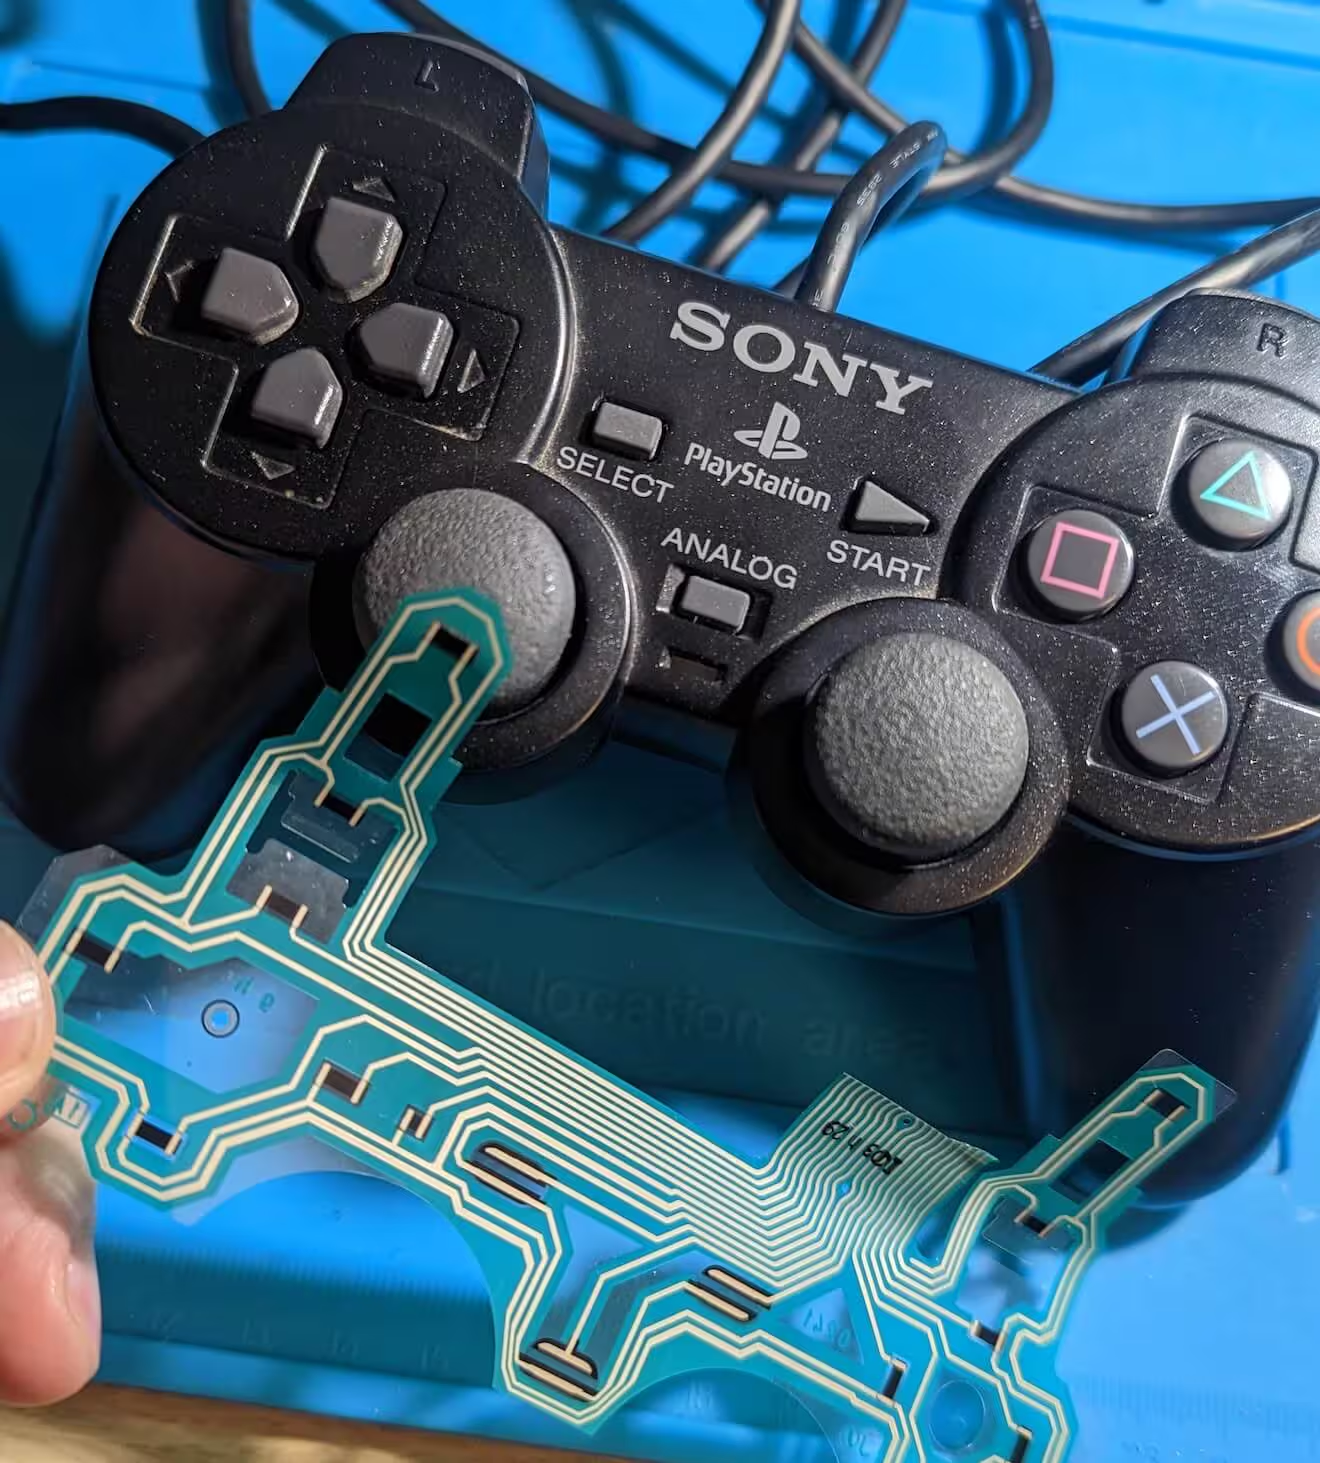
Bought faulty - only the thumb sticks and start/select worked. I figured there was a broken trace in there somewhere and something that would be simple to fix.
Or perhaps a build up of carbon on the silicon pads that "just" needed cleaning.
It turns out that these controllers, instead of bridging the pad when the buttons are pressed, use a resistor (the dark rectangles) that when pressed, the resistance increases (or decreases…though I'm fairly sure increases) and that is measured.
The problem is that over time, as they're pressed more and more, the resistance naturally builds up as the resistor fails under the physical pressure and eventually it can't tell when the button is depressed.
The only solution is to buy an entirely new membrane (seen in the photo). But now it works!
-
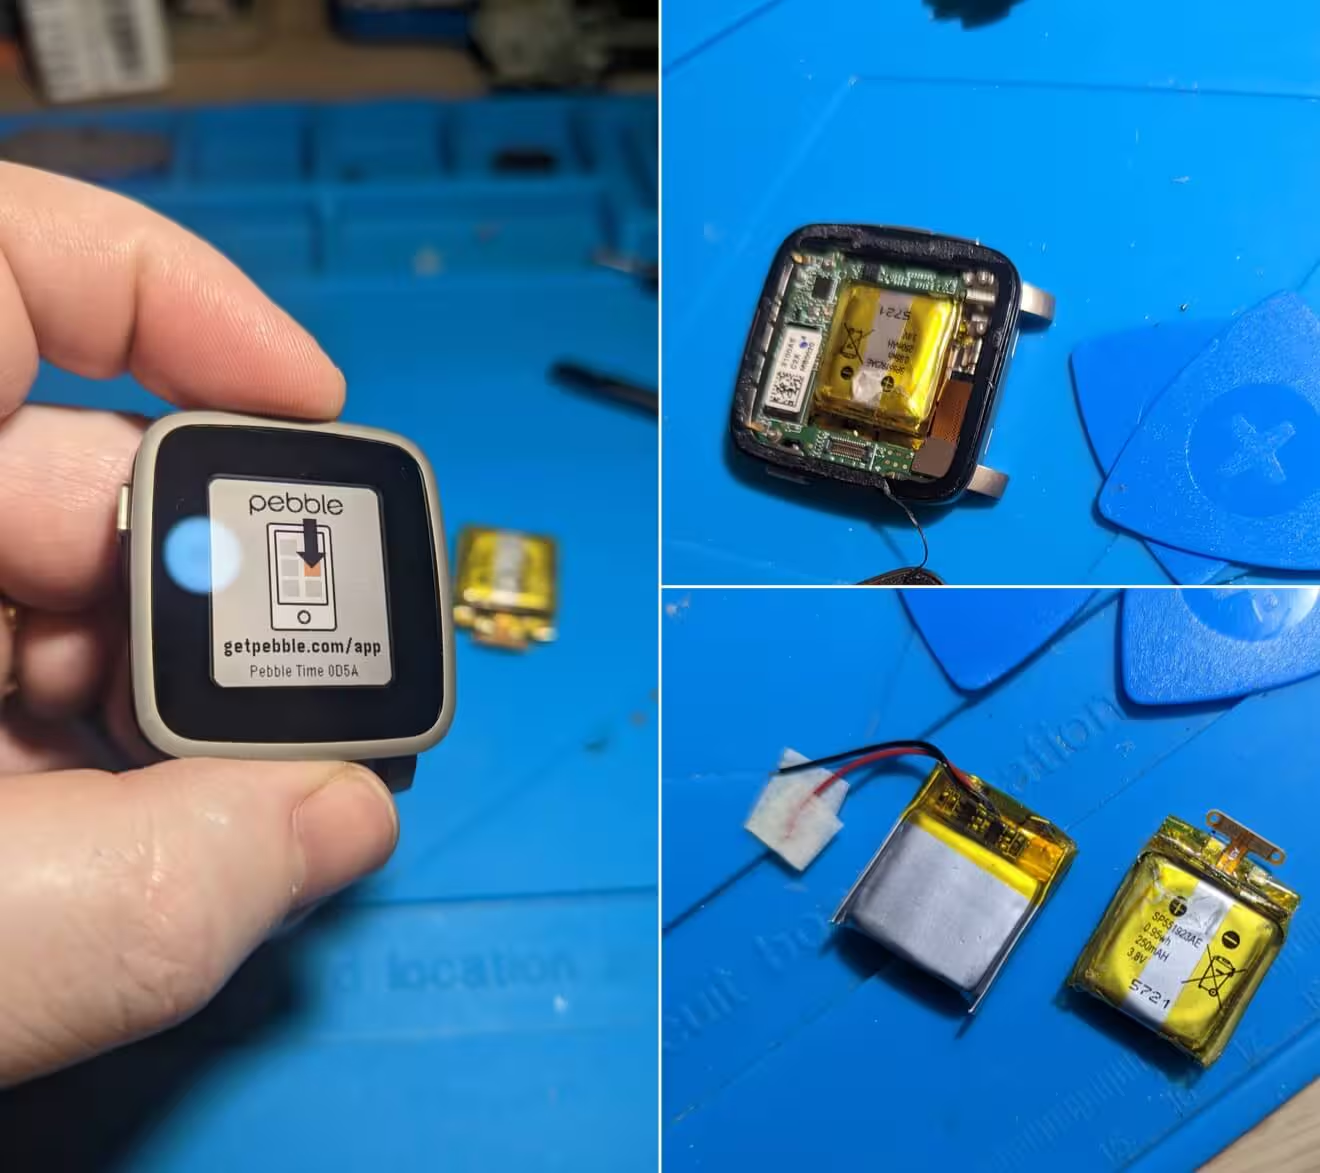
I was kindly sent a Pebble Time Steel as a possible replacement for my own Pebble Time watch - and though it was in great condition and it powered on when charging, as soon as the power was disconnected, the watch powered off.
I hunted down the right replacement lipo battery, the SP551923AE thankfully available on AliExpress. Heated the watch to melt the glue, opened and careful soldered the replacement battery onto the Pebble PCB (because I didn't want to remove the original battery connector and add it the new lipo battery - it seemed like a risky job).
A tiny job, but a very nice result.
-
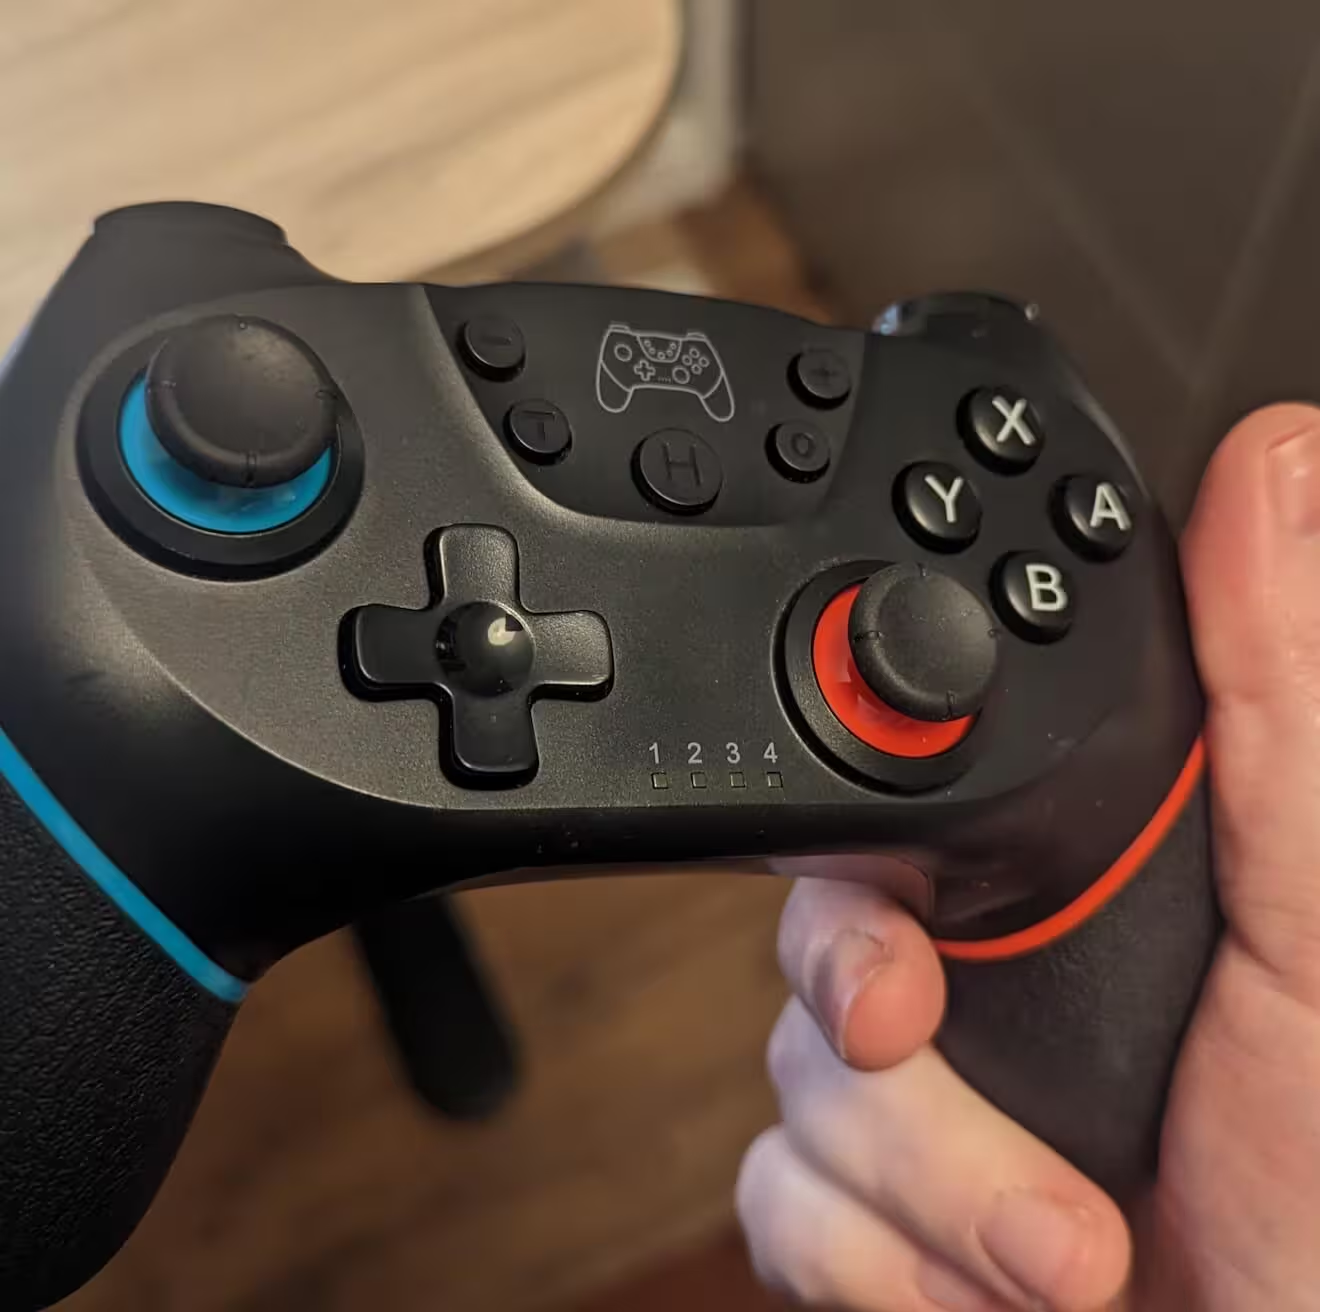
My son has been telling his friends that I can fix things, so I'm starting to see more gaming bits arrive via them! This joypad wasn't registering movement properly in both thumbsticks.
I thought it might need replacement thumbsticks (actually bought some but they didn't fit) but it was actually a damn good cleaning with IPA that it needed.
IPA FTW.
-
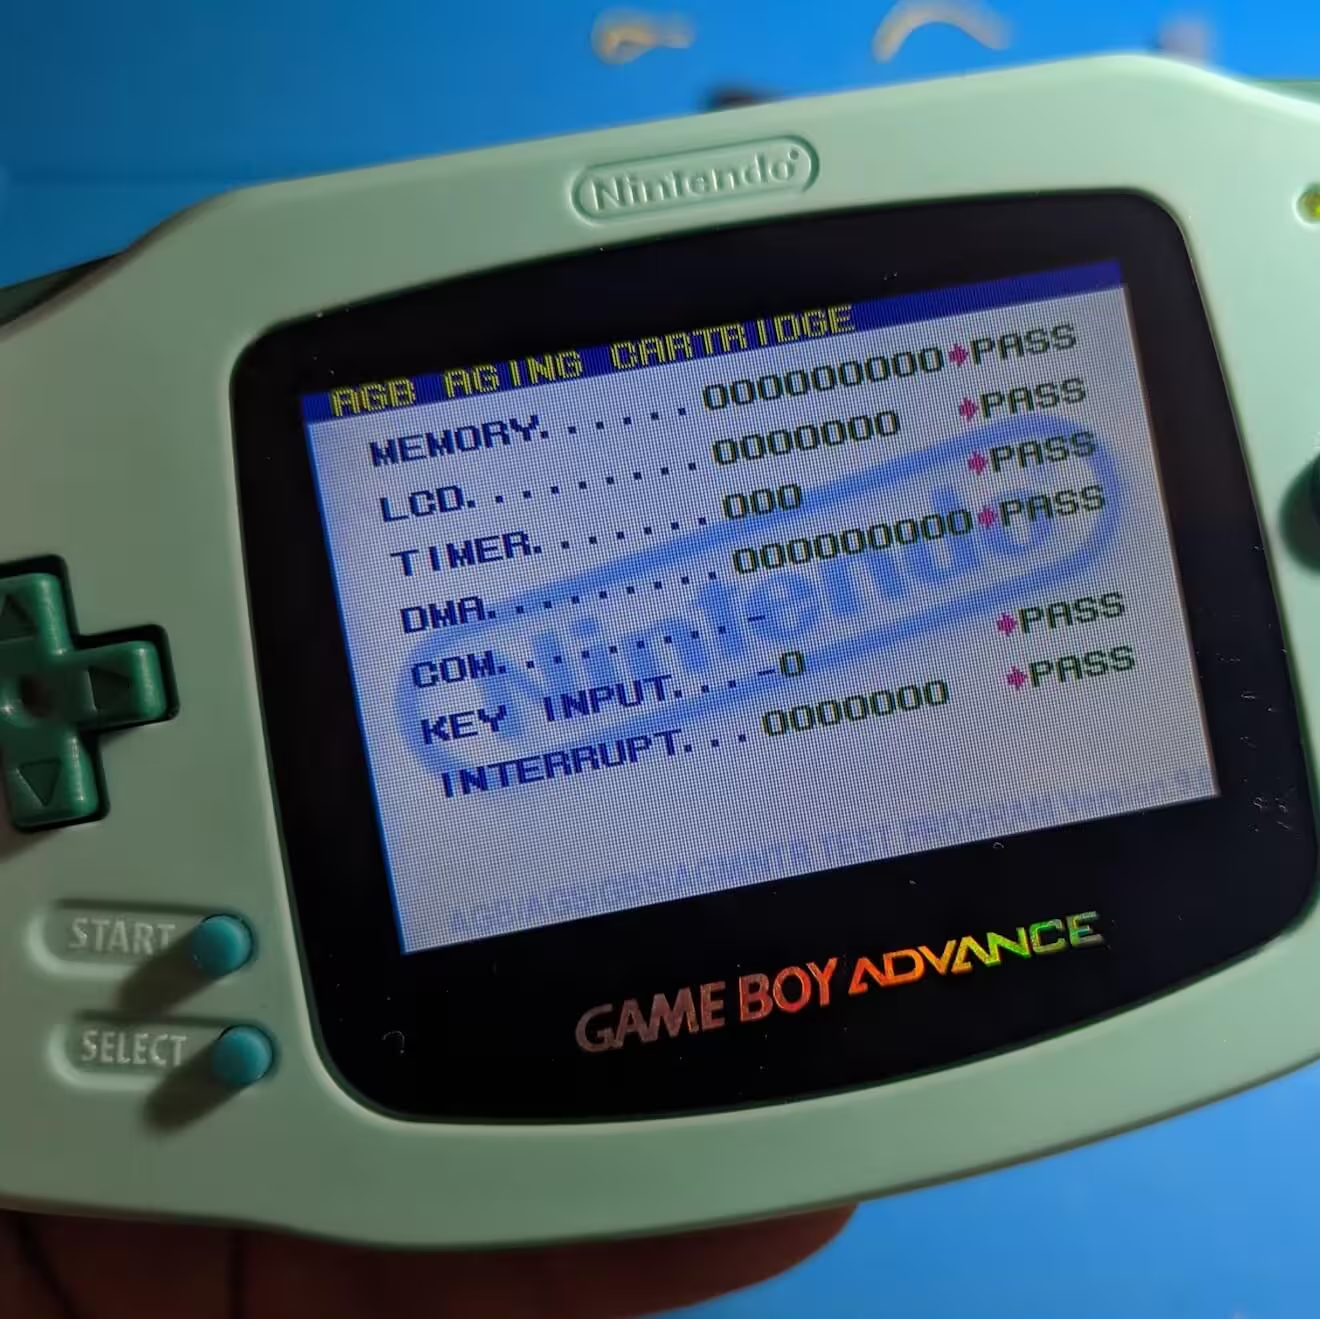
Game Boy Advanced wouldn't turn on
The usual story, it wouldn't turn on. The first place I start with GBAs, in particular, is the power switch. If it's dirty it can prevent the device from starting or it can affect the "quality" of power, i.e. the power LED flashes from green to red.
Although the board itself looked in good condition, once I lifted the whole thing out, it turned out a transformer (better known as T1) had cracked open and the coil of wires were all over the place. I replaced that and power returned.
The original GBA had a funny story attached, it was in an original pink shell and the (I assume) kid that owned it wanted something "cooler" (again, assume, but indulge me), so they used a black marker pen all over it.
However, this board was destined for the teal(ish) shell and available to buy.
-
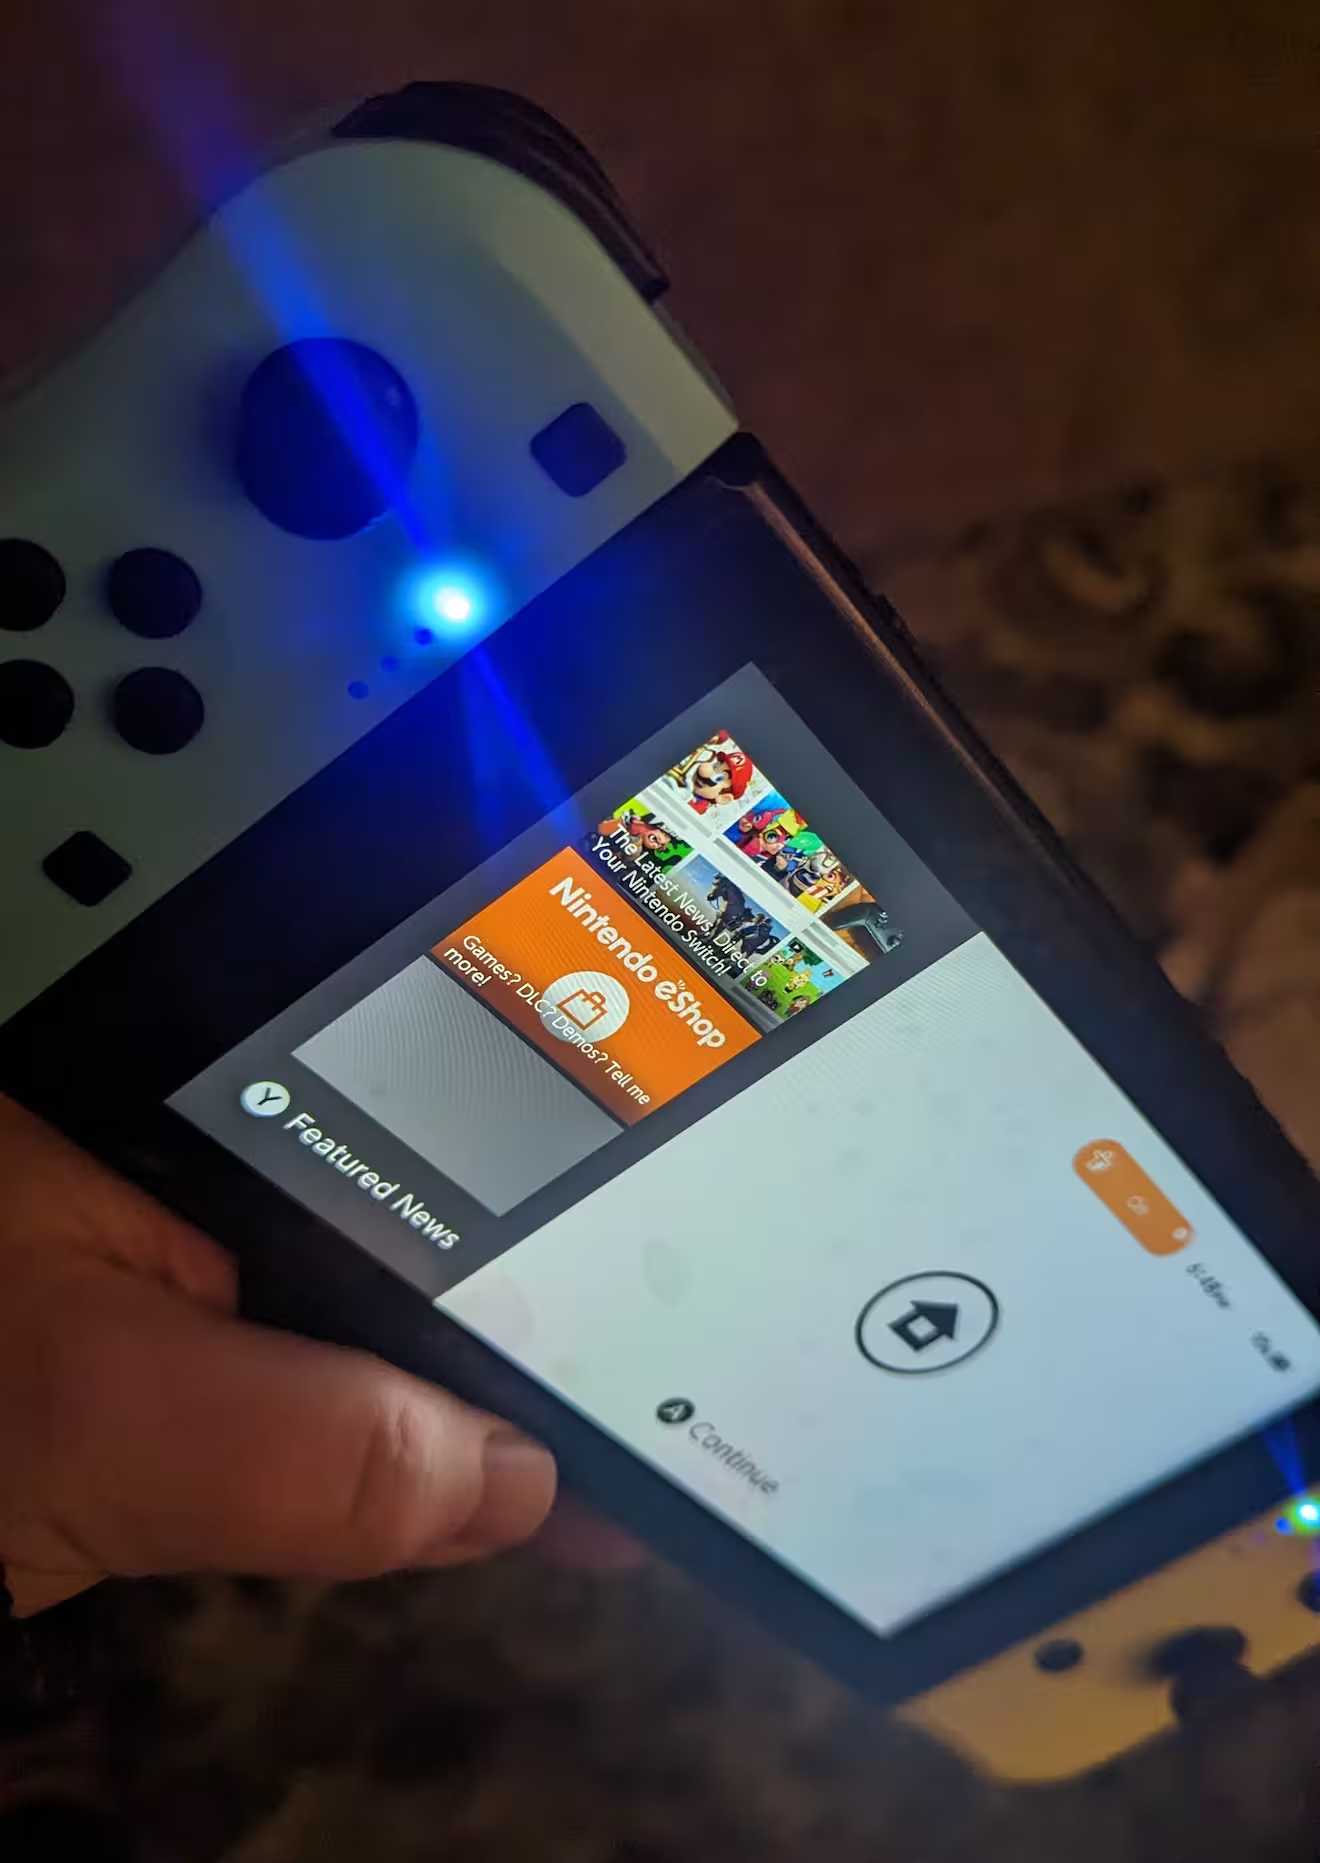
Nintendo Switch - won't turn on
Upon testing this, indeed it didn't turn on. I was ready to pull it apart and start probing the circuit, when my son started "playing" with it, and somehow it came on. Turned out it was just the power button that was faulty.
On further testing though, there were more faults due to corrosion (which had also eaten the power ribbon cable): the digitiser (the touch screen) was missing a column of input (where there was a big dent in the display) and the USB-C port had corrosion but also broken pins inside.
I replaced the digitiser, the power ribbon cable and (after many hours struggling with solder in tiny holes) replaced the USB-C port. All good again.
-
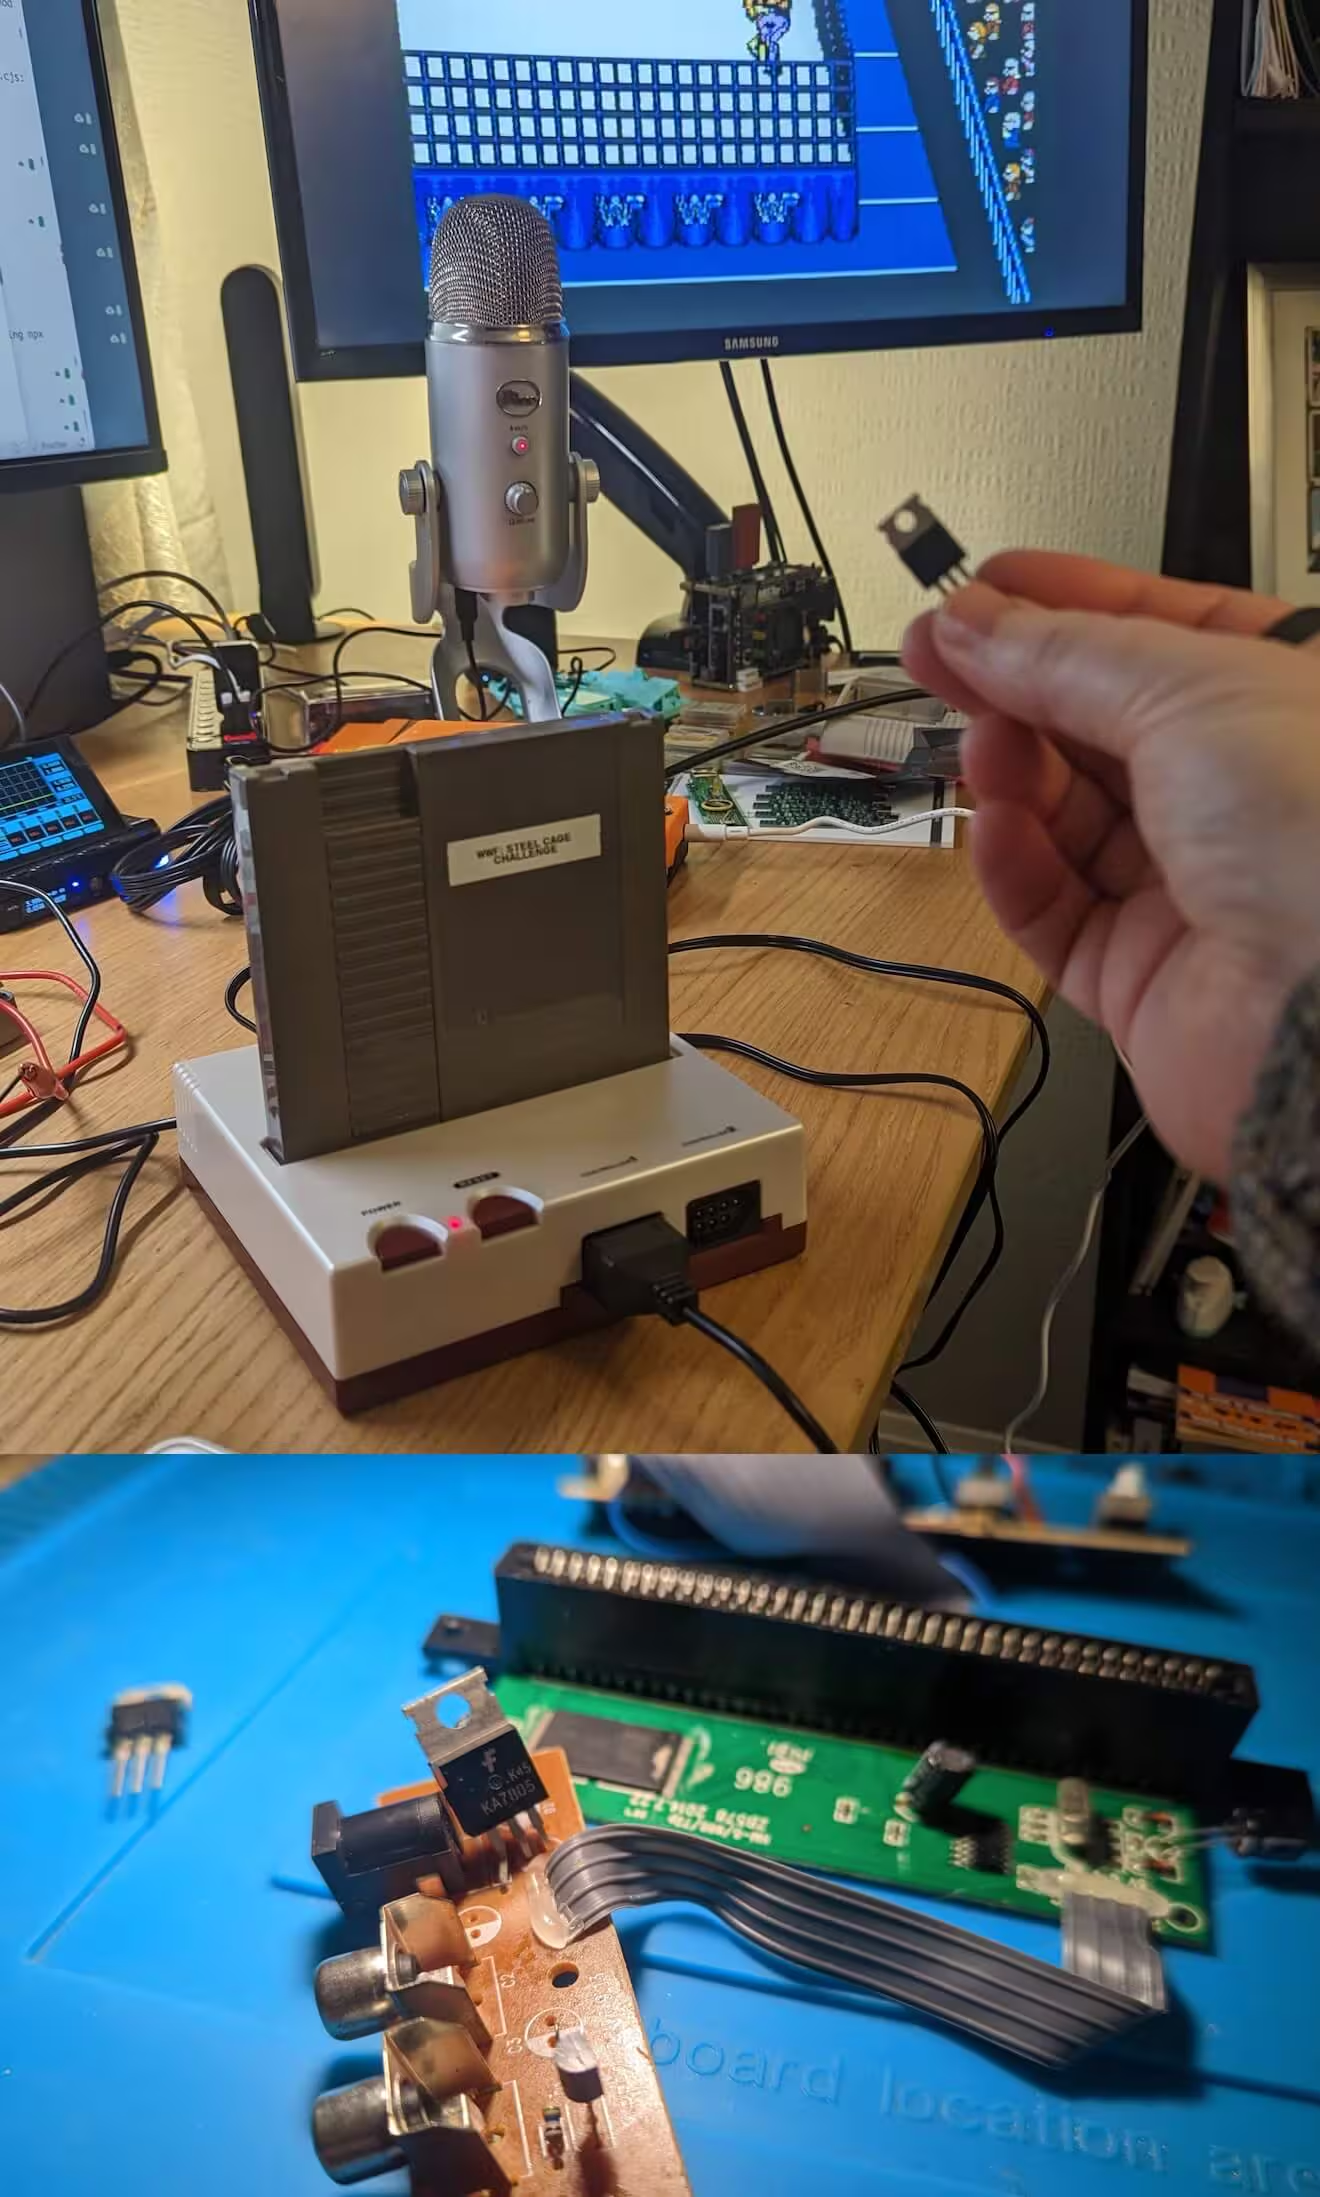
Random eBay purchase: wouldn't turn on and the power adapter wasn't included. It's old enough that the power supply was a barrel jack with negative centre (these days it's positive centre).
Once I opened it, inside was questionable quality soldering and actual hot glue hold it together. Quickly tracing the power supply led me to the MOSFET looking thing - actually the voltage regulator 7805.
Replaced the voltage regulator and we're all good again. Yay.
-
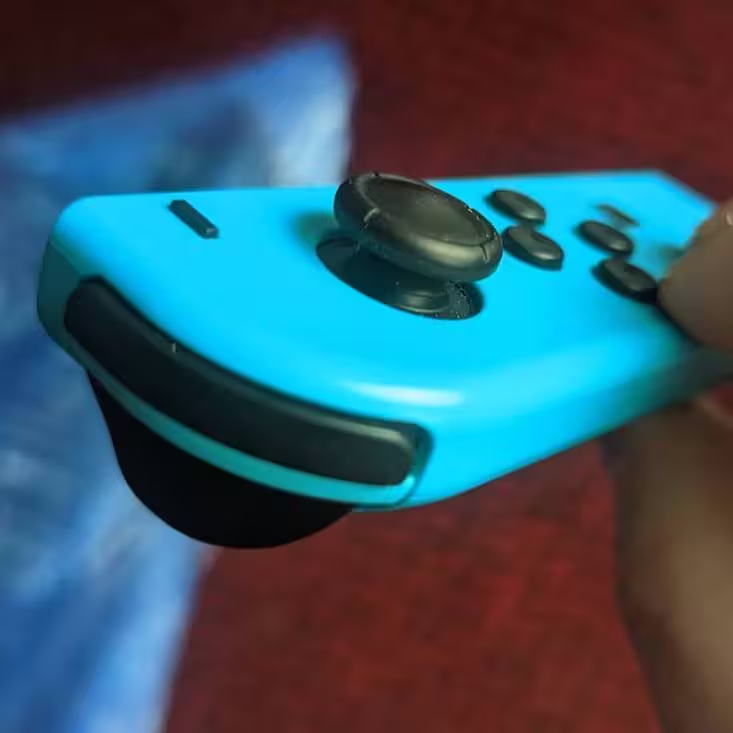
Shoulder button on joycon not working
I thought this might be dirt, but once I took the joycon apart and lifted out the ribbon cable for the shoulder button and then desoldered the push button, I could see the pads had lifted (and vanished).
Then the ribbon just split entirely (with no pressure). I think perhaps it was damaged when it was closed up at the factory and just waiting to completely fail.
I did try to expose the trace on the flex PCB but it was so fragile that the trace itself quickly vanished. So I ordered a replacement (£3.50, I think I overpaid) and installed during lunch.
-
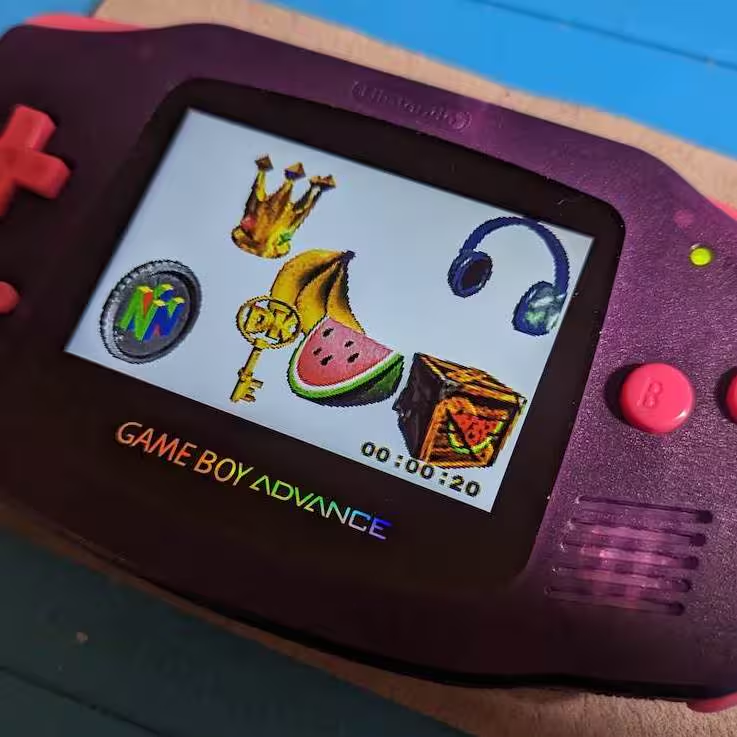
I'd originally sold this on eBay but after some exchanges with the buyer, it was returned.
Seeing it first hand, with the new IPS display and flashy images, the power LED would start to flash between red and green even with fresh batteries. This is a sign that the power supply is "dirty". Literally. So I removed the switch, completely opened it, cleaned with IPA and it's working again.
-
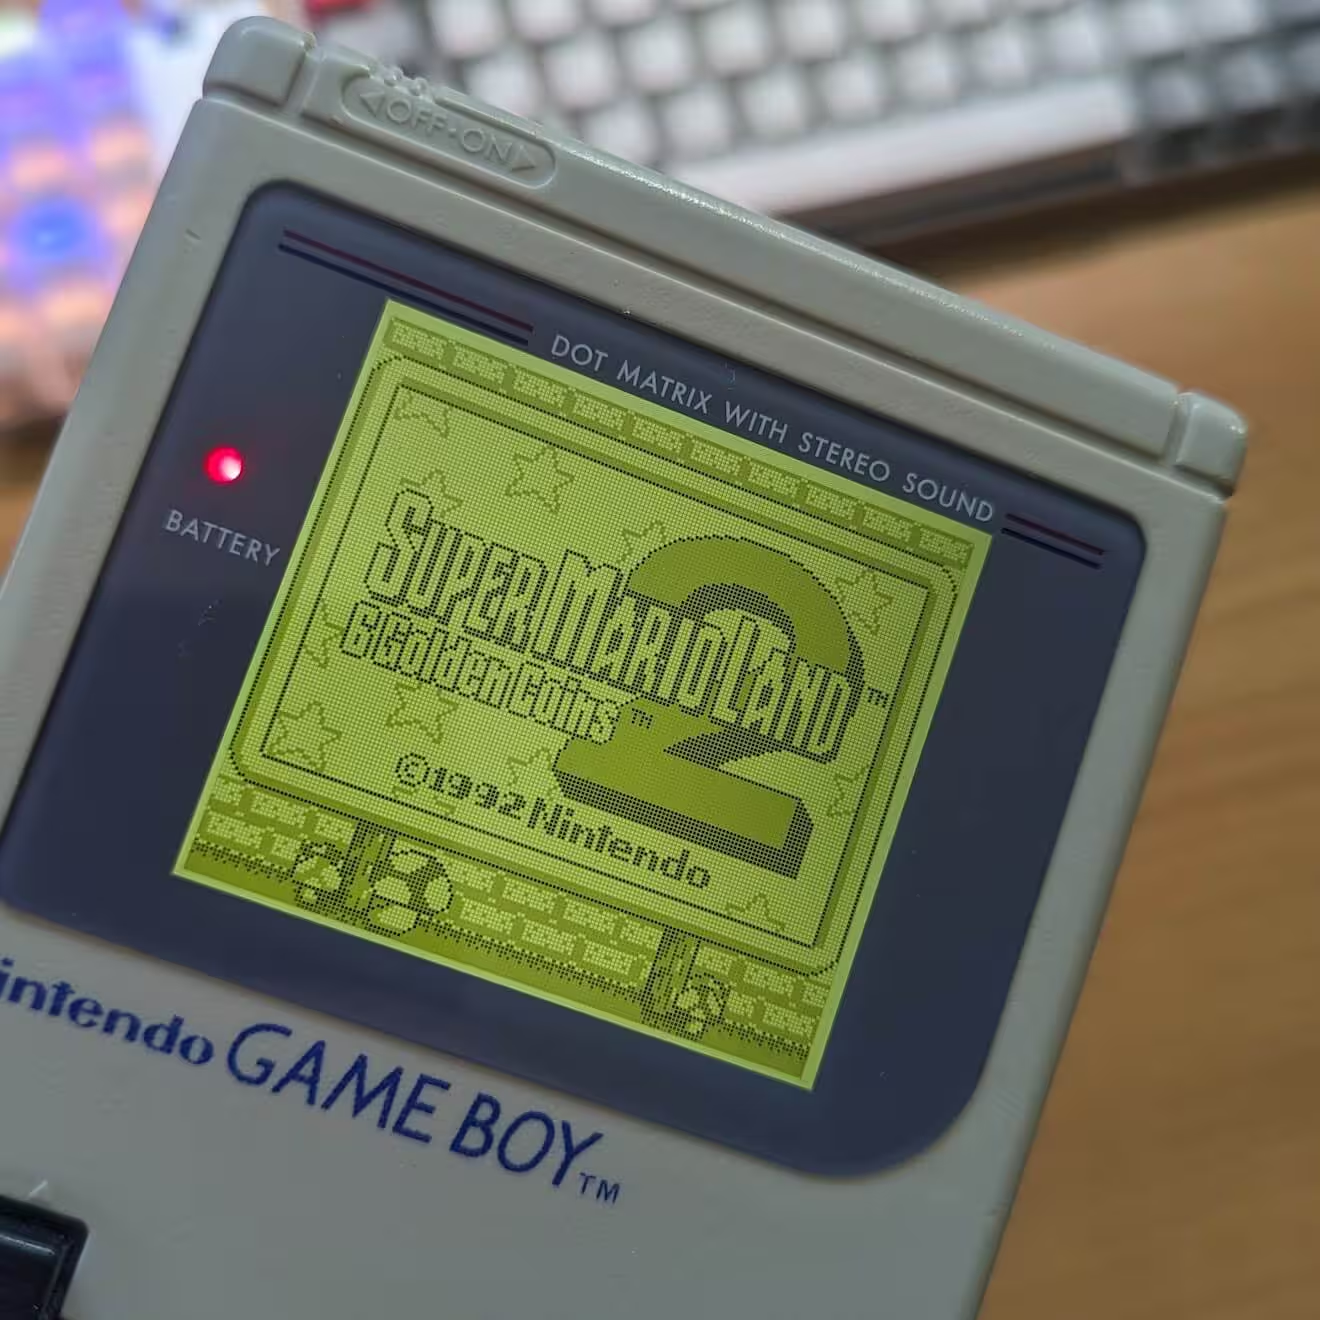
Super Mario Land 2 for Cole, didn't load. Corrosion on the contacts of the cart pins. I carefully scratched it off, cleaned and then replaced the battery (after the first one exploded on me). All better.
-
Didn't turn on. Corrosion on the battery terminals and the internal wires had broken away from the board. Warm white vinegar cleaned the corrosion off the terminals and some fresh solder for the wires and it works again!