In the last week I bought myself a small computer called a neptUNO that has an FPGA (aka - to me - replicate retro computing hardware - see more here).
The ports on the machine are suitably old and include: VGA out, DB9 for joysticks/joypads and two PS/2 ports for keyboard and mouse. The device does actually have a USB port, but thus far I can't find anything that works with it. So I bought myself a cheap PS/2 keyboard so I control the menu (selecting cores and ROMs) and of course the damn keyboard wouldn't work (turns out the cores needed pull resistors on the PS/2 inputs).
I had a choice: I could ether solder two 5-10K resistors to the newly purchased neptUNO (my soldering skills aren't great and could easily end up melting something I shouldn't)… or I could build myself a remote PS/2 keyboard - which is what I did… of course!
TL;DR
But do have a read too, it was fun to make :)
Demos first
How it works
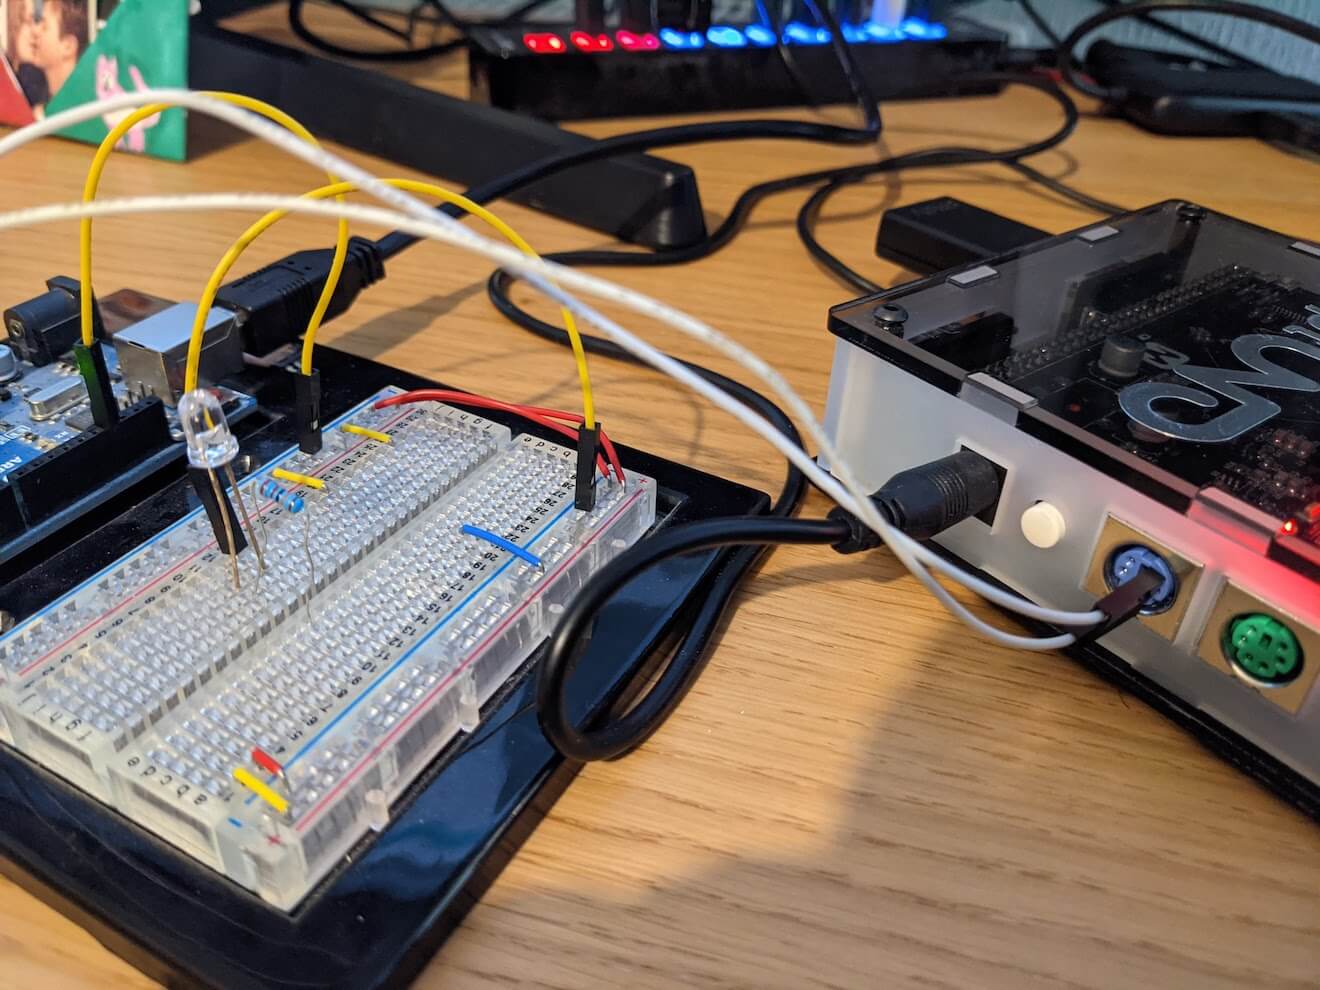
After seeing Ben Eater's video on PS/2 keyboards I knew that the scan codes for a keyboard should be re-creatable with something like an Arduino.
My version version was just that. I used a library called ps2dev to send a clock and data signal for the up and down keyboard scan codes. Then I wired my arduino directly into the PS/2 port and turned on the neptUNO to test - immediately the menus were moving up and down: this means the entire thing had legs.
The next part was how would I send the scan codes. It might have been enough to have a couple of hardcoded buttons for things like F12 (which brings up the core menu), but I wanted some freedom and I wanted to be able to type.
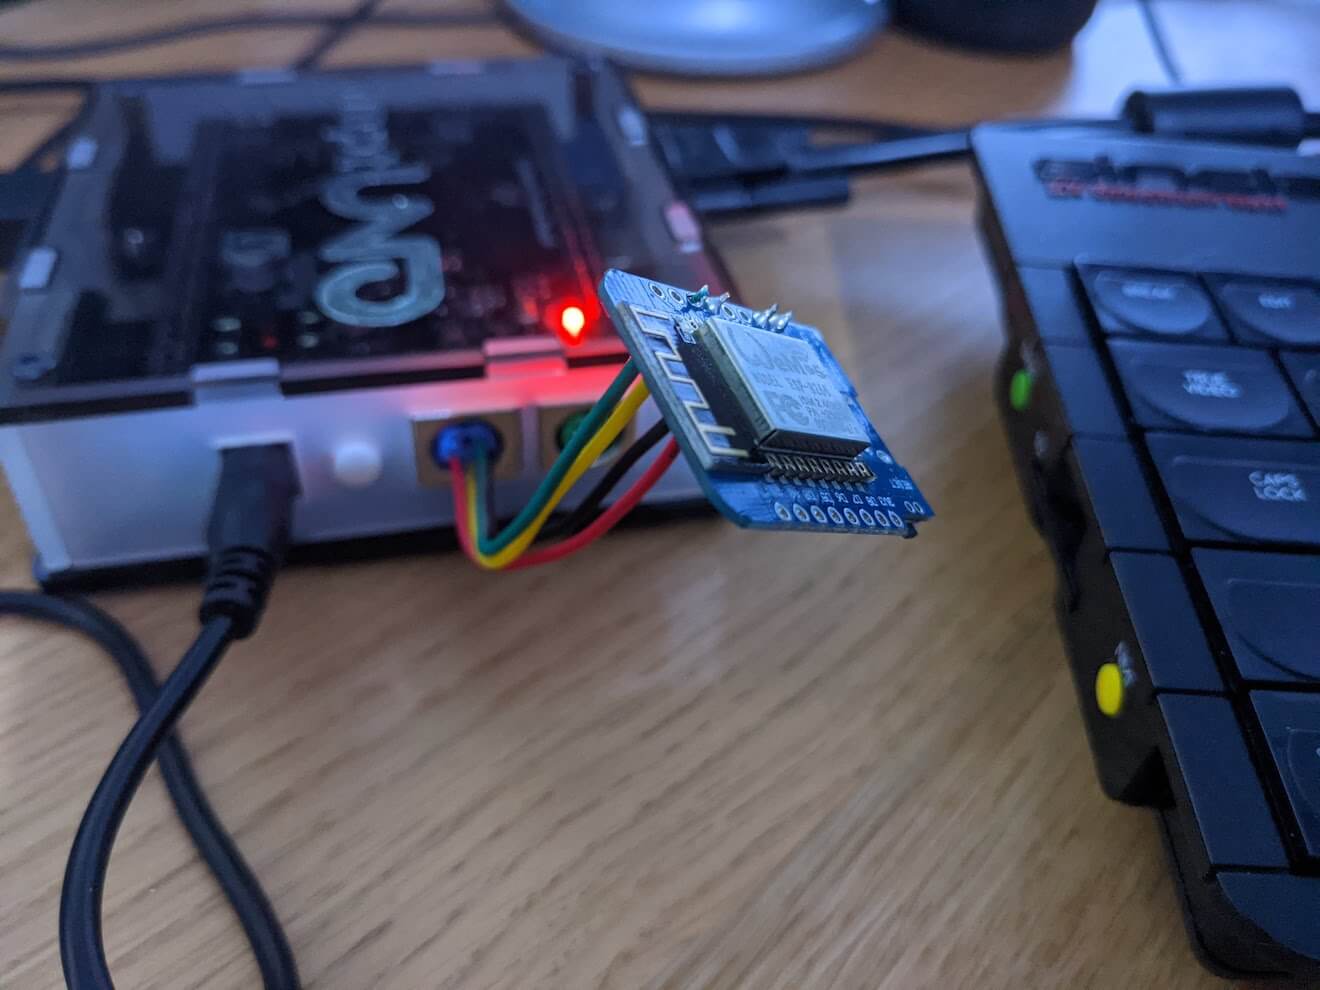
I had a few ESP based WEMOS boards from failed previous projects and decided that I would use my D1 Mini and program it to accept a WebSocket request. That WebSocket would then, in theory, forward keyboard scan codes to the PS/2 connection.
The wiring is relatively straight forward and the arduino code required is partly lifted from existing example code and partly me making small adjustments.
The code on the D1 mini comprised of the following (and I'll include the full source at the end):
- Connect the ESP to my local wifi network
- Configure output pins for clock and data lines for PS/2 connection
- Start a WebSocket server
- On WebSocket message, forward each byte in the message to the PS/2 clock and data lines
I would also go on to upgrade this to include: serve a single HTML page on port 80 of the device.
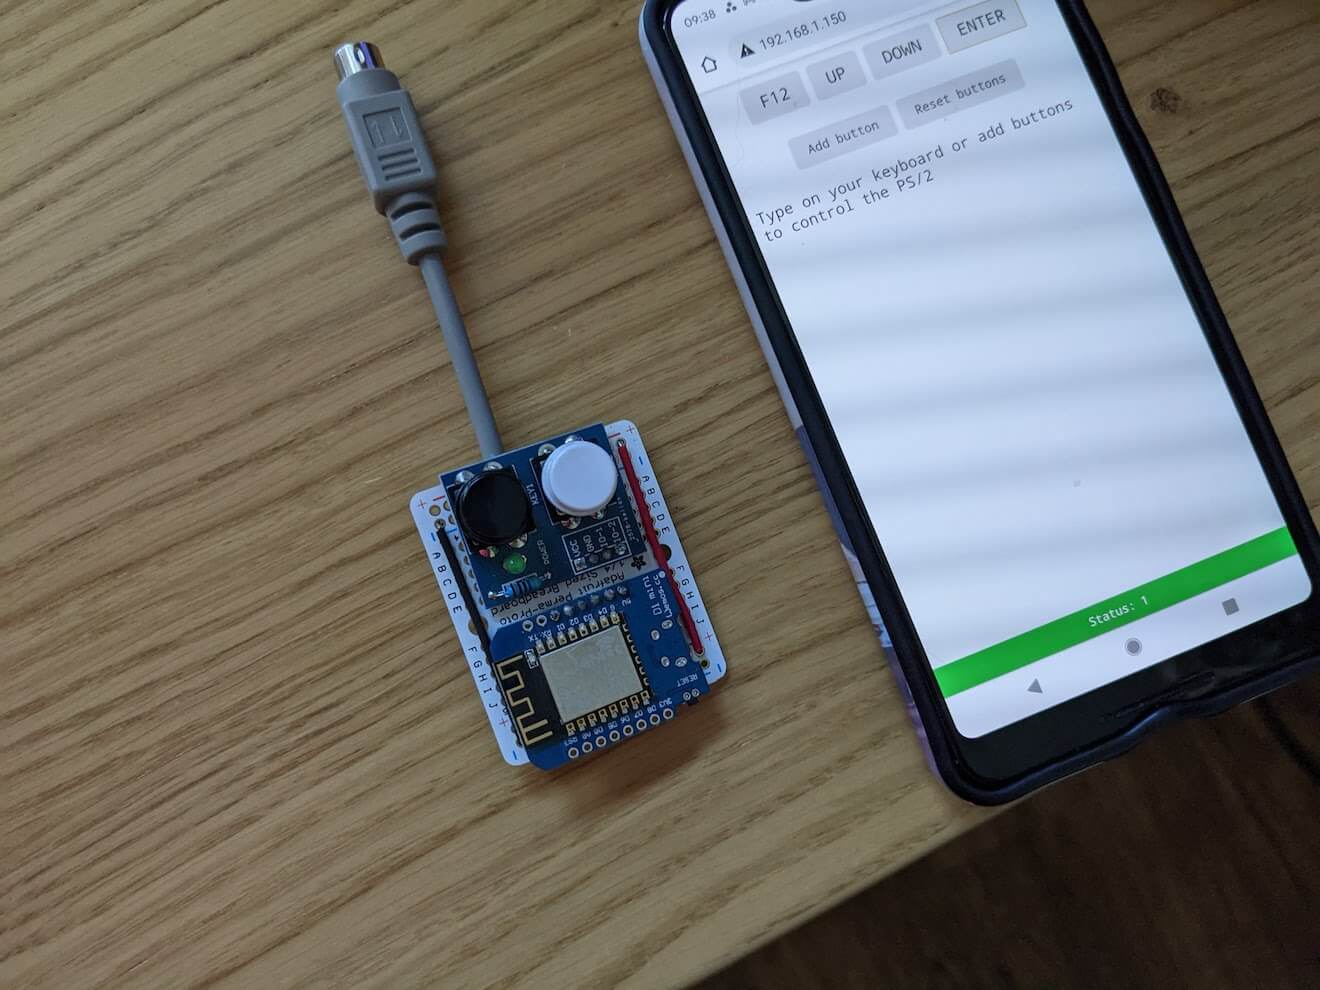
The cleverness is added with the browser. As you might have seen from the video demo, I can use a browser - on any device - to send remote key press commands.
Since the browser object model gives me events for key down and key up, these map perfectly to how the PS/2 scan codes work. For example, typing the letter "G" (uppercase) is a sequence of: shift down, g down, g up, shift up.
This translates to six bytes: 0x12 ("make" shift), 0x34 ("make" g), 0xF0, 0x34 ("break" g), 0xF0, 0x12 ("break" shift).
Thankfully the web archive has kept an old webpage containing a table of scan codes that I mapped to event.code from the key down and key up events.
In addition to mapping modern codes to scan codes, I also added the ability to define keys as buttons (so that I could use the page on my mobile device) and added some relatively simplistic heartbeat checking so that if the connection is lost (due to a power cycle of the neptUNO) the web page would automatically reconnect.
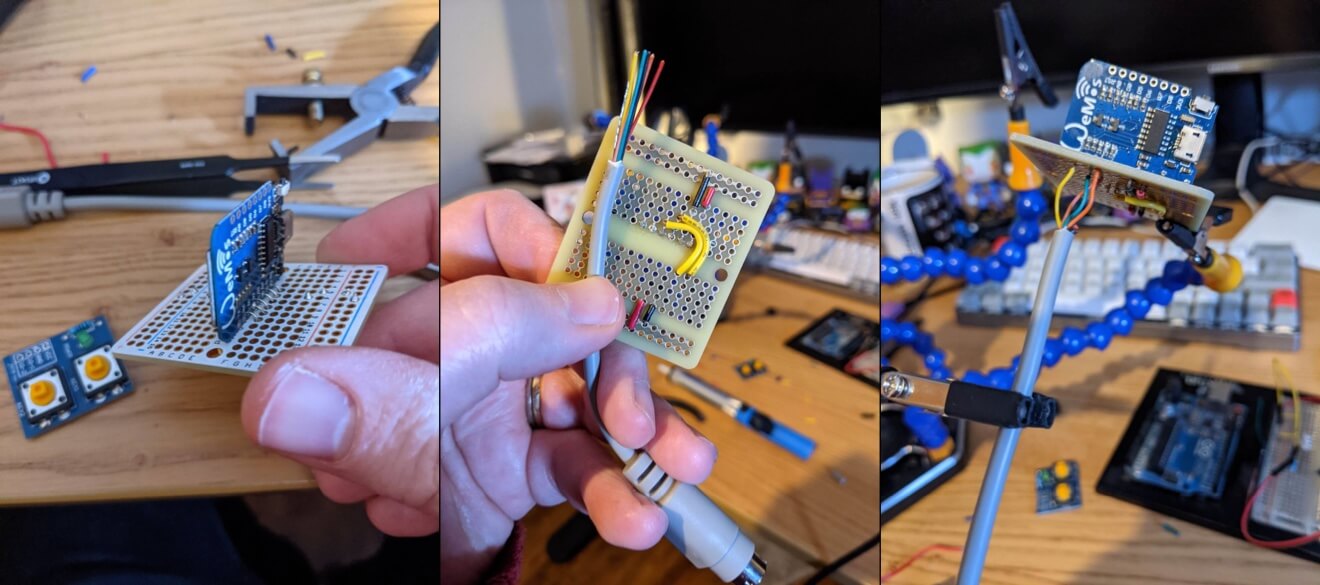
This all worked perfectly, so it was time to move on to Prototype Three - the semi-permanent soldering of the board and connected to a male PS/2 connector so I could disconnect and reconnect easily. I also wanted two shortcut buttons for neptUNO specific functions (the core menu and the "scandoubler" key) and because I had two chunky push buttons to hand.
My soldering skills aren't great (which also why I'd rather solder my own hack kit rather than more expensive computers), and the task took me a good few hours, but I was rather pleased with the outcome.
The end result is a device that I can plug in, trigger the menu without a computer at all (i.e. if I'm just playing with a joypad and need the ROM load menu) or I can have full control using my desktop keyboard.
Code and parts
- WEMOS D1 mini
- PS/2 Male DIN (plus some wire cutters to hack it into the right parts) - I also recommend checking which wire goes to which pin before you start your project. For what it's worth, mine were: CLK- green, GND- orange, DATA-brown/pink(?), VCC-yellow - red, black and shield were left disconnected (though I should have tied them low).
- PS/2 Male pinout
- Scancodes
- D1 pinout - the pin numbers on the board don't match what you'd use in the arduino code
- WebSockets arduino library
- ps2dev arduino library
Finally, the full source code for both the arduino based project and the web page (and JavaScript) that the device serves:
Note that the code to help you create your own thing, it's possible you could copy and paste it but it's not been written with that expectation.
Good luck and enjoy your own hacks.